Introduction
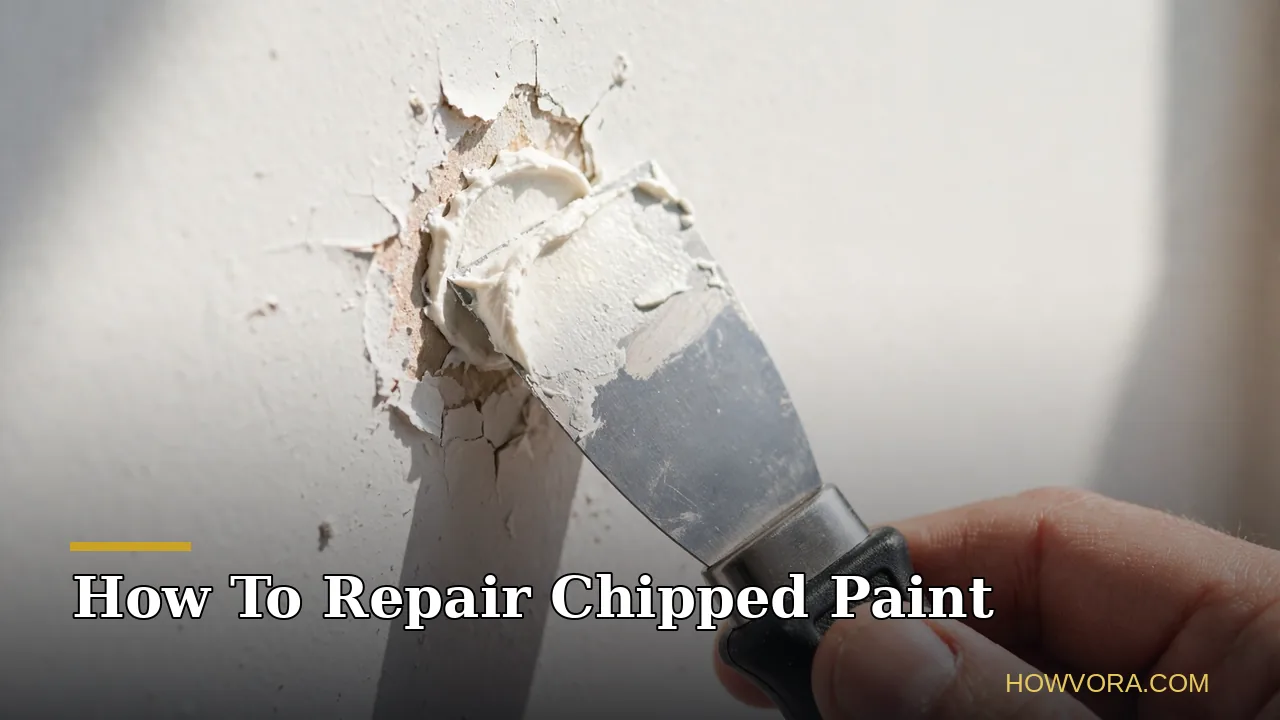
A paint chip looks small, and that is exactly why people ignore it until it is not small anymore. A chip breaks the protective paint film, and every knock, cleaning wipe, and humid day works at its edges and lifts more paint. On wood, an open chip also lets in moisture, which is what turns a five minute touch-up into a stripping and repainting job.
This guide covers how to repair chipped paint on interior walls and woodwork so the fix disappears: scrape what is loose, feather the edges, fill only what is deep, prime so the patch does not show through, and repaint with the sheen matched to the wall around it. Sheen is the detail most repairs get wrong, and it is why many patches stay visible even when the color looks right. A short note at the end explains why car touch-up paint follows different rules.
Featured Snippet Answer
To repair chipped paint, scrape away all loose paint, sand the edges of the chip smooth, fill deep chips level with spackling compound, then sand and prime the patch. Repaint with matching paint, feathering each coat past the edges of the repair so the patch blends invisibly into the surrounding surface.
Before You Begin
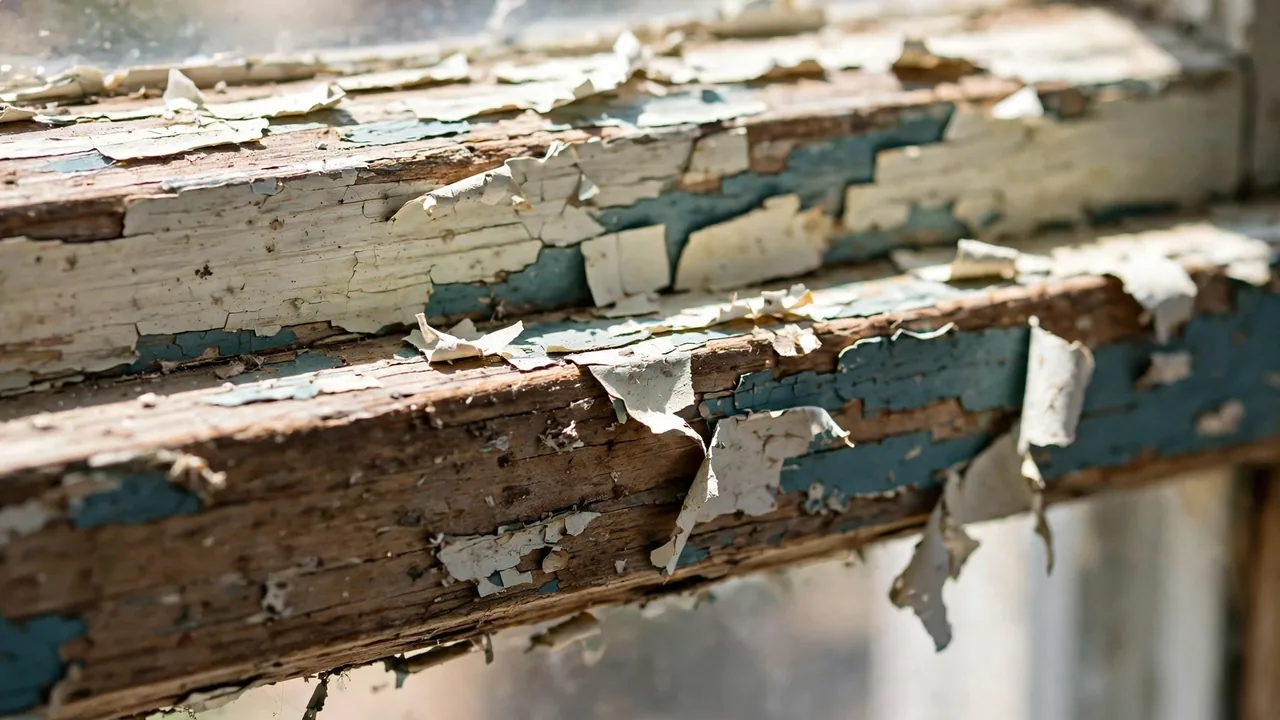
Find the cause before you fix the symptom. Chips from a single knock, a door edge, or furniture contact are simple impact damage, and a spot repair holds. Chips that recur in a bathroom or by a window usually point to moisture or paint over a dirty, glossy surface, and repairs over an active cause peel again fast. Run your fingernail along the chip edge: if more paint lifts easily beyond the visible chip, the loose area is bigger than it looks, and your repair area is everything that lifts.
Sort out your paint match now, too. Leftover paint from the original job is ideal, so check storage areas first. If you have none, pop a chip at least the size of a coin into a bag and take it to a paint store for a computer color match, and match the sheen as carefully as the color. The same color in flat, eggshell, satin, and semi-gloss looks like four different colors on a wall, because each reflects light differently. On woodwork, plan to repaint the full length of the chipped trim piece rather than one spot, because trim catches light along its length and betrays spot repairs.
At a Glance
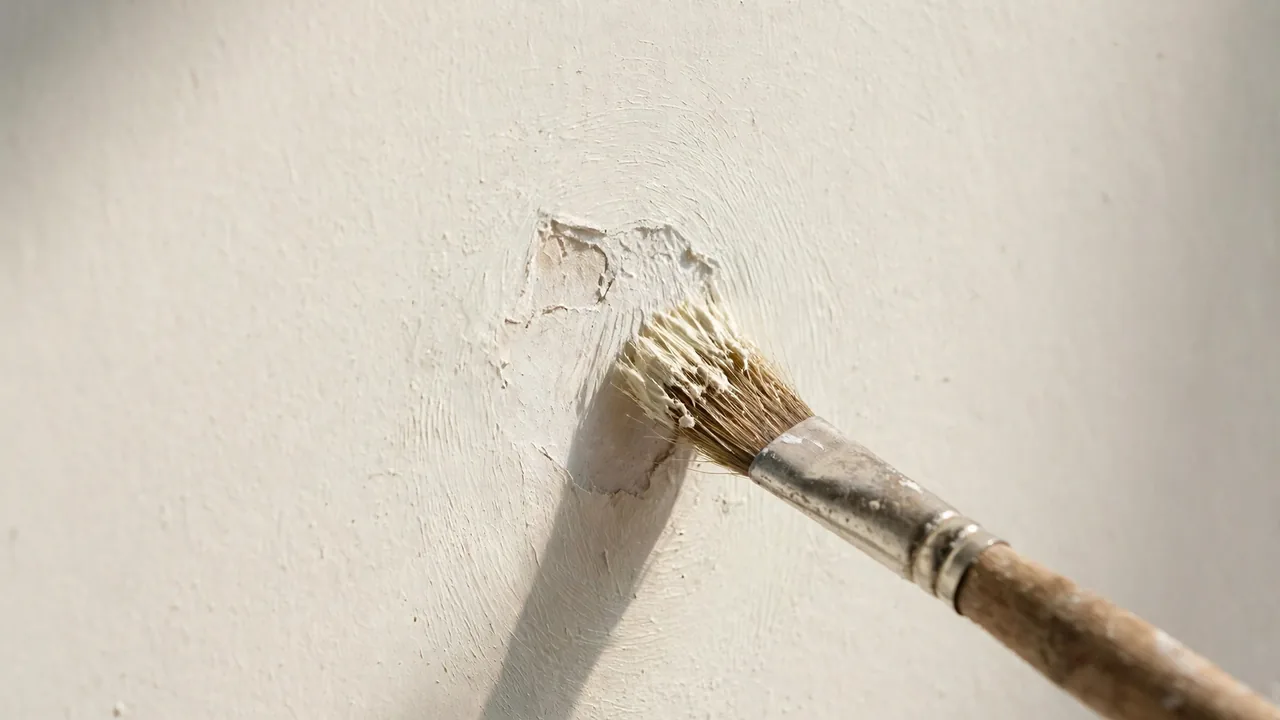
| Detail | What to know |
|---|---|
| Difficulty | Easy to moderate |
| Time needed | 1.5 to 3 hours total, most of it drying time |
| Cost | Low; filler, primer, and a small paint pot cover many repairs |
| Skill level | Beginner |
| Best for | Interior walls, doors, skirting boards, and painted furniture |
Things You’ll Need
| Item | Purpose |
|---|---|
| Putty knife or paint scraper | Lifts loose paint and applies filler |
| 120-grit sandpaper | Feathers the hard edge of the chip into the sound paint |
| 220-grit sandpaper | Smooths dried filler and the primed patch |
| Spackling compound or wood filler | Fills chips that are deeper than the paint film |
| Bonding or stain-blocking primer | Seals the patch so it does not flash through the topcoat |
| Matching paint | The topcoat, matched for both color and sheen |
| Painter’s tape | Protects the surface around the repair |
| Small brush and mini roller | Applies primer and paint with a texture close to the wall |
| Dust mask and eye protection | Keeps sanding dust out of your lungs and eyes |
Safety Precautions
- Test for lead before sanding paint in a home built before 1978. Use an inexpensive swab test kit on the chip. If it shows lead, do not sand or dry-scrape; keep the area wet, avoid creating dust, and follow local guidance or hire a certified contractor for anything beyond a tiny spot.
- Wear a dust mask and eye protection while scraping and sanding. Paint dust irritates lungs and eyes even when it is lead-free.
- Ventilate the room while priming and painting. Open a window or run a fan, and keep children and pets out until the paint dries.
- Use a stable step stool or ladder for high chips, and never lean out sideways to reach one more spot. Move the ladder instead.
Step-by-Step Guide
- Step 1: Clean the area around the chip. Wash the surface with a damp cloth and a drop of dish soap to remove grease, dust, and hand oils, then let it dry. Paint and filler fail early on a dirty surface, and walls near doors and switches carry more oil than they show.
- Step 2: Scrape away all loose paint. Hold the putty knife at a low angle and work from the sound paint toward the chip, lifting everything that flakes or curls. Keep going until the edges resist the blade. Painting over a loose edge guarantees the new film peels from that same edge.
- Step 3: Sand the edges to feather them. With 120-grit sandpaper, sand around the chip so the cliff between bare surface and paint becomes a gentle slope. Run a fingertip across it: you want a smooth ramp your finger cannot catch on, because any edge you can feel will show through new paint.
- Step 4: Wipe away all dust. Brush the area, wipe with a damp cloth, and let it dry fully. Dust left under filler or primer becomes a weak layer that lets go later.
- Step 5: Fill deep chips level. If the chip is deeper than a paint film, press spackling compound into it with the putty knife, slightly overfilling, then draw the blade across to level it. On wood, use wood filler the same way. Shallow chips in the paint layer alone need no filler, just primer and paint. Let the filler dry for the time on its label; it changes color as it dries, which is your visual cue.
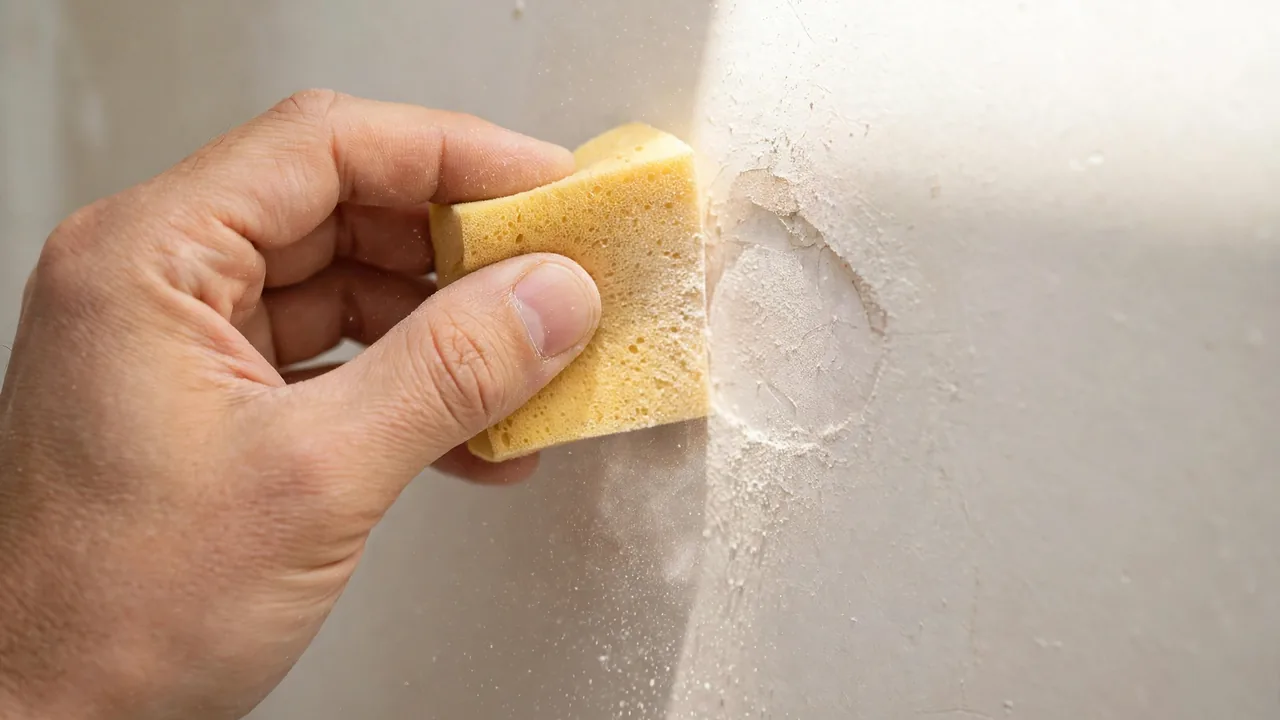
- Step 6: Sand the filler smooth. Once dry, sand with 220-grit until the patch feels flush with the surface and your fingertip finds no ridge or dip. Deep fills shrink a little as they dry, so a second thin fill and a second sanding is normal rather than a mistake.
- Step 7: Prime the patch. Brush or roll primer over the filler and the feathered edges, extending slightly onto the sound paint. Primer seals porous filler so it does not drink the topcoat unevenly, and it gives the paint a uniform surface to grip. Skipping primer is the main reason repairs show as dull flat spots, a defect painters call flashing. Let it dry fully.
- Step 8: Apply the first coat of paint, feathered. Load a small brush or mini roller and paint the patch, working from the center outward and lightening pressure at the edges so the coat thins into the surrounding paint. A mini roller leaves a texture close to a rolled wall; a brush alone can leave visible strokes.
- Step 9: Apply a second coat. After the first coat dries, add a second thin coat the same way. Two thin coats match color and sheen far better than one thick coat, and they avoid the raised edge a single heavy coat leaves.
- Step 10: Inspect in daylight and at an angle. Step back, then look along the surface toward a window. Raking light exposes ridges, sheen differences, and missed spots that straight-on viewing hides. Touch up only if you find a real defect; every extra coat adds edge, so restraint keeps repairs invisible.
How to Know You Did It Correctly
Three checks confirm an invisible repair. Your fingertip, drawn across the patch with eyes closed, finds no ridge, dip, or step. Raking light from a window or lamp shows no outline of the old chip. And the sheen matches: stand where the room light hits the wall at an angle and compare the patch with the paint around it. If the color looks right from the front but the patch glows or dulls at an angle, the sheen is off, and one more thin coat in the correct sheen fixes it.
Expected Timeline and Results
Active work takes about thirty minutes for a single chip: five minutes of prep and scraping, ten of sanding and filling, and fifteen across priming and two coats. Drying time stretches the total to one and a half to three hours, longer in a cold or humid room. A well-matched repair on a flat or eggshell wall is genuinely invisible. Satin and semi-gloss woodwork shows repairs more easily, which is why repainting the full trim piece is the reliable route there.
Alternative Methods
Touch-up only, for hairline chips. If the chip is tiny and shallow, with sound edges, dab primer and then paint onto the spot with the tip of a small brush or a cotton bud, using as little paint as possible. Less paint means less edge, and less edge means a less visible fix.
Paint the whole section. When a wall carries many chips or the paint match is imperfect, painting the entire wall from corner to corner hides everything at once. Corners break light naturally, so a new coat that stops in a corner rarely shows a join.
A note on cars. Automotive chips are a different system: the paint is a color coat under a clear coat, the match comes from the car’s paint code, and bare metal in a chip rusts, so rust treatment and dedicated touch-up paint come first. The prep logic rhymes with this guide, but the products and stakes differ, so follow a car-specific process for vehicles.
Common Mistakes to Avoid
- Painting straight over the chip. New paint over a sharp chip edge and loose flakes looks fine for a week and then outlines and peels. The prep is the repair; the paint is just the finish.
- Skipping primer over filler. Unprimed filler absorbs topcoat unevenly and shows as a dull patch called flashing, visible every time light crosses the wall.
- Matching color but not sheen. A flat patch in an eggshell wall reads as a stain. Sheen mismatch is the number one reason spot repairs stay visible.
- Overfilling and under-sanding. A proud mound of filler telegraphs through paint as a bump. Fill slightly high, then sand truly flush.
- Fixing the chip and ignoring the cause. Bathroom chips over a moisture problem, or door-edge chips from a door that rubs its frame, return quickly. Fix the cause in the same session.
Troubleshooting & Common Problems
| Problem | Cause | Solution |
|---|---|---|
| The patch shows as a dull flat spot | Filler was not primed, so it absorbed the topcoat unevenly | Let the paint cure, apply one coat of primer over the patch, then repaint with two thin coats |
| The new paint peels off the patch | Dust, grease, or a glossy surface under the repair | Strip the failed area back to a sound edge, clean, sand to dull the surface, prime with bonding primer, and repaint |
| The color looks wrong despite a match | Aged surrounding paint has faded, or the sheen differs | Confirm the sheen first. If the wall has faded, paint the full wall section corner to corner for a uniform result |
| The filler sank below the surface | Deep filler shrinks as it dries | Apply a second thin layer of filler, let it dry fully, and sand flush before priming |
Expert Tips
- Keep a small labeled jar of touch-up paint for every room. A jam jar with a tight lid, labeled with room and date, keeps paint usable far longer than a big can, and it makes the next chip a ten minute job.
- Dab, do not brush, on textured walls. A stippling dab with the brush tip imitates roller texture on a small patch, while brush strokes flatten the texture and mark the spot.
When to Call a Professional
Call a professional painter or contractor if the test swab shows lead paint across a large area, if peeling covers whole walls rather than scattered chips, or if the chips trace back to a leak, rising damp, or failed exterior paint that lets water in. Those are building problems wearing a paint costume, and spot repairs only hide them while the damage grows. High exterior work and full stairwell walls are also fair reasons to hire out: the repair itself is simple, but the access is not.
What to Do Next
Once the repair cures, do a slow lap of the room and mark other chips with small pieces of painter’s tape while the tools are out; batching five chips takes little longer than one. Store the labeled leftover paint somewhere cool and dark, and note the sheen on the lid. If the chips came from a rubbing door or a chair that hits the wall, fix that too: adjust the door, add a felt pad, or fit a door stop.
FAQs
Can I paint directly over chipped paint?
Only if the chip is shallow and every edge is firmly attached, and even then the edge usually shows. Scraping loose paint, feathering the edge, and priming takes a few extra minutes and is the difference between a lasting repair and one that peels from the same spot.
How do I match the existing paint color?
Leftover paint from the original job is best. Without it, take a chip about the size of a coin to a paint store for a computer match, and match the sheen as well as the color. Old paint fades, so a perfect match to the original formula can still differ from the aged wall.
Do I need primer for a small chip?
If bare wall, bare wood, or filler shows, yes. Primer seals the porous patch so the topcoat dries with the same sheen as the surrounding paint. A chip that only marks sound paint can sometimes skip it, but priming is cheap insurance against flashing.
Why does paint chip in the first place?
The usual causes are impact, moisture getting behind the film, paint applied over dirt or gloss without sanding, and too many old coats losing their grip. Single dents mean impact, while widespread flaking means adhesion or moisture problems.
How long should filler dry before I paint?
Follow the time on the product label, and use the color change as your guide, since most spackling compounds dry lighter than they apply. Painting over filler that is still damp underneath causes soft patches and poor adhesion. When in doubt, give it more time.
Is the process different for painted furniture?
The steps are the same: scrape, feather, fill, prime, repaint. Furniture takes harder knocks and more cleaning than walls, so use a durable trim or furniture paint for the topcoat, and repaint the whole drawer front or door rather than one spot, because furniture is viewed up close.
Final Thoughts
Chipped paint repair succeeds or fails in the prep, not the painting. Loose paint off, edges feathered to a slope, deep spots filled flush, and primer under the topcoat: follow that order with a matched sheen and the repair vanishes. Respect the causes, moisture and impact, and you fix each chip once instead of meeting it again next season.