Introduction
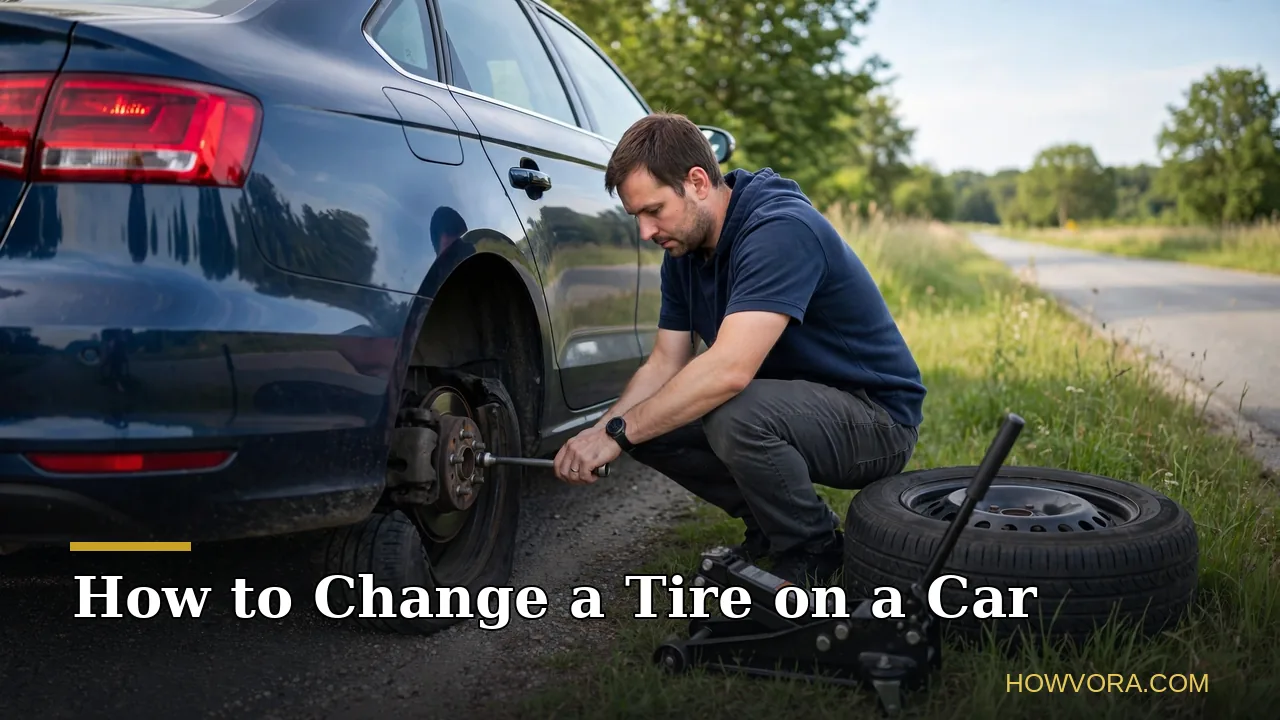
A flat tire never checks your schedule first. It shows up on the way to work, in the rain, halfway through a road trip, and it leaves you with two choices: wait for help, or handle it yourself in about half an hour. Changing a tire is one of the most useful skills a driver can own. It needs no special training, no strength contest, and no tools beyond the kit that is probably already sitting in your trunk.
This guide walks through the complete job: getting to a safe spot, loosening the lug nuts at the right moment, placing the jack where the car is built to be lifted, swapping the flat for the spare, and tightening in the pattern that keeps the wheel seated flat. It also covers what most quick guides skip: what to do in the first miles after the change, because a spare is a temporary bridge to a tire shop, not a permanent fix. If you have never done this before, read the safety section twice. Almost every injury tied to tire changes comes from the same few mistakes: a jack in the wrong place, a car that was not secured, or lug nuts fought with while the wheel hung in the air.
Featured Snippet Answer
To change a tire on a car, park on flat ground, set the parking brake, and loosen the lug nuts half a turn while the wheel is still on the ground. Jack the car up at the reinforced jack point, remove the nuts, swap the flat for the spare, hand-tighten the nuts, lower the car, then fully tighten the nuts in a star pattern.
Before You Begin
Check three things before you touch a tool. First, confirm your car actually carries a spare. Many newer cars ship with a sealant-and-inflator kit instead, and a few keep the spare under the trunk floor where owners forget to look. Second, check the spare itself once in a while; spares lose air slowly over months of sitting, and a flat spare helps nobody. Third, find your jack points now, in daylight, in your driveway. Your owner’s manual shows the reinforced spots on the frame, usually marked by a notch or arrow near each wheel.
The job is firmly in DIY territory. A tire shop charges for convenience and the tow, not for rare skill. The decision rule is simple: if you cannot get the car onto flat, solid ground away from moving traffic, call roadside assistance instead.
At a Glance
| Detail | What to know |
|---|---|
| Difficulty | Easy to moderate |
| Time needed | 20 to 30 minutes for a first-timer, less with practice |
| Cost | Free with the car’s own kit; the flat still needs repair or replacement after |
| Skill level | Beginner, no experience needed |
| Best for | A simple puncture or blowout when a spare and a safe spot are available |
Things You’ll Need
| Item | Purpose |
|---|---|
| Spare tire | Replaces the flat. Check its air pressure before you start |
| Car jack | Lifts the car. The scissor or bottle jack stored with the spare |
| Lug wrench | Loosens and tightens the lug nuts. Also stored with the spare in most cars |
| Owner’s manual | Shows your exact jack points and any model-specific steps |
| Wheel wedge, brick, or large rock | Chocks the wheel opposite the flat so the car cannot roll |
| Flashlight | Essential at night or under the car in shadow |
| Gloves and a mat or old towel | Keeps hands and knees off hot, dirty, or wet ground |
| Reflective triangle or hazard lights | Warns traffic that you are stopped |
Safety Precautions
- Never change a tire on a slope, soft ground, or gravel shoulder alone. Jacks need flat, solid footing. If the ground is soft, a flat board under the jack spreads the load.
- Never put any part of your body under a car held up only by a jack. The spare swap never requires going under the car. Keep it that way.
- Set the parking brake and chock the opposite wheel before lifting. An automatic in Park or a manual in gear adds a second layer.
- Work on the side of the car away from traffic, with hazards on. If the flat is on the traffic side and there is no wide shoulder, drive slowly on the flat to a safer spot or call for help. A ruined rim costs less than an injury.
- Keep passengers and pets out of the car and away from the road while it is on the jack.
Step-by-Step Guide
- Step 1: Get to a safe, flat spot and secure the car. Pull well off the road onto level, hard ground. Turn on the hazard lights, set the parking brake, and put the transmission in Park (or first gear for a manual). Wedge your chock snugly against the tire diagonally opposite the flat: front right flat, chock the rear left.
- Step 2: Get the spare and tools out first. Lift the trunk floor panel, take out the spare, jack, and lug wrench, and check the spare’s pressure with a gauge if you carry one. Doing this now beats discovering a flat spare after the car is already in the air.
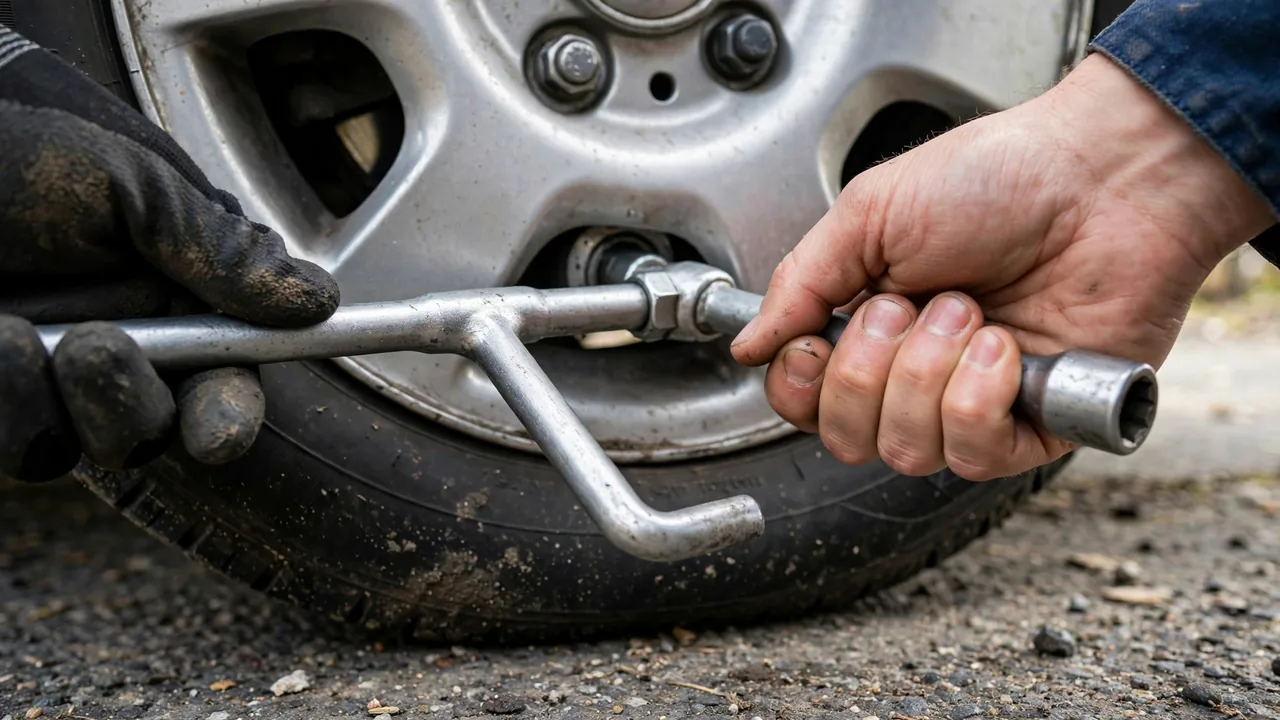
- Step 3: Loosen the lug nuts while the wheel is on the ground. Remove the hubcap if one covers the nuts. Fit the wrench fully onto each nut and turn counterclockwise, about a quarter to half a turn each, just enough to break them free. Use your foot on the wrench handle for leverage if a nut resists, keeping your weight steady. Why it matters: the ground holds the wheel still. In the air, the wheel just spins and the car rocks on the jack.
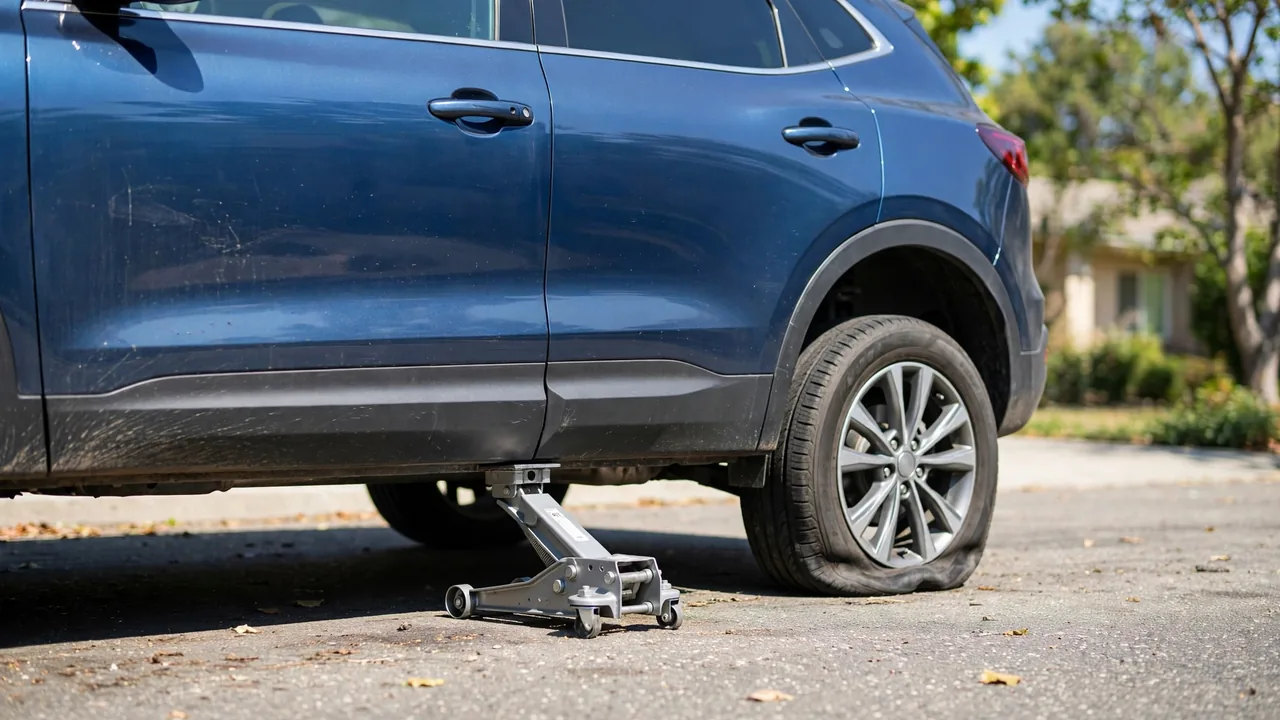
- Step 4: Position the jack at the jack point. Find the reinforced spot near the flat tire, shown in your manual and often marked by a notch in the metal seam under the door. Set the jack squarely under it on solid ground. A jack placed on the plastic trim, the floor pan, or the suspension arms can bend metal or slip.
- Step 5: Raise the car until the flat clears the ground. Crank the jack steadily until the flat tire is about 15 cm (6 in) off the ground. That gap leaves room for the inflated spare, which is taller than the flat coming off. Give the car a gentle nudge to confirm it sits steady before you proceed.
- Step 6: Remove the lug nuts and the flat tire. Unscrew the loosened nuts by hand, keeping them together in the hubcap or a pocket so none roll away. Grip the tire at the sides, pull it straight toward you off the studs, and lay it flat under the car’s frame near the jack as a cheap safety net if anything shifts.
- Step 7: Mount the spare. Lift the spare and line its holes up with the wheel studs, then push it on until it sits flush against the hub. If it rocks or sits crooked, pull it off and reseat it. A wheel that is not flush will never tighten correctly.
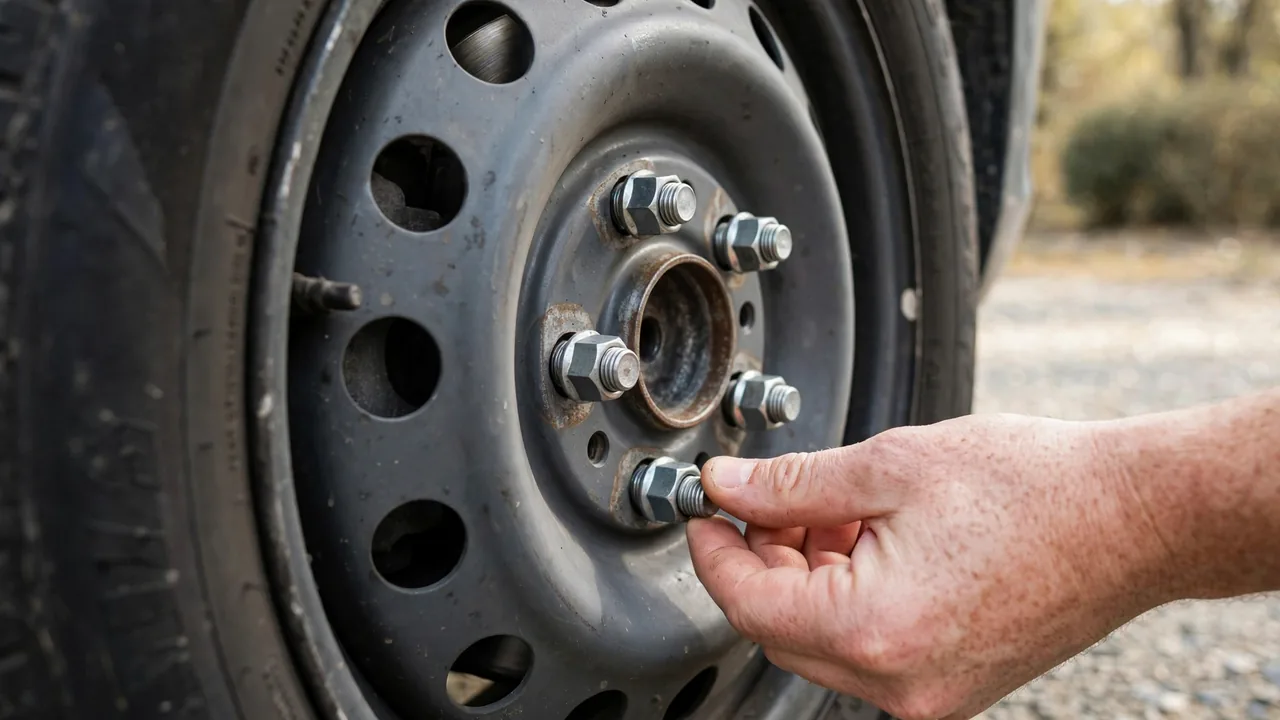
- Step 8: Hand-tighten the lug nuts. Thread each nut back on by hand, a few turns each, working across the wheel rather than around it. Hand-tight first pulls the wheel evenly onto the hub. Keep going until the nuts are snug and the wheel does not wobble.
- Step 9: Lower the car partway and tighten in a star pattern. Lower the jack until the spare just touches the ground and the wheel cannot spin. Tighten the nuts firmly in a star or crisscross pattern: top, bottom, left, right on a four-nut wheel, skip-one-around on a five-nut wheel. Tightening one side fully first can cock the wheel off-center, so the pattern matters.
- Step 10: Lower fully and do a final tightening. Bring the car all the way down, remove the jack, and give each nut one more firm pull in the same pattern. Stow the flat and tools, and remove the wheel chock.
How to Know You Did It Correctly
Three checks confirm a good job. The spare sits flush and does not rock when you push and pull the top of the tire with both hands. Every lug nut resists a firm final pull, and none sits at an angle. And on the test drive that follows, the car tracks straight with no wobble, thumping, or new vibration. If any check fails, stop somewhere safe and recheck the seating and the nuts before driving farther.
Expected Timeline and Results
Budget 20 to 30 minutes the first time, including reading the manual’s jack point diagram. With practice, most drivers finish in 10 to 15 minutes. The result is a car that is safe to drive gently to a tire shop, which is the real goal. A compact temporary spare, the donut, is built only for short, slower trips: its sidewall prints the limits, commonly a top speed around 80 km/h (50 mph) and a short total distance. A full-size matching spare has no such limits, though it still deserves a pressure check and a recheck of lug tightness after the first short drive, a step many tire shops recommend within the first 40 to 80 km (25 to 50 miles).
Common Mistakes to Avoid
- Loosening lug nuts after jacking up the car. The wheel spins, the car rocks, and the jack can walk out of place. Break the nuts free on the ground, always.
- Jacking on the wrong spot. Floor pans and plastic trim are not lift points. A bent pinch weld or a slipped jack turns a simple job into body damage.
- Tightening nuts in a circle. Going around in order can leave the wheel seated at a slight angle. The star pattern evens the pressure.
- Forgetting the spare’s limits. Weeks of highway driving on a donut spare wears it out and hurts handling and braking. Get the real tire fixed promptly.
- Skipping the pressure check. Spares sit untouched for months or years. Check yours every time you check the other tires, so it is ready when needed.
Troubleshooting & Common Problems
| Problem | Cause | Solution |
|---|---|---|
| A lug nut will not budge | Over-tightened at a shop or light corrosion | Seat the wrench fully, then press down with your foot in a controlled push. Penetrating oil helps if you carry it. Never jump on the wrench |
| The wheel is stuck to the hub after nuts are off | Rust bonds the wheel to the hub over time | Thread one nut on loosely, then kick the tire’s sidewall with your heel. The loose nut stops the wheel flying off |
| The jack sinks or leans | Soft or uneven ground | Lower the car, reposition on harder ground, or slide a flat board under the jack base |
| The spare is flat too | Long storage without pressure checks | Use a sealant-inflator kit if you have one, or call roadside assistance. Do not drive on a flat spare |
| Wobble or vibration after the change | Wheel not seated flush or nuts unevenly tight | Stop safely, loosen, reseat the wheel flat against the hub, and retighten in a star pattern |
Expert Tips
- Break the nuts free in your driveway once a year. A two-minute rehearsal confirms your kit is complete, the spare holds air, and the nuts are not seized. It turns a stressful first attempt into a repeat performance.
- Keep a short length of pipe in the trunk. Slipped over the wrench handle, it adds leverage for stubborn nuts without the danger of jumping on the wrench.
- Put the flat tire under the car while you work, as described in the steps. It takes five seconds and adds a layer of protection if the jack ever slips.
- Photograph the jack point location on your phone. Manuals get lost. A picture from your rehearsal is there when you need it.
When to Call a Professional
Call roadside assistance or a tow instead if any of these apply: the only stopping place is a narrow shoulder beside fast traffic; the ground is soft, sloped, or flooded; a lug nut shears off or the studs look damaged; the wheel is seized solid to the hub; or you simply do not feel steady doing it. There is no prize for finishing in a dangerous spot. And after any successful change, a tire professional still needs to see the flat: many tread punctures can be patched, while sidewall damage means replacement.
What to Do Next
Drive gently and directly to a tire shop, avoiding highways if you are on a donut spare. Ask the shop to repair or replace the flat, rebalance it, and torque the wheel nuts to the manufacturer’s specification with a proper torque wrench. Once the real tire is back on, return the spare to the trunk, check its pressure, and repeat that check with every season change.
FAQs
How long does it take to change a tire?
Most first-timers finish in 20 to 30 minutes, including finding the tools and the jack point. Experienced drivers often take 10 to 15 minutes. A steady pace with the safety steps included beats rushing.
Can I drive on a spare tire for a week?
A compact donut spare is built for short, slower trips only, with its limits printed on the sidewall. Treat it as a bridge to the tire shop the same day or the next. A full-size matching spare can be driven normally, though its pressure should still be confirmed.
How tight should lug nuts be?
Firm and even, tightened with a wrench in a star pattern until each nut resists strongly. Exact torque values are specific to each car and are listed in the owner’s manual, which is why the follow-up visit to a tire shop with a torque wrench matters.
What if my car has no spare tire?
Many newer cars carry a sealant and inflator kit instead. It can seal a small tread puncture well enough to reach a shop, but it will not fix a blowout or a sidewall cut. For those, roadside assistance is the answer.
Should I loosen lug nuts before or after jacking up the car?
Before. Break each nut free with a quarter to half turn while the tire is still on the ground and the car’s weight holds the wheel still. Then jack the car up and remove them by hand.
Is it safe to drive a short distance on a flat tire to reach a safer spot?
Slowly, and only as far as needed to reach solid, level ground away from traffic. Driving on a flat can destroy the tire and damage the rim, but that trade is worth it if the alternative is changing a tire beside fast-moving traffic.
Final Thoughts
Changing a tire is a sequence, not a strength test: secure the car, break the nuts free on the ground, lift at the jack point, swap the wheels, and tighten in a star pattern as the car comes back down. Learn the order once, and the next flat becomes a 20-minute inconvenience instead of a ruined day.