Introduction
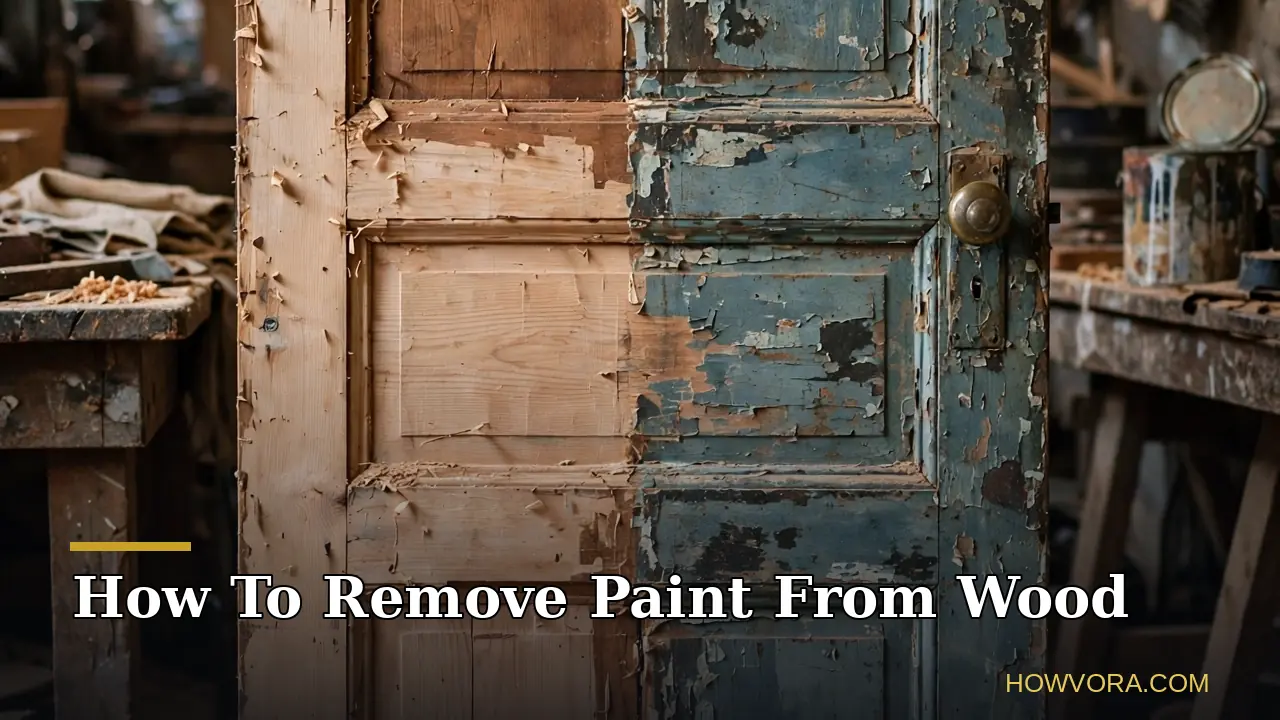
Paint hides a lot of sins, and sometimes it hides beautiful wood. Stripping an old door, a table top, or a set of kitchen cabinets back to bare grain is slow, messy, and deeply satisfying, and it goes wrong in predictable ways: gouged wood, stripper that dried out and quit, finishes that fail over old residue. The method matters more than the muscle.
This guide shows you how to remove paint from wood with the three real options compared: chemical stripper, heat, and sanding. It starts with the step too many people skip, testing for lead paint, because on older painted wood that single test changes everything about how you are allowed to work. Then it walks the main route, a gel stripper worked in small sections, through to a clean, dry surface ready for stain, oil, or fresh paint.
Featured Snippet Answer
To remove paint from wood, test for lead paint first on anything from an older home, then pick your method: chemical stripper softens paint for scraping, a heat gun bubbles it loose, and sanding suits small flat areas. Work in small sections, clean off all residue, and let the wood dry fully before refinishing.
Before You Begin
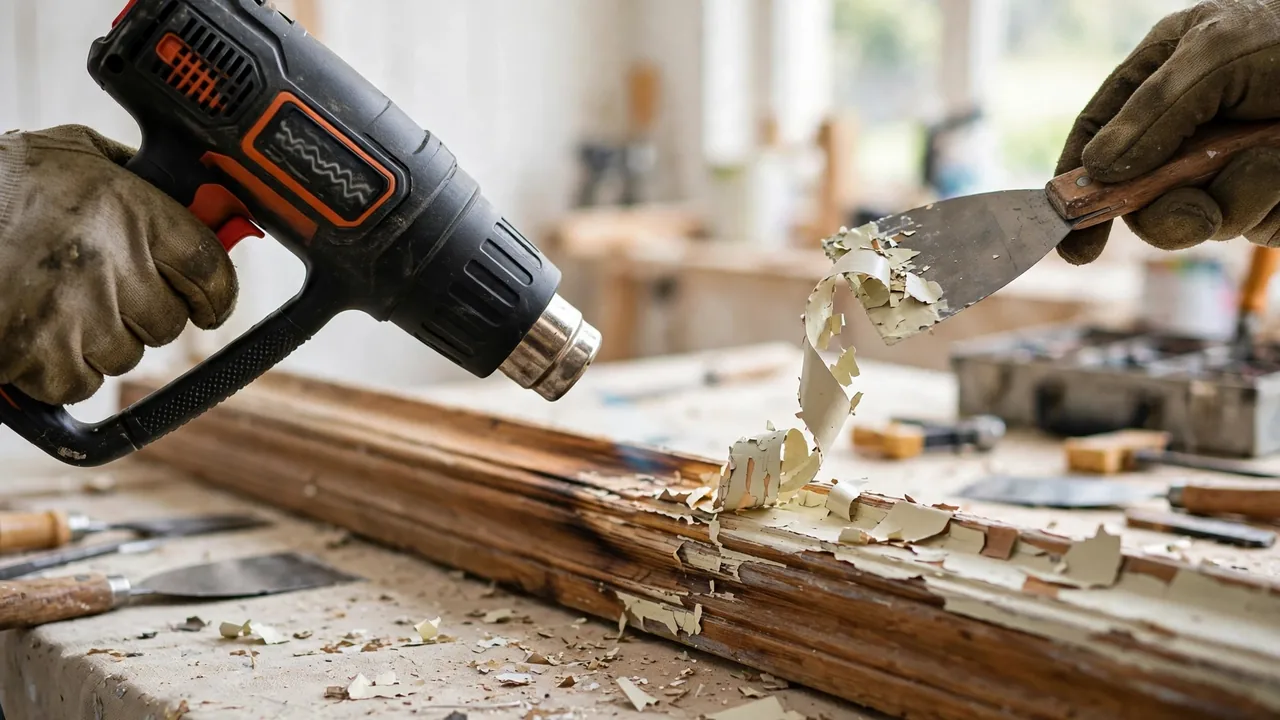
Test for lead first, without exception, on painted wood from a home built before 1978. Use a swab test kit from a hardware store on a small cut through all the paint layers, not just the top one. If the test is positive, stop and rethink the whole approach: never sand lead paint and never use high heat on it, because both spread lead dust and fumes. Small lead-painted items can sometimes be handled with wet methods and careful containment, but doors, trim, and floors with lead paint belong to certified professionals under local rules. Lead dust is invisible, persistent, and a genuine health hazard, especially to children.
Decide if full stripping is even your goal. If the existing paint is sound, lead-free, and you plan to repaint, you do not need bare wood: a clean, a deglossing sand, and primer will carry new paint. Strip fully when you want a clear finish or stain, when paint is failing in layers, or when detail in carvings has drowned under decades of coats. Solid wood tolerates all three methods; thin veneer tolerates almost none of them aggressively, and heat or heavy sanding can go through veneer in seconds. Test your method on a hidden spot, the back of a door or the underside of a table, before the show face.
At a Glance
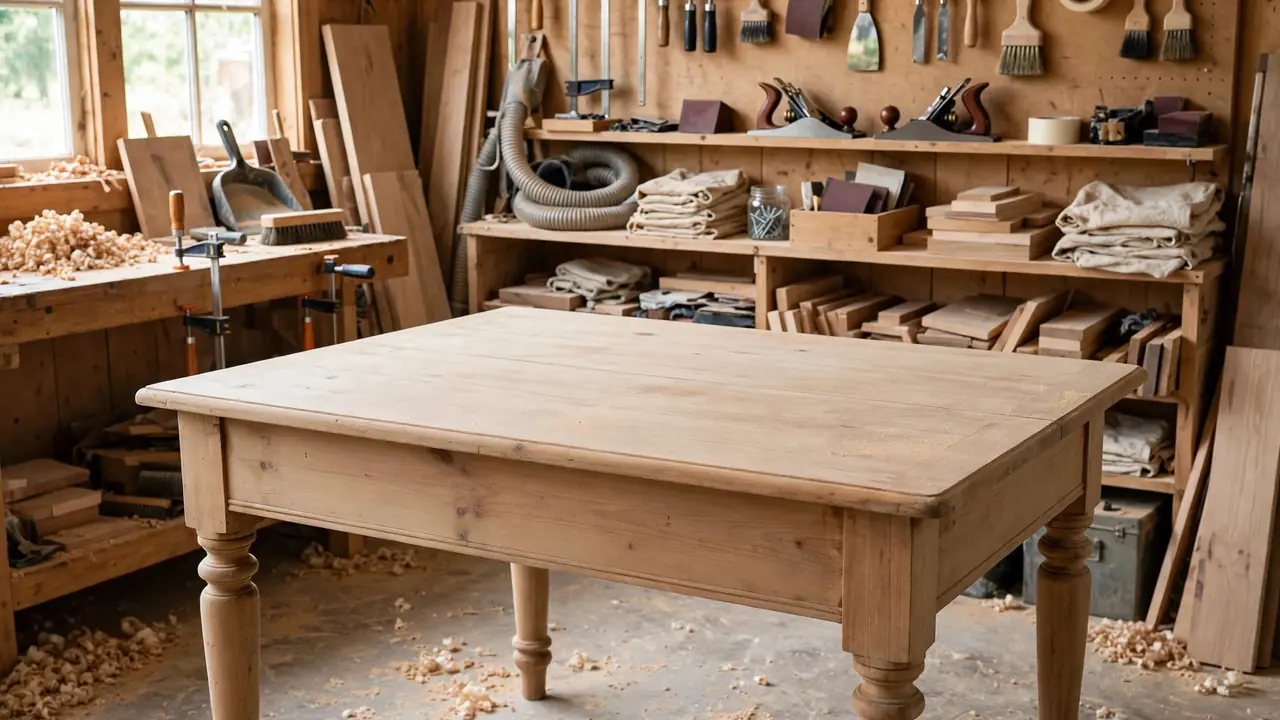
| Detail | What to know |
|---|---|
| Difficulty | Moderate to hard, depending on layers and detail |
| Time needed | Hours for a chair or small table; a full day for a multi-layer door |
| Cost | Stripper and abrasives add up; heat gun is a one-time tool cost |
| Skill level | Intermediate; patience matters more than experience |
| Best for | Furniture, doors, and trim you want to stain, oil, or repaint cleanly |
Things You’ll Need
| Item | Purpose |
|---|---|
| Lead test kit | Checks older paint layers before you create dust or fumes |
| Gel chemical stripper | Softens and lifts paint; gel clings to vertical surfaces |
| Natural bristle brush | Applies stripper without melting, unlike many synthetic brushes |
| Plastic or metal scraper and putty knife | Lifts softened paint; plasti wood |
| Heat gun with nozzle settings | The heat method, used on low to medium settings |
| Sandpaper, 80, 120, and 220 grit, plus a sander | Removes residue and smooths wood for the new finish |
| Chemical-resistant gloves and eye protection | Stripper burns skin and eyes on contact |
| Respirator and drop cloths | Controls fumes and catches paint debris for disposal |
| Steel wool and old toothbrushes | Cleans stripper residue and paint from carvings and corners |
| Mineral spirits or stripper wash | Removes residue after scraping, following the stripper label |
Safety Precautions
- Lead rules come first. Positive test: no dry sanding, no high-heat gun work, no open flame ever. Keep debris contained and sealed, wash hands and clothes after, and use certified help for large areas.
- Stripper burns skin fast. Wear chemical-resistant gloves and eye protection the whole session, cover arms, and keep clean water nearby for accidental splashes.
- Ventilate seriously. Work outdoors or in a garage with doors open when you can. Stripper fumes build up indoors, and some older formulas are flammable, so keep them away from heaters and flames.
- Manage heat gun risk. Heat can ignite dust and debris hidden behind boards and inside joints, and hot spots can smolder unseen. Keep a clear area, watch where the heat lands, and check the work for a while after you stop.
Step-by-Step Guide
- Step 1: Test for lead and test your method. Swab-test a cut through all paint layers. If lead shows, follow the safety rules above or hand the job to a certified professional. If clear, test your stripper on a hidden area to learn its working time and confirm the wood is worth exposing.
- Step 2: Set up the workspace. Work outdoors or in a ventilated garage if the piece moves. Lay drop cloths, put on gloves, eye protection, and a respirator, and remove hardware, bagging it with labels so reassembly is not a puzzle.
- Step 3: Clean the surface. Wash off grease and dirt with a damp cloth and a drop of dish soap, then dry. Stripper wasted on grime never reaches paint, and kitchen pieces carry years of cooking film.
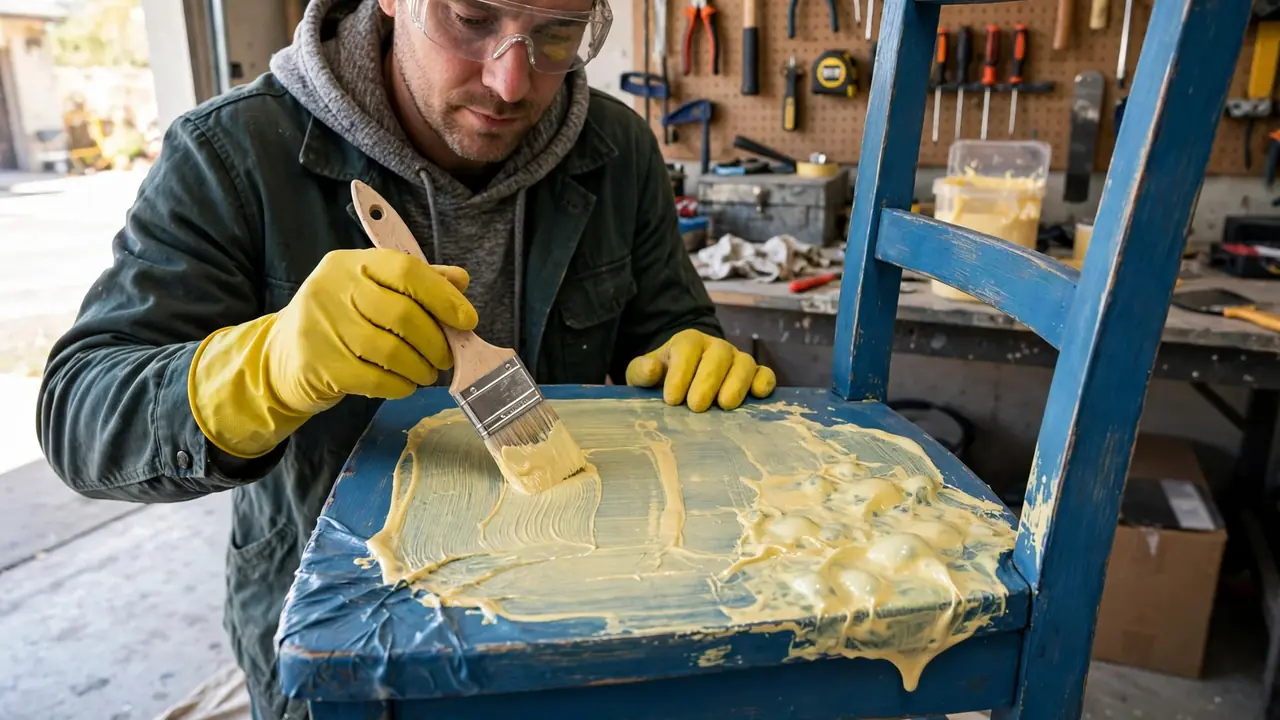
- Step 4: Apply stripper thickly, in one direction. Brush on a generous coat of gel stripper over a section of about two square feet, laying it on in one direction rather than brushing back and forth, which thins it.
- Step 5: Keep it wet for the full dwell time. Follow the label’s timing, often fifteen to thirty minutes. On slow jobs, press plastic wrap over the stripper to stop it drying out. The paint should wrinkle or soften all the way through; test a corner with the scraper.
- Step 6: Scrape the softened paint with the grain. Push a scraper along the grain and lift the sludge into a pile for bagging. Work the section fully, using an old toothbrush or a cloth-wrapped stick for carvings and grooves. Metal scrapers cut faster but gouge soft wood, so switch to plastic on pine.
- Step 7: Repeat on stubborn layers. Old pieces often carry three or four coats, and the bottom one is usually the toughest. Apply stripper again to whatever remains rather than attacking it dry, which is where gouges are born.
- Step 8: Wash off all residue. Scrub the bare wood with steel wool or a pad soaked in the wash your stripper label specifies, commonly mineral spirits or a dedicated after-wash, working with the grain. Residue left in the pores repels stain and lifts new paint, so this step decides your finish.
- Step 9: Let the wood dry completely. Stripped wood is damp even when it looks dry. Give it at least a full day in a dry room, longer for thick pieces. Finishing over damp wood clouds clear coats and weakens paint adhesion.
- Step 10: Sand lightly, with the grain. Sand with 120-grit to level any raised fibers and leftover traces, then 220-grit for a finish-ready surface, always moving with the grain. Wipe dust away with a tack cloth, and inspect in raking light for shiny paint remnants in the grain.
How to Know You Did It Correctly
Run your hand over the wood: it should feel uniformly smooth, with no slick or tacky patches, because residue and paint feel different from bare wood. Wipe the surface with a cloth dampened with mineral spirits; bare wood darkens evenly, while hidden paint spots stay light and glossy, which is why painters call this the reveal wipe. The wood grain should show continuously, and a drop of water should soak in rather than bead on an invisible film.
Expected Timeline and Results
A simple chair with one or two coats can reach bare wood in two to three hours of work plus drying time. A door with four old coats is a full day, spread across repeated stripper rounds. Heat is faster on broad flat areas, and sanding a whole door is slow and paper-hungry, which is why sanding usually plays the finishing role rather than the lead. Expect wood that looks dramatically better and is ready for finish, not wood that looks brand new. Old pieces keep some history in dents and deep grain staining, and most people find that character is the point of stripping them.
Alternative Methods
Heat gun technique. Hold the gun a few inches from the surface on a low to medium setting, keep it moving, and scrape as the paint bubbles and softens. It is quick on flat boards and doors, but watch for scorch marks, keep it away from glass, which heat can crack, and never use high heat on paint that may contain lead. Infrared paint removers run cooler and slower, though they cost more.
Sanding as the main method. For a single thin coat on a small flat piece, an orbital sander starting at 80-grit can do the whole job. Use dust extraction and a respirator, change paper often since paint clogs it fast, and accept that sanding rounds over edges and erases detail.
Common Mistakes to Avoid
- Sanding first and testing for lead later, or never. Sanding is the fastest way to fill a room with paint dust. On pre-1978 paint, test before you make any dust at all.
- Applying stripper in a thin, brushed-out coat. Stripper is not paint; a thin coat dries before it works. Lay it on thick, in one direction, and keep it wet.
- Scraping across the grain or with too much force. Cross-grain scrapes and gouges print through every finish. Work with the grain and let softened paint come willingly.
- Skipping the residue wash. The scrape looks clean while pores still hold wax and stripper residue. The failure shows up later, when stain goes blotchy or new paint peels.
Troubleshooting & Common Problems
| Problem | Cause | Solution |
|---|---|---|
| Paint barely softens | Stripper dried out, or the coat is very old and hard | Reapply thicker, cover with plastic wrap to hold moisture, and allow the full dwell time. Repeat rather than forcing the scraper |
| Gummy sludge will not scrape clean | Several layers are melting into one sticky mass | Scrape what lifts, then scrub the remainder with steel wool and stripper wash. A second light stripper coat clears the film |
| Dark stains remain in the grain | Old pigment, water marks, or tannin stains in the wood itself | After stripping and drying, a wood bleach made for the purpose can even out color. Test in a hidden area first |
| Raised, fuzzy grain after washing | Water based washing lifted the wood fibers | Let the wood dry fully, then sand lightly with 220-grit with the grain to knock the fibers down before finishing |
Expert Tips
- Work in two-square-foot sections, always. Small sections keep stripper wet, sludge manageable, and your standards high. Big sections dry at the far end while you scrape the near one.
- Save the last scrape test for the reveal wipe. Before you declare a piece done, wipe it with mineral spirits. Bare wood darkens evenly; any spot that stays pale still holds paint and needs one more round.
When to Call a Professional
Bring in certified professionals for lead paint on doors, trim, or floors across any large area, since containment and disposal rules apply and the health stakes are real. Choose professional restoration for antiques, marquetry, and veneered pieces with sentimental or monetary value, where one gouge costs more than the service. A whole staircase or a room of built-in cabinetry is also a reasonable hire: the techniques are the same, but the scale multiplies every mess and every hour, and a crew with extraction equipment handles it faster and cleaner.
What to Do Next
Finish the wood within a few days of stripping, because bare wood picks up dirt, hand oils, and moisture from the air fast. Sand lightly, remove dust, then stain, oil, wax, or prime and paint, testing color on a hidden area first since stripped wood often takes stain darker than new wood. Seal waste bags and dispose of them under local rules for paint waste, with extra care for anything that tested positive for lead. Note what worked: the stripper brand, the dwell time, and the number of coats, because the next painted piece in an older house is usually a relative of this one.
FAQs
Which is better, a chemical stripper or a heat gun?
Neither wins everywhere. Stripper is safer for detail, carvings, and furniture, and it handles many layers. Heat is faster and cleaner on large flat surfaces like doors and boards, but it carries scorch and fire risks. Many restorers combine them: heat for broad areas, stripper for profiles and corners.
How can I tell if old paint contains lead?
Use a swab test kit on a small cut through every paint layer, since lead often sits in the oldest coats under newer safe ones. Homes built before 1978 are the risk group. A positive result changes your method completely: no dry sanding, no high heat, professional help for anything large.
Can I just paint over old paint instead of stripping?
Often, yes, and it is the smart choice when the old paint is sound and lead-free and you want a painted finish anyway. Clean it, sand to dull the gloss, prime, and paint. Strip only when paint is failing, detail is buried, or you want a clear or stained finish.
How long does chemical stripper take to work?
Most products soften paint in fifteen to thirty minutes, but very old or multiple coats can need longer, plus repeat applications. The paint tells you when it is ready: it wrinkles or blisters and lifts easily at a test scrape. Rushing the dwell time is the most common beginner mistake.
How do I remove paint from carvings and detailed moldings?
Chemical stripper does the heavy lifting because it flows into detail without cutting it. Work softened paint out with old toothbrushes, wooden sticks, and cloth wrapped around a stick tip. Avoid aggressive sanding and metal tools in profiles, since they erase the sharp edges that make detail read.
Why did my new stain look blotchy after stripping?
Blotching usually means residue: traces of stripper, wax, or old finish left in the pores take stain unevenly. The fix is thorough washing after scraping, full drying, and light even sanding. A pre-stain wood conditioner also helps on soft woods that naturally take stain unevenly.
Final Thoughts
Removing paint from wood is a choosing game before it is a working game: test for lead, pick the method that fits the piece, and let chemicals or heat do the heavy lifting. Work small sections, wash away every trace of residue, and give the wood time to dry. The grain under old paint rewards patience, and a cleanly stripped surface makes every finish look twice as good.