
Introduction
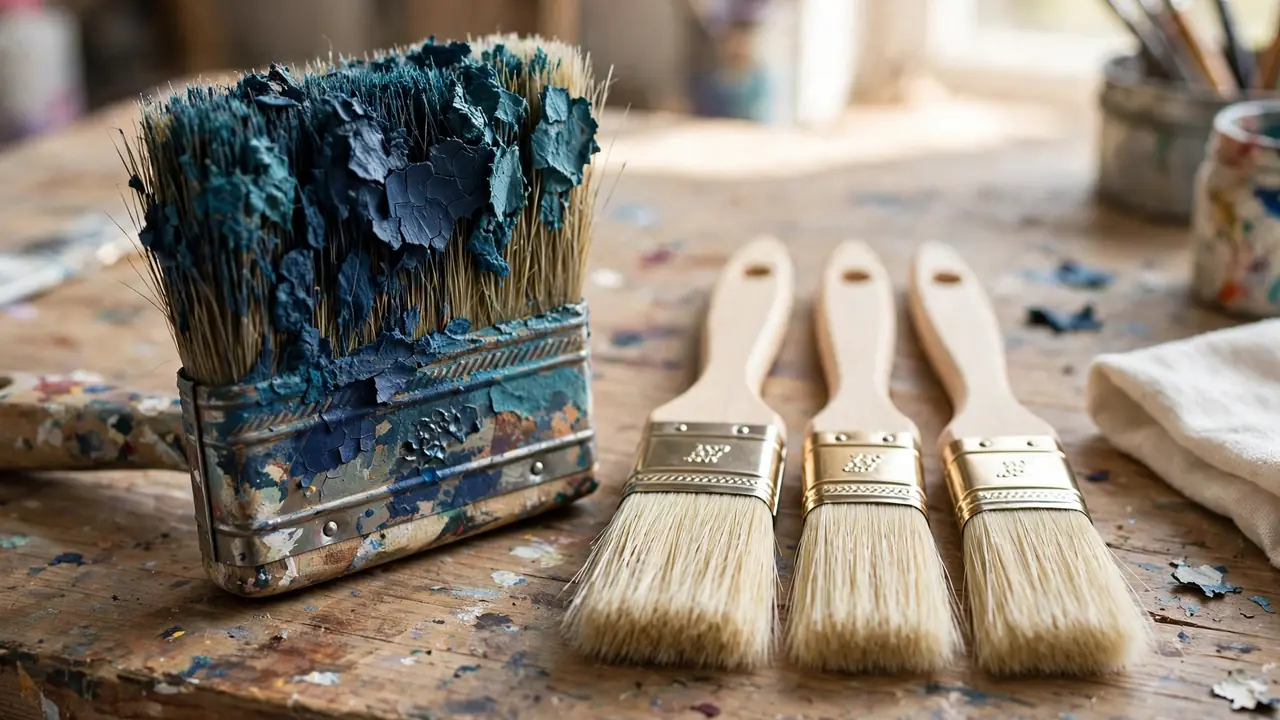
A good paint brush is not cheap, and a neglected one dies fast. Paint left in the bristles dries at the heel, the tight bundle of fibers up inside the metal ferrule, and from there it spreads. Within a few jobs the brush turns stiff, splays at the edges, and starts leaving streaks in your finish. Cleaning a brush properly takes five to ten minutes, and it is the single habit that separates brushes that last one project from brushes that last for years.
This guide covers how to clean paint brushes for both paint families: water-based latex and acrylic paints, which wash out with soap and water, and oil-based paints, which need a solvent. You will learn why the heel of the brush matters more than the tips, how a brush comb does the work your fingers cannot, and how drying and storage decide if the bristles keep their shape. It also covers rescue methods for brushes left to dry hard overnight.
Featured Snippet Answer
To clean paint brushes, wipe off excess paint, then wash water-based paint out with warm water and a little dish soap, or work oil-based paint out with mineral spirits. Massage paint from the heel of the brush, comb the bristles straight, rinse until the water runs clear, spin dry, reshape, and store flat.
Before You Begin
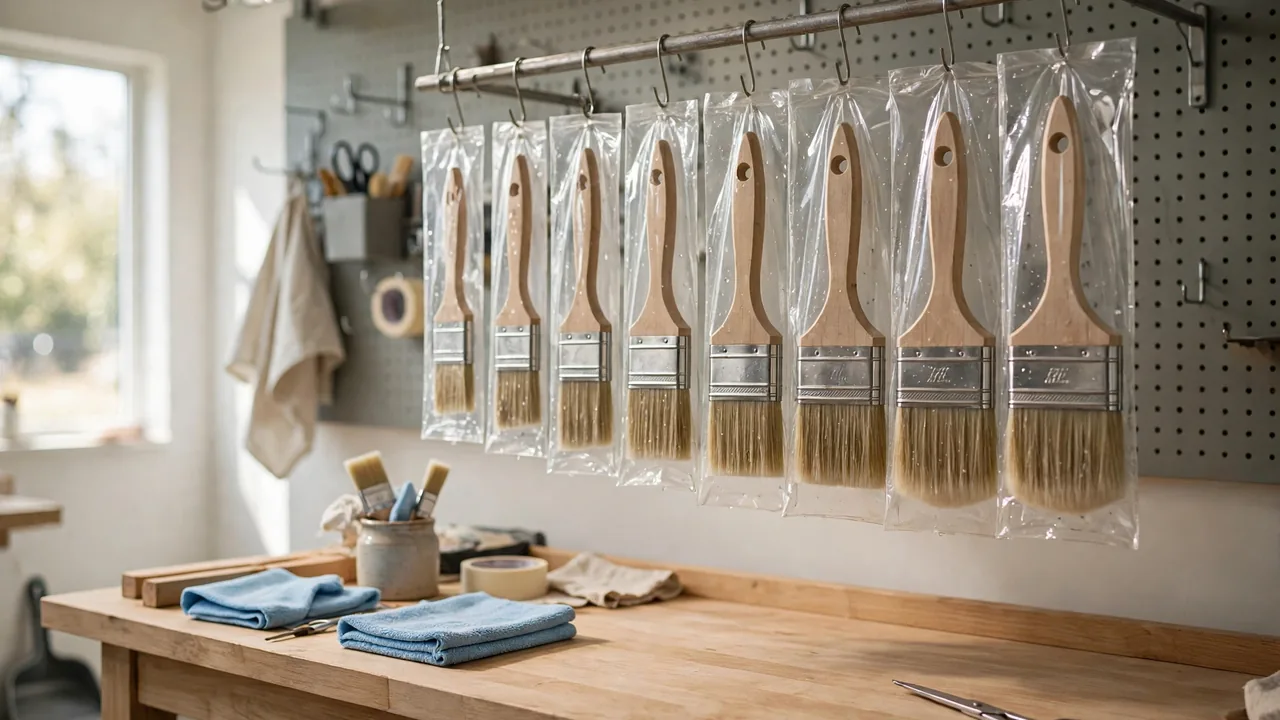
Timing is everything. A brush is easy to clean while the paint is still wet and genuinely difficult once it cures, so build cleanup into the job itself. If you pause for more than fifteen minutes, wrap the brush tightly in plastic wrap so air cannot reach the paint. A wrapped brush stays wet for hours and can even wait until the next day between coats.
Next, identify your paint type before you reach for a cleaner. Read the cleanup line on the paint can. If it says soap and water, you have a water-based paint. If it names mineral spirits, paint thinner, or denatured alcohol, you need that solvent. Using water on an oil brush just makes a sticky mess, and using solvent on a latex brush wastes money and adds fumes for nothing. Finally, decide if the brush is worth saving. A top-quality brush always is. A cheap brush with a loose ferrule and shedding bristles is not, and cleaning time is better spent on the good ones.
At a Glance
| Detail | What to know |
|---|---|
| Difficulty | Easy |
| Time needed | 5 to 10 minutes per brush, plus drying time |
| Cost | Almost nothing: soap, water, and a brush comb. Solvent for oil paint adds a few dollars |
| Skill level | Beginner |
| Best for | Any brush used with latex, acrylic, or oil paint that you plan to use again |
Things You’ll Need
| Item | Purpose |
|---|---|
| Painter’s tool or old putty knife | Scrapes excess paint from the bristles back into the can |
| Bucket or deep sink | Holds wash water so you are not running the tap the whole time |
| Warm water | The cleaning base for latex and acrylic paint |
| Dish soap or dedicated brush cleaner | Cuts the paint binder so it releases from the bristles |
| Mineral spirits | Dissolves oil-based paint. A small jar is enough for one brush |
| Brush comb | Pulls paint out of the heel and straightens bristles. The most underused tool in painting |
| Paper towels or clean rags | Blots the brush and protects your hands and sink |
| Original cardboard keeper cover | Holds the bristles in shape during storage |
| Nitrile gloves | Keeps solvent and pigment off your skin |
Safety Precautions
- Ventilate when you use solvent. Mineral spirits give off fumes that irritate lungs and eyes. Work near an open window or outdoors, and keep solvent away from pilot lights, stoves, and space heaters.
- Never leave solvent-soaked rags in a pile. Rags soaked in oil paint or solvent can heat up as they dry and, in rare cases, catch fire on their own. Lay them flat outdoors to dry fully, or store them in a sealed metal container filled with water until disposal.
- Do not pour solvent down the drain. Let used mineral spirits sit in a sealed jar; the paint solids settle to the bottom over a few days and the clear solvent on top can be poured off and reused. Dispose of the sludge and old solvent through your local household hazardous waste program.
- Wear gloves with oil paints and solvents. Repeated skin contact strips natural oils and some pigments are not skin-friendly. Nitrile gloves hold up to mineral spirits better than latex ones.
Step-by-Step Guide
- Step 1: Remove as much paint as you can. Drag the brush across the rim of the can, then work it against a piece of cardboard or folded newspaper until little paint comes off. Use the curved cutout of a painter’s tool to squeeze paint out of the bristles. Every bit you remove here is a bit you do not have to wash out.
- Step 2: Rinse or soak by paint type. For latex or acrylic, hold the brush under warm running water or swish it in a bucket of warm water. For oil paint, pour about an inch of mineral spirits into a jar, work the brush against the bottom, and let it soak for two or three minutes while the solvent softens the paint.
- Step 3: Wash with soap and work the heel. Put a drop of dish soap in your palm, add warm water, and work the brush in circles in your palm. With your fingers, push paint out starting at the heel, right where the bristles enter the ferrule, and move toward the tips. The heel is where dried paint builds up and slowly destroys brushes, so give it most of your attention.
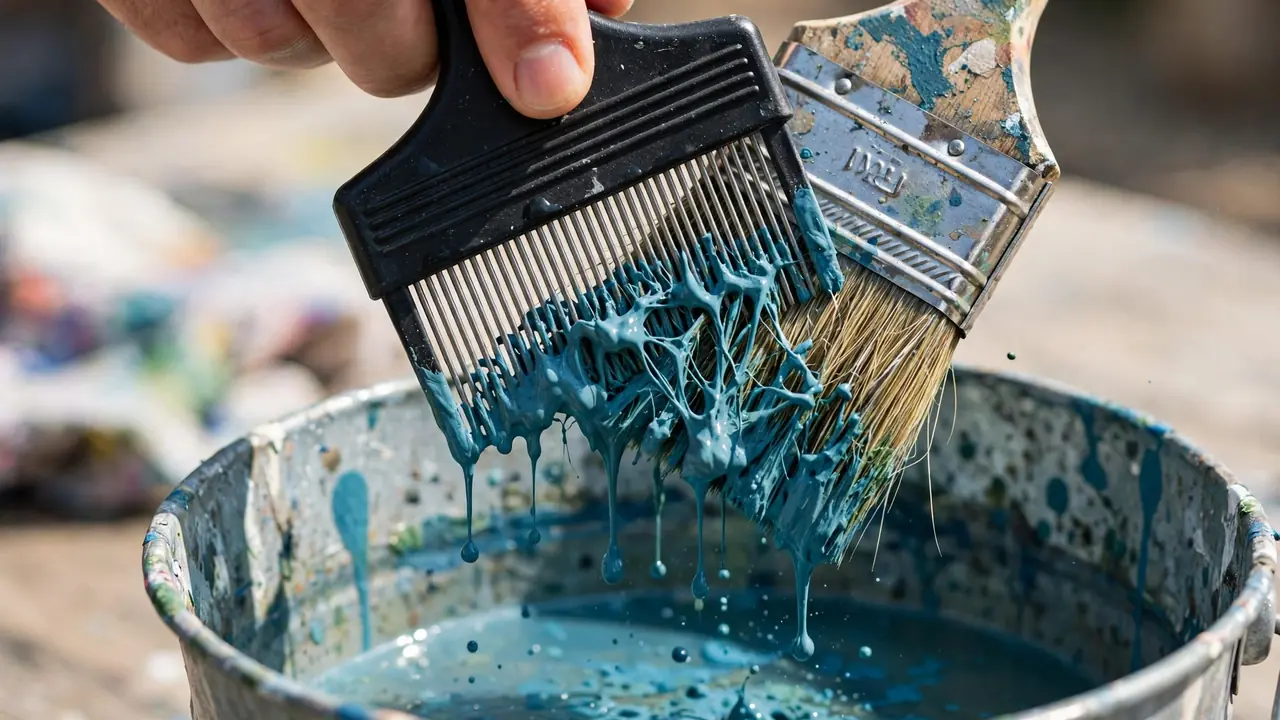
- Step 4: Comb the bristles. Run a brush comb from the ferrule outward through the bristles, several passes on each side. The comb reaches into the heel, pulls out hidden paint your fingers missed, and lines the bristles up straight. For an oil brush, comb it in the solvent first, then finish with a soap and water wash to remove the solvent itself.
- Step 5: Rinse until the water runs clear. Rinse under warm water, squeeze gently, and repeat the soap wash if the rinse water still shows color. Slimy or milky rinse water means paint remains in the heel. A clean brush rinses clear and the bristles feel silky, not gritty, between your fingers.
- Step 6: Remove the water. Shake the brush over the bucket, then blot it on a paper towel. A paint spinner does this best: clamp the handle, spin inside an empty bucket, and the brush comes out nearly dry in seconds. Never leave a brush standing in water to finish later; soaking warps the bristles and loosens the ferrule glue.
- Step 7: Reshape the bristles. While the brush is damp, use your fingers to press the bristles back into their original shape: a clean chisel edge on a flat or angled sash brush, a point on a round brush. This takes five seconds and decides if the brush paints clean lines next time or fans out.
- Step 8: Dry and store it correctly. Lay the brush flat, or hang it bristles-down, until it is fully dry. Then slide it back into its original cardboard keeper, or wrap the bristle end in a folded strip of paper taped loosely. Store brushes flat or hanging, never standing on their bristles in a jar, which bends them into a permanent curl.
How to Know You Did It Correctly
Four checks tell you the brush is truly clean. The rinse water runs completely clear, with no milky color when you squeeze the heel. The bristles feel flexible right down to the ferrule, with no stiff or crunchy section near the metal. The bristle bundle springs back to a straight, sharp edge when you press it against your palm and release it. And no paint color transfers to a clean white paper towel when you press the damp brush into it. If the heel still feels stiff, that is hidden dried paint, and one more combing pass usually frees it.
Expected Timeline and Results
Expect five to ten minutes of active work per brush. Drying takes a few hours laid flat in moving air. The payoff is large: a quality brush cleaned this way after every job can paint cleanly for years, while the same brush left dirty twice may never hold an edge again. Cleanup also gets cheaper over time, because the mineral spirits from oil cleanup can be settled, decanted, and reused many times.
Alternative Methods
A paint spinner plus a comb, sold together as a brush cleaning kit, is the professional shortcut: spin the solvent or water out, comb, spin again, and skip most of the hand washing. A dedicated brush restorer bath softens cured latex and acrylic so the comb can remove it. For a truly dead brush, skip chemicals entirely and demote it: stiff old brushes are perfect for dusting, applying glue, or painting rough fences where a good edge does not matter.
Common Mistakes to Avoid
- Cleaning with hot water. Very hot water can soften the epoxy that anchors the bristles in the ferrule and make the brush shed. Warm water is enough.
- Leaving brushes soaking upright in a can of water or solvent. The bristles bend against the bottom, the wooden handle swells and cracks, and the ferrule can rust. If a brush must pause, wrap it in plastic instead.
- Skipping the heel. Washing only the visible tips leaves paint in the ferrule that hardens a little more with every job until the brush is ruined from the inside.
- Drying the brush standing on its bristles or storing it loose in a toolbox. Both bend and splay the bundle. The keeper cover exists for a reason; use it.
Troubleshooting & Common Problems
| Problem | Cause | Solution |
|---|---|---|
| Brush is stiff as a board | Paint dried in the bristles, usually after being left out overnight | Soak in commercial brush restorer, then comb from the heel out and wash. Acrylic may free up after a long hot soapy soak |
| Bristles are splayed and fanned | Stored standing on the bristles or dried without reshaping | Wash, comb straight, shape while damp, and dry flat inside the keeper or a paper wrap to retrain the bundle |
| Brush feels sticky after cleaning | Oil paint was washed with water only, or solvent was not washed out after use | Rewash in fresh mineral spirits, comb, then wash with soap and warm water and rinse fully |
| Brush keeps shedding bristles | Hot water or long soaking loosened the glue in the ferrule, or the brush is simply worn out | Clean gently with warm water only. If shedding continues, retire the brush to rough work |
| Ferrule is loose or rusty | Long soaks and storing the brush wet | Dry brushes fully before storage. A rusty ferrule can be dried and wiped with a drop of oil; a loose one means replacement |
Expert Tips
- Clean the heel twice. Pros squeeze the heel between thumb and finger during the final rinse and feel for grit. That hidden ring of paint is behind most brush deaths.
- Use two buckets for water-based paint. A first bucket for the dirty rinse and a second with clean soapy water keeps you from washing the brush in its own paint.
- Keep the cardboard keeper for the life of the brush. It is shaped exactly to the bristle bundle and costs nothing. Most painters throw it away on day one and regret it by month two.
- Mark oil-only brushes. A strip of tape on the handle keeps a brush that has seen solvent from being grabbed for a water-based job before it is fully washed out.
What to Do Next
Make cleanup part of the painting session, not an afterthought: set up your bucket, soap, and comb before you open the paint can, and wrap the brush at every break. Retire ruined brushes to a separate box for glue and dusting so they never end up in finish paint by mistake.
FAQs
Can you save a brush with dried paint in it?
Usually, yes. Soak it in a commercial brush cleaner and restorer for several hours, then comb the softened paint out from the heel and wash normally. Dried acrylic often loosens in hot soapy water alone. A brush saved this way may lose a little snap, but it will still be fine for primer and most wall work.
How do you clean oil-based paint brushes with less solvent?
Scrape and wipe out every bit of paint first, then work the brush in a small jar with just an inch of mineral spirits. Comb in the jar, blot, and finish with soap and water. Sealed and left to settle, the same jar of spirits can be reused many times as the solids sink to the bottom.
Is dish soap good enough, or do I need brush cleaner?
Dish soap is enough for routine cleaning of water-based paint, and for the final wash after solvent. Dedicated brush cleaners earn their keep on dried paint and on brushes that feel stiff even after washing, because they are made to dissolve cured binder rather than fresh paint.
How long should a good paint brush last?
With proper cleaning and storage, a quality brush lasts for years of regular use, often through dozens of projects. Brushes die from dried paint in the heel, bent bristles, and loose ferrules, all of which trace back to cleaning and storage rather than to painting itself.
Can I use the same brush for latex and oil paint?
You can if you clean it completely between jobs, finishing oil cleanup with a soap and water wash so no solvent residue remains. Many painters still dedicate brushes to one paint family, because a trace of oil left in the heel can cause fisheyes and poor adhesion in a water-based finish.
Why is my brush stiff after I cleaned it?
Stiffness after cleaning almost always means paint is still cured inside the heel, even if the tips feel clean. Soak the brush, then comb firmly from the ferrule outward and repeat the soap wash. If the stiffness sits at the very tips, dried paint there can be flexed and combed out once it is softened.
How should I store brushes between coats on the same day?
Do not wash them at all. Wrap the bristle end tightly in plastic wrap or seal the brush in a plastic bag with the handle sticking out, and keep it out of the sun. The paint stays wet for hours, and the brush goes straight back to work. Wash fully only when the job is done.
Final Thoughts
Cleaning a paint brush well is a short routine: remove the excess, match the cleaner to the paint, work the heel, comb the bristles, rinse clear, spin or shake dry, reshape, and store flat in its keeper. Ten minutes of care after each job keeps a good brush painting sharp lines for years.