Introduction
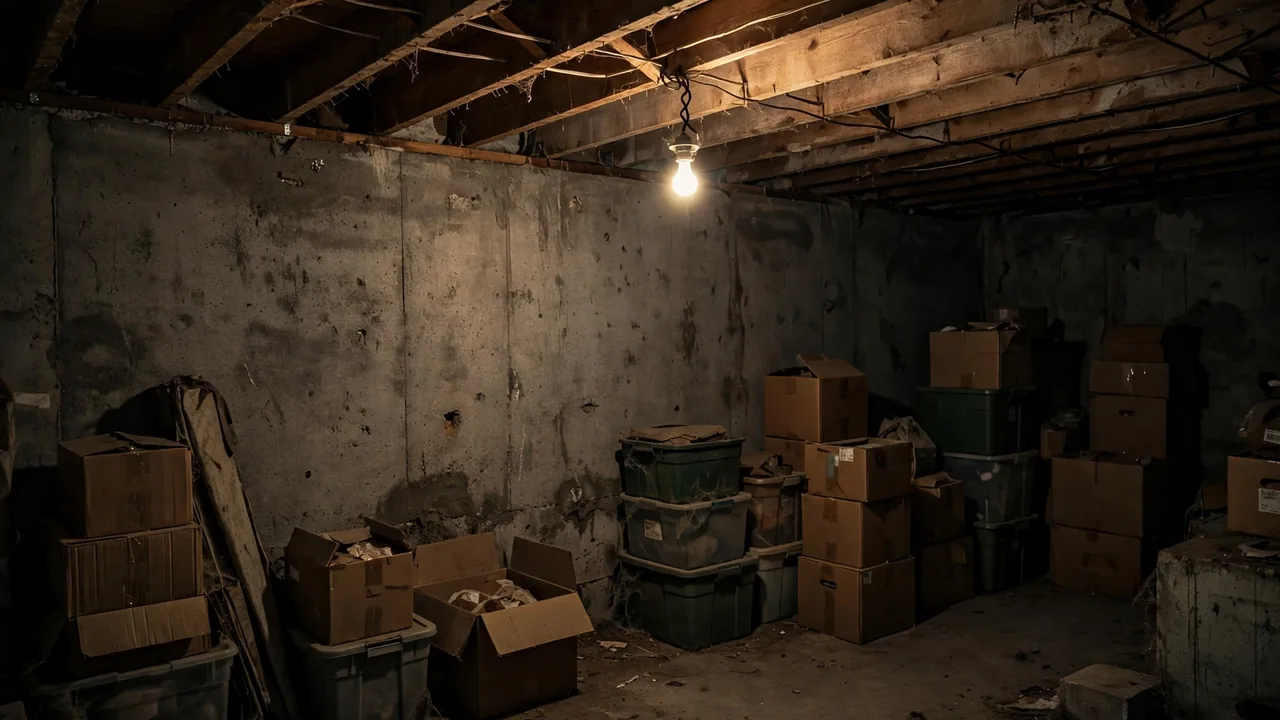
An unfinished basement is the cheapest square footage you will ever add to your home, because the walls, floor, and roof already exist. Learning how to renovate a basement turns storage space into a family room, a guest suite, a home office, or a rental-ready apartment. The catch is that basements are below ground, and everything about the project, moisture, light, ceiling height, and escape routes in an emergency, flows from that one fact.
This guide walks the full process in build order: moisture and code checks, layout, framing, rough plumbing and electrical, insulation, and finishing. It also covers costs at DIY and contractor levels, the mistakes that make finished basements fail, and the inspections that keep the space legal and insurable.
Featured Snippet Answer
To renovate a basement, first test for and fix moisture, then confirm ceiling height and egress meet local code, get permits, frame walls, run rough plumbing and electrical, insulate, hang drywall, and finish with flooring and trim. A typical finish costs $30 to $75 per square foot with a contractor or $15 to $35 per square foot done yourself.
Before You Begin

Measure your ceiling height from slab to the bottom of the joists. Most codes require about 7 feet of finished ceiling height in living spaces, with limited allowances for beams and ducts, and a basement that cannot meet it legally should not become a bedroom. Check your local rules early, because they decide the whole project. Note where the furnace, water heater, electrical panel, main water shut-off, and sewer line sit; your layout must keep access to all of them.
Now investigate water like it is your job, because it is. Look for efflorescence, water stains at the floor line, musty odor, and rust at the base of metal posts. Tape a two-foot square of plastic sheeting tightly to the wall and floor for 48 hours; condensation behind it means moisture is moving through the concrete. Spend one heavy rainstorm watching where water appears outside: downspouts, grading, and window wells cause most basement dampness, and they are cheap to fix.
At a Glance
| Factor | Details |
|---|---|
| Typical total cost | $15,000 to $75,000 for a typical basement, depending on size and finishes |
| Cost per square foot | $15 to $35 DIY; $30 to $75 with a contractor |
| Difficulty | Moderate to high; framing and drywall are DIY friendly, systems need care |
| Skill level | Intermediate DIY with licensed help for electrical, plumbing, and egress |
| Timeline | 4 to 10 weeks for a typical finish; longer with a bathroom addition |
| Permit needed | Yes in most areas, plus an egress window for any bedroom |
| Biggest risk | Water intrusion behind finished walls |
| Best for | Adding living space, a guest room, office, gym, or media room |
Things You’ll Need
| Item | Purpose |
|---|---|
| Moisture meter and plastic sheeting test | Confirms the slab and walls are dry enough to finish safely |
| Tape measure and graph paper or a planning app | Produces a scaled layout for permits, framing, and material counts |
| Pressure-treated lumber for bottom plates | Resists moisture where framing touches the concrete floor |
| Standard studs, a framing nailer or screws, and shims | Builds the wall frames a small gap off the foundation walls |
| Rigid foam board or spray foam insulation | Insulates foundation walls without trapping moisture like fiberglass batts can |
| Drywall, joint compound, and screws | Forms the finished wall and ceiling surfaces |
| Luxury vinyl plank or tile flooring | Handles basement moisture conditions that destroy solid wood and cheap laminate |
| An egress window kit where a bedroom is planned | Provides the emergency escape opening code requires for sleeping rooms |
Safety Precautions
Test for radon before you finish the space; basements are where radon enters. Test kits are inexpensive, and a mitigation system typically costs $800 to $2,000 if your level runs high. Check for asbestos in old pipe insulation and floor tiles before disturbing them, and test painted surfaces for lead in older homes. Wear a respirator during demolition and concrete work. Keep the electrical panel accessible and never bury junction boxes behind drywall, because code forbids it.
Step-by-Step Guide
Step 1: Fix Water and Grade the Space Honestly
Solve water before cosmetics. Extend downspouts at least 6 feet from the foundation, regrade soil so it slopes away from the house, seal cracks, and add a sump pump with a battery backup if groundwater is present. Apply a quality waterproof coating only as a supplement, never as the whole plan. If the basement floods, stop and fix the source, even if that means watching the space through one wet season before finishing.
Step 2: Design the Layout Around the Fixed Points
Draw the plan around what cannot move: the furnace, water heater, panel, support posts, and the sewer line. Put the bathroom, if you add one, near the existing main drain to keep plumbing affordable, because below-grade drains may need an ejector pump. Keep a mechanical room unfinished with clear access, and plan ceiling access panels below every valve and cleanout.
Step 3: Pull Permits and Confirm Egress
File for building, electrical, and plumbing permits with your layout drawing. The inspector will confirm ceiling height, egress sizing, and detector placement. A legal egress window typically needs a clear opening of about 5.7 square feet with minimum width and height dimensions and a sill no more than 44 inches above the floor; your local code gives the exact figures.
Step 4: Frame the Walls
Frame walls one inch off the foundation so the frame stays plumb even where the concrete waves, and so condensation never touches wood directly. Use pressure-treated bottom plates on the slab. Frame around ducts and pipes with soffits rather than lowering the whole ceiling, and box support posts into columns. Keep framing straight and consistent at 16 inches on center where walls will carry drywall and doors.
Step 5: Run Rough Plumbing and Electrical
With walls open, plumbers and electricians do their rough work: drain and supply lines for a bathroom or bar sink, an ejector pump if the drain sits too high, circuits for lighting, outlets, and dedicated lines for a space heater or media equipment. Recessed lights rated for insulation contact, a hardwired smoke and CO detector network, and generous outlet spacing are far cheaper now than after drywall.
Step 6: Insulate the Foundation Walls
Insulate the exterior walls, not the ceiling, in most finished basements, because the living space should sit inside the thermal envelope. Rigid foam board glued to the concrete, seams taped, insulates while letting the wall dry slowly inward, and avoids the mold problems fiberglass batts against cold concrete can grow. Spray foam does the same job faster at a higher price. Meet your local energy code R-value, and seal the rim joist area above the walls, which is one of the biggest air leaks in any house.
Step 7: Hang and Finish Drywall
Hang drywall on walls and, for the cleanest look, on the ceiling too. A drywall ceiling hides everything but creates access problems, so install labeled access panels below shut-off valves, cleanouts, and junction points before you close it. Tape, mud, and sand to a smooth finish; basement light shows every seam at glancing angles, so skim carefully and prime before paint.
Step 8: Lay Flooring Made for Below Grade
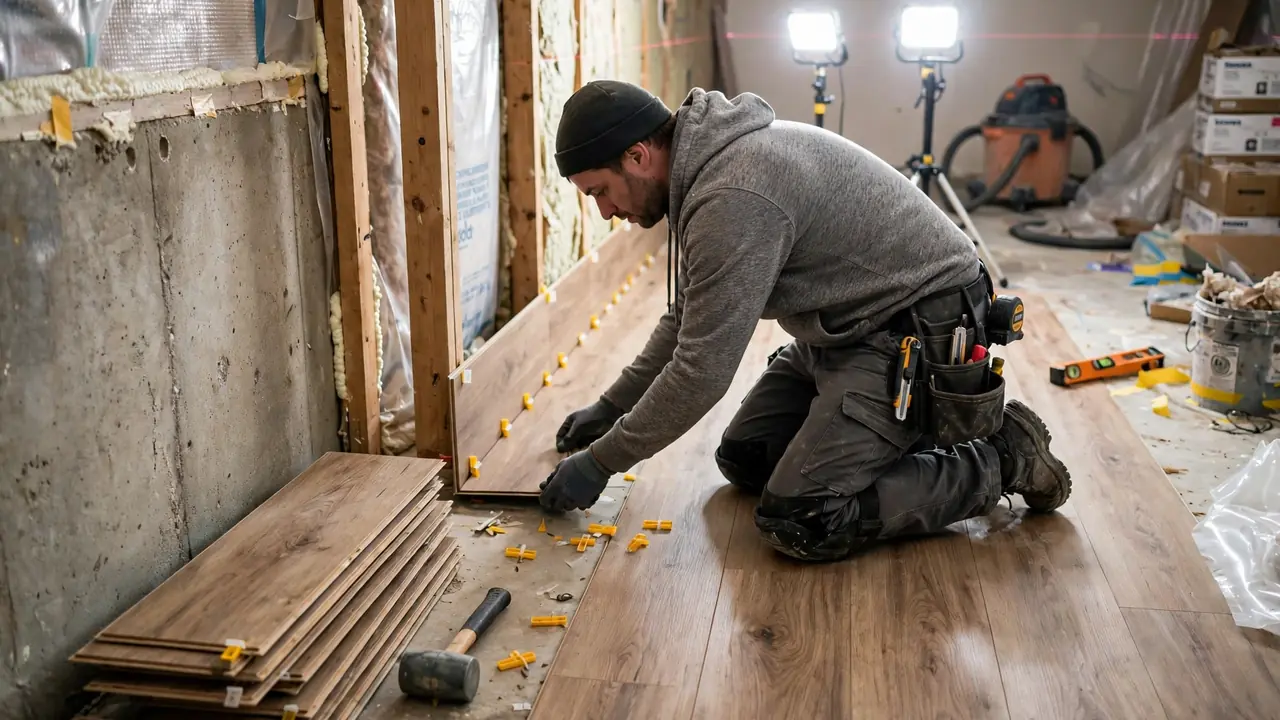
Choose flooring that ignores moisture: luxury vinyl plank, porcelain or ceramic tile, and engineered products rated for basements all work. Avoid solid hardwood and cheap laminate. Test the slab for moisture again before installing, use the underlayment or vapor barrier the manufacturer specifies, and consider a subfloor panel system if the slab runs cold.
Step 9: Trim, Paint, and Finish the Details
Install doors, baseboards, and trim, then paint with a quality latex in a light, warm color to counter limited natural light. Layer lighting with recessed lights, lamps, and dimmers for a media area. Add a heat source sized for below-grade losses and a dehumidifier with a drain line. Close out with final inspections, and keep the permit record with your house documents, because permitted finished space counts at appraisal and unpermitted space often does not.
How to Know You Did It Correctly
A basement renovation is done right when the space stays dry through a heavy rain, humidity sits between 30 and 50 percent, and the room holds a comfortable temperature. Every valve, cleanout, and the panel remain reachable through panels you can open by hand. The egress window opens fully from inside without tools, detectors are installed and interconnected, and final inspections are signed off and filed.
Expected Timeline and Results
A straightforward DIY finish of a 600 to 1,000 square foot basement takes four to ten weeks of regular work, with inspection waits built in. Adding a bathroom adds two to four weeks and the most cost. A contractor-run project often finishes in four to eight weeks. The result is real living space that appraisers can count when it is permitted and meets code for ceiling height and egress, and that your household uses daily.
Alternative Methods
A full renovation is not the only route. A partial finish, framing and finishing one large room while leaving the rest as clean storage, delivers most of the daily benefit at half the cost. A drywall-free approach with painted joists and an industrial look cuts ceiling cost and keeps every pipe reachable forever. Wall panel systems sold for basements install fast and come in moisture-tolerant materials, though they cost more per square foot than drywall. At the lightest end, deep cleaning, sealing and painting the floor, and good lighting can make a raw basement genuinely pleasant for a workshop or gym without any permits at all, as long as nobody sleeps there.
Common Mistakes to Avoid
- Finishing before fixing water. New drywall over an active leak is a mold farm with a paint job.
- Putting fiberglass batts directly against cold foundation walls, where condensation collects inside the insulation.
- Skipping permits, then discovering the space does not count as living area at appraisal or resale.
- Building a bedroom without a legal egress window.
- Closing the ceiling with no access to valves, cleanouts, and the main shut-off.
- Forgetting heat and dehumidification, then wondering why the new room feels damp and smells musty by July.
Troubleshooting
| Problem | Cause | Solution |
|---|---|---|
| Musty smell after finishing | Humidity above 55 percent or a small hidden leak at a wall base | Run a dehumidifier with a drain line; inspect wall bases and window wells for the source |
| Condensation on walls in summer | Warm humid air meeting cold foundation behind the finish | Improve foam insulation coverage and air sealing; dehumidify the space |
| Sewer smell near the new bathroom | Dry trap or a venting problem on the ejector pump basin | Pour water into floor drains monthly; have the vent line checked by a plumber |
Expert Tips
- Spend the first money on a battery-backed sump pump and longer downspout extensions. They protect every dollar you spend afterward.
- Put the bathroom rough-in in even if you finish the bathroom later. Opening the slab twice is the most avoidable expense in basement work.
- Photograph and label every access panel location on a printed plan stored in the mechanical room.
When to Call a Professional
Hire out the egress window cut and install, because it means cutting a foundation wall, proper lintel support, and a window well with drainage. Electrical panel work and new circuits, gas lines, and the ejector pump plumbing belong to licensed trades in most areas. Structural changes, such as moving a support post or underpinning to gain ceiling height, require an engineer; underpinning alone can cost $15,000 to $30,000. Active water intrusion that survives grading and downspout fixes calls for a waterproofing contractor who will warranty the result.
What to Do Next
Run the moisture tests this week: tape the plastic squares, watch the next rainstorm, and test for radon. Measure ceiling height, then call the building department with three questions: finished ceiling minimum, egress requirements, and required permits. Sketch your layout around the fixed mechanical points, then price the project both ways: DIY with hired trades for the licensed parts, and full contractor. Start only when the water story is proven and the permits are in hand.
FAQs
How much does it cost to renovate a basement?
A typical basement finish costs $15 to $35 per square foot done yourself and $30 to $75 per square foot with a contractor. A 800-square-foot basement therefore lands around $12,000 to $28,000 DIY or $24,000 to $60,000 hired out. Adding a bathroom adds $8,000 to $20,000 depending on how far the space sits from the main drain and if an ejector pump is required.
Do I need a permit to finish my basement?
In most jurisdictions, yes. Finishing a basement usually requires building, electrical, and plumbing permits with rough and final inspections. The permit process confirms ceiling height, egress, detector placement, and safe wiring, and it makes the space count as legal living area. Unpermitted finished basements can create problems at resale, refinance, and insurance claims, so the permit is cheap protection.
What ceiling height do I need to finish a basement?
Most codes require about 7 feet of finished ceiling height in living spaces, with limited exceptions allowing beams, ducts, and soffits to drop lower over small areas. Measure from the slab to the joists, then subtract flooring and ceiling thickness to get your true finished height. If the number falls short, a legal bedroom is usually off the table. Always confirm the exact figure with your local building department.
Can I add a bedroom in my basement?
Yes, if the room has a legal egress window or door to the outside, the required ceiling height, a heat source, and smoke and carbon monoxide detectors that meet code. The egress opening lets a person escape and a firefighter enter, and it is checked at inspection.
What is the best flooring for a finished basement?
Luxury vinyl plank is the most popular choice because it is waterproof, warm underfoot compared with tile, and forgiving of slightly uneven slabs. Porcelain tile is the most durable and the coldest option. Avoid solid hardwood and budget laminate, which absorb moisture and fail early below grade.
How long does it take to renovate a basement?
Four to ten weeks for a typical finish, once permits are approved. Moisture fixes and permit review happen before that clock starts and can add several weeks. A bathroom addition, foundation work for an egress window, and inspection scheduling are the usual schedule extenders.
Final Thoughts
A basement renovation succeeds in a strict order: prove the space is dry, confirm the code numbers, permit the work, then frame, wire, insulate, and finish. Done in that order, $30 to $75 per square foot with a contractor, or half that with your own labor, buys the most affordable new living space your house can offer. Respect the sequence, and the lowest floor of your house becomes one of the most used.