Introduction
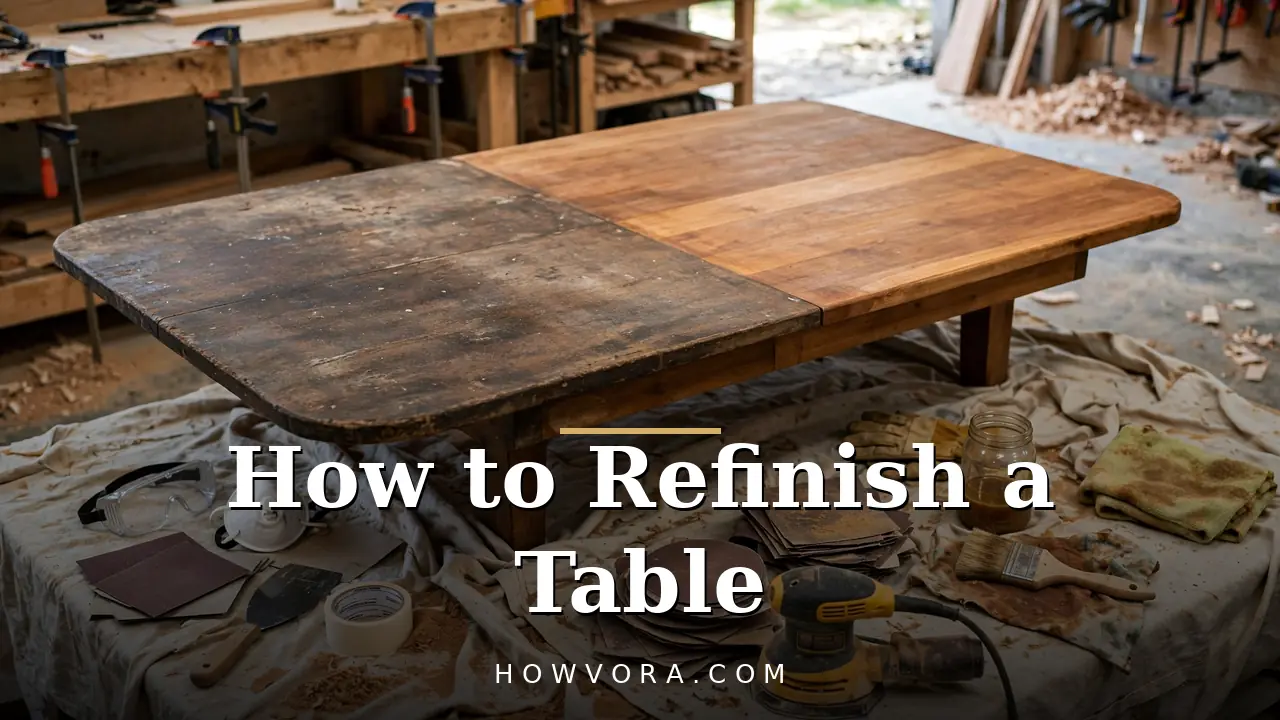
A worn table hides in plain sight. The wood underneath the rings, scratches, and cloudy finish is usually sound; it is only the surface that has failed. Refinishing strips away that tired top layer and rebuilds it, and the difference between a frustrating weekend and a satisfying one is almost entirely process, not talent.
This guide walks you through refinishing a wooden table the reliable way: test what you have, strip or sand down to clean wood, repair the small stuff, sand through the right grit sequence, stain if you want color, and seal with a finish matched to how the table gets used. Follow the order and let each coat dry fully, and the result looks like furniture, not a craft project.
Featured Snippet Answer
To refinish a table, remove the old finish with chemical stripper or by sanding, then sand bare wood through 120, 150, and 220 grit. Wipe clean, apply stain if desired and let it dry, then seal with two to three thin coats of polyurethane or your chosen finish, sanding lightly with 320 grit between coats.
Before You Begin
First, find out what you own. Solid wood refinishes beautifully. Veneer, a thin layer of fine wood glued over a cheaper core, also refinishes well but punishes aggressive sanding, because sanding through the veneer is permanent. Check an edge or the underside: if the grain pattern wraps naturally and the underside shows similar wood, it is likely solid. If the top looks perfect but the edge shows layered material, treat it as veneer and sand gently by hand near edges.
Next, test the existing finish. Dab a cotton ball with denatured alcohol on a hidden spot. If the finish softens and gets sticky, it is shellac. If lacquer thinner softens it, it is lacquer. If neither works, you likely have varnish or polyurethane, which needs stripper or sanding. Knowing this takes two minutes and can save hours, because shellac and lacquer dissolve far more easily than polyurethane.
Set your expectations on time. A dining table typically takes one full weekend of active work spread across two to three days, mostly waiting for stripper, stain, and finish coats to dry. Difficulty is moderate: no step is hard, but skipping drying time or rushing the sanding sequence shows in the final surface.
Choosing the Right Approach
Two decisions shape the whole job: how you remove the old finish, and what you seal with. Stripper does the heavy lifting on detailed or curved pieces; sanding alone works on flat, simple tops. For the final finish, match durability to use.
| Finish | Durability | Look | Drying between coats | Best for |
|---|---|---|---|---|
| Water-based polyurethane | High | Clear, minimal color change | 2 to 3 hours | Dining and kitchen tables, light wood |
| Oil-based polyurethane | Very high | Warm amber tone | 8 to 12 hours | Heavy-use family tables |
| Danish oil or hardwax oil | Moderate, easy to repair | Natural, low sheen, in-the-wood feel | 12 to 24 hours | Side tables, desks, a natural look |
| Lacquer | High but brittle | Smooth professional sheen | Under 1 hour | Experienced finishers with spray gear and ventilation |
At a Glance
| Factor | Details |
|---|---|
| Difficulty | Moderate; simple steps, but patience with drying times is essential |
| Time | 6 to 10 hours of active work across 2 to 3 days |
| Cost | Roughly $40 to $120 in supplies if you own basic tools |
| Skill level | Beginner to intermediate |
| Best for | Solid wood or veneer tables with worn, scratched, or cloudy finishes |
Things You’ll Need
| Item | Purpose |
|---|---|
| Chemical stripper and a plastic scraper | Softens and lifts old finish without heavy sanding |
| Random orbital sander plus a sanding block | Levels the top; the block handles edges and details safely |
| Sandpaper: 80 or 100 (if needed), 120, 150, 220, and 320 grit | Progressive smoothing from bare wood to finish-ready |
| Tack cloths and mineral spirits | Removes dust before staining and between coats |
| Wood filler matched to your wood tone | Fills dents, chips, and small cracks before finishing |
| Stain (optional) and lint-free rags | Adds color; rags control how much stays on the wood |
| Your chosen topcoat and a quality brush or foam applicator | Seals and protects the surface |
| Respirator or dust mask, gloves, eye protection | Protects you from dust, stripper fumes, and finish vapors |
| Drop cloths and painter’s tape | Protects floors and masks anything you do not refinish |
Safety Precautions
- Ventilate. Strippers and oil-based finishes release strong fumes. Work outdoors or in a garage with moving air, and keep ignition sources away.
- Wear gloves with stripper. Gel strippers burn skin on contact. Chemical-resistant gloves and eye protection are not optional here.
- Dispose of oily rags safely. Rags soaked in oil finish or stain can self-heat and ignite as they dry. Lay them flat outdoors to dry fully, or store them in a sealed metal container with water, and follow your local disposal rules.
- Control dust. Old finishes can contain pigments you do not want to breathe. Wear a respirator while sanding, and if the piece might predate modern paint rules, avoid dry-sanding unknown coatings without testing.
Step-by-Step Guide
Step 1: Clean and inspect. Wash the table with a mild detergent solution to remove grease, wax, and polish buildup, then let it dry. Mark dents, loose joints, and damaged spots with painter’s tape so nothing gets forgotten mid-project.
Step 2: Remove the old finish. Brush on a thick layer of stripper, keep it wet for the time the label directs, then lift the softened finish with a plastic scraper, working with the grain. Repeat on stubborn areas. If you are sanding instead, start with 80 or 100 grit and remove every trace of shine. Finish left in patches will block stain and show through the new coat.
Step 3: Wash off stripper residue. Wipe the surface with the neutralizer or solvent your stripper label specifies, often mineral spirits or denatured alcohol, using a clean rag or fine abrasive pad. Residue left behind causes blotchy stain and poor adhesion later.
Step 4: Repair before you sand. Press wood filler into dents and chips slightly above the surface, let it harden, and glue and clamp any loose joints now. Repairs made after staining stand out, because filler takes color differently than wood.
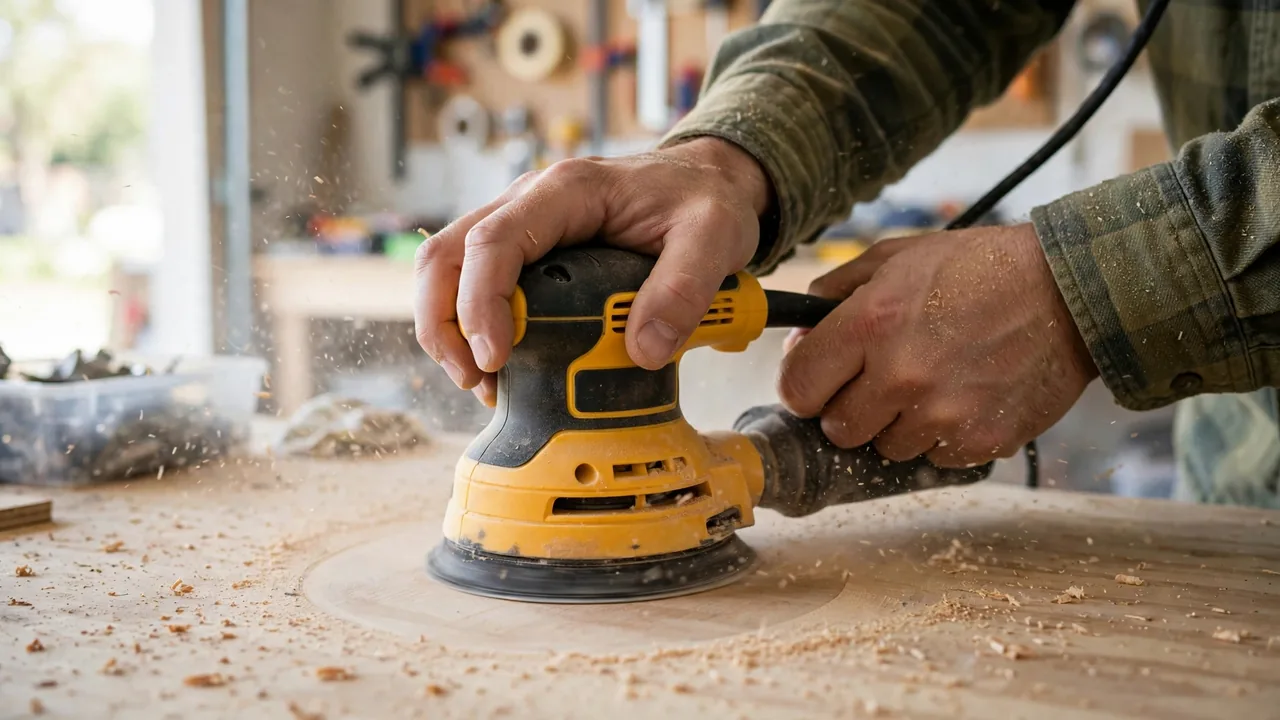
Step 5: Sand through the grit sequence. Sand the whole piece at 120 grit, then 150, then 220, always moving with the grain and wiping dust off between grits. Do not skip grits: each one removes the scratches of the one before, and jumps leave swirl marks that stain makes obvious. Stop at 220 for most finishes; sanding finer can polish the wood so much that stain absorbs unevenly.
Step 6: Do a final dust removal. Vacuum, then wipe with a tack cloth until it comes away clean. Run your palm across the surface in good light. Your hand finds roughness your eyes miss, and dust nibs left now become permanent bumps under the finish.
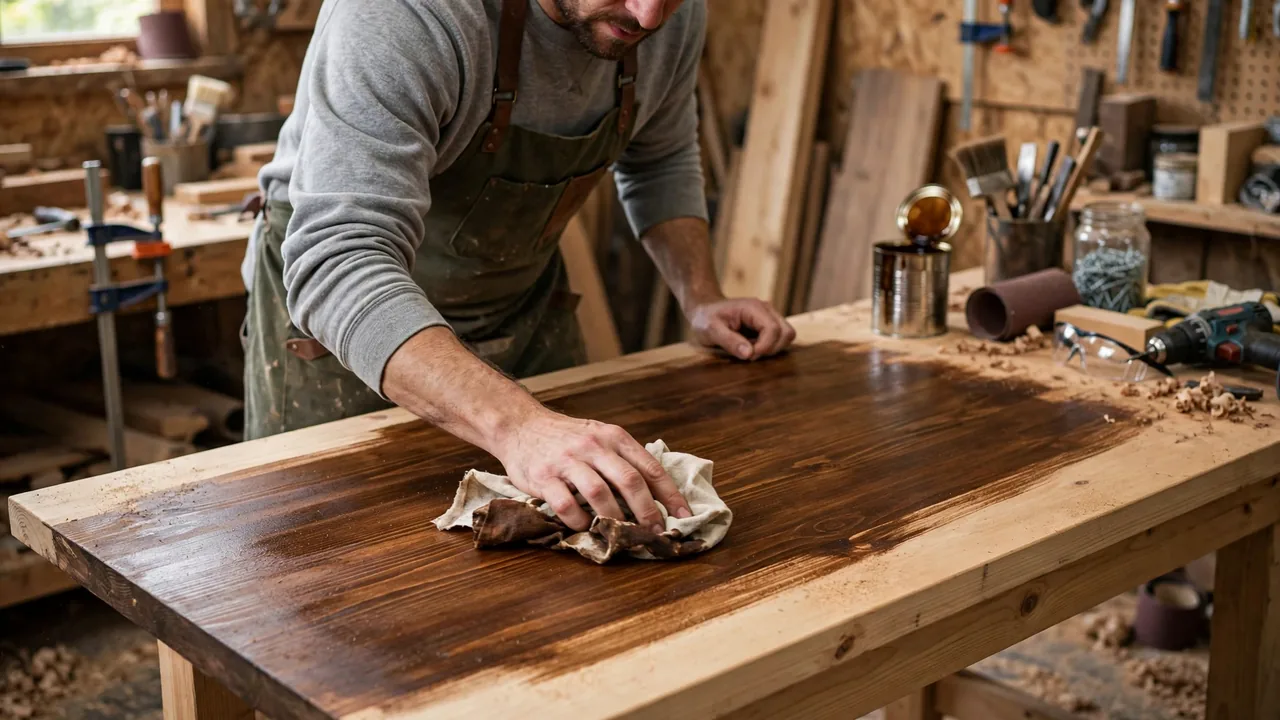
Step 7: Stain, if you want color. Stir the stain, apply it generously with a rag or brush along the grain, let it sit for the minutes the label suggests, then wipe off the excess with a clean rag. Longer sitting means deeper color. Test first on the underside or a leg, because the same stain looks different on every wood species. Let the stain dry fully, typically overnight for oil-based products.
Step 8: Apply the first topcoat thin. Brush or wipe on a thin, even coat, working along the grain and tipping off bubbles by dragging the brush lightly over the wet surface. Thin coats dry smooth; thick coats wrinkle, drip, and stay soft. Let it dry the full time on the label.
Step 9: Sand lightly and repeat. Once dry, sand gently with 320 grit until the surface feels smooth, remove dust with a tack cloth, and apply the second coat. Most tables need two to three coats of polyurethane. Let the final coat cure as directed, often several days before heavy use, even if it feels dry to the touch sooner.
How to Know You Did It Correctly
Run your hand across the top with your eyes closed. A good refinish feels uniformly smooth with no rough patches, sticky spots, or raised grain. In raking light from a window, the sheen should look even, with no cloudy areas, visible brush ridges, or spots where old finish ghosts through. Water beaded on the surface rather than soaking in confirms the seal is working.
Expected Timeline and Results
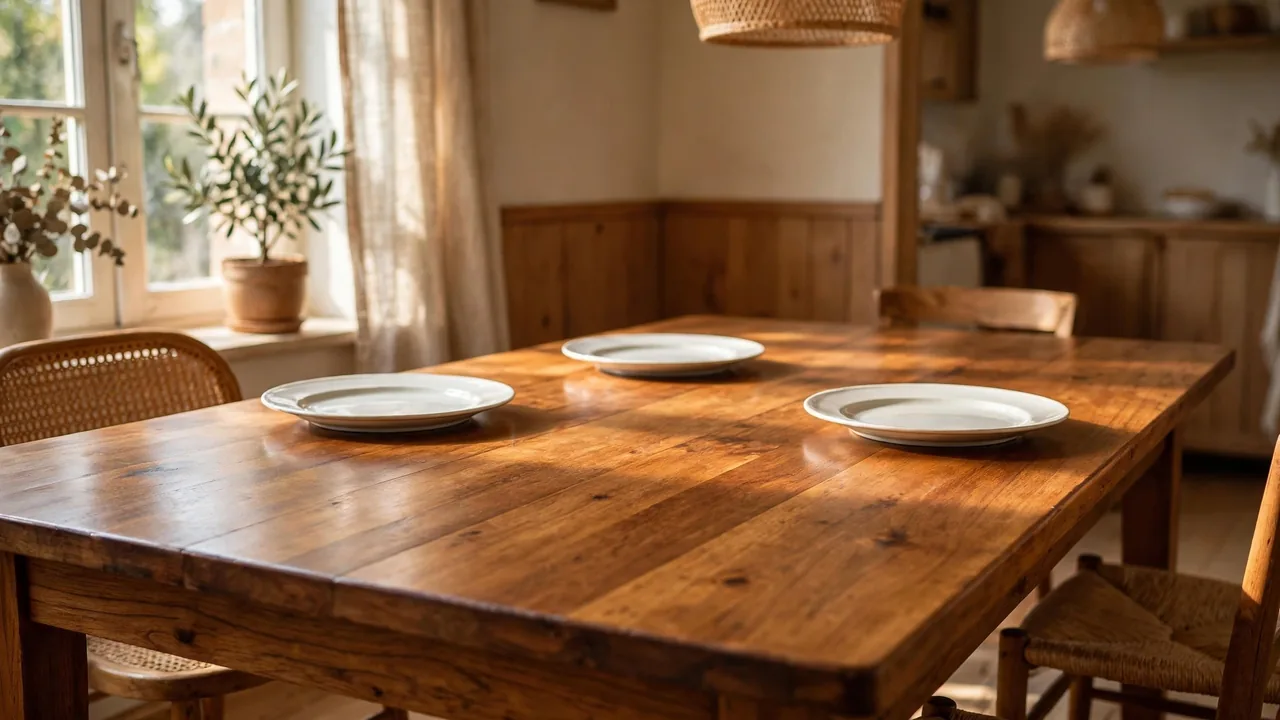
Stripping and sanding take half a day for a typical dining table. Stain adds an overnight dry. Topcoats add a day or two depending on the product, and full curing for hard use can take a week for water-based polyurethane and longer for oil-based. The result, if you respected the sequence, is a table that looks restored rather than painted over, with grain visible and a surface that shrugs off cups and plates.
Alternative Methods
If the finish is intact but dull, a full refinish may be overkill. Cleaning, a light scuff-sand with 320 grit, and one fresh coat of a compatible finish can revive it in an afternoon; this is called recoating, and it only works if the old finish is sound and you know it is compatible. Gel stain applied over a lightly sanded existing finish can shift color without stripping, though the result is more translucent paint than true stain and wears differently. Paint is the other honest alternative: if the wood is badly stained or a patchwork of repairs, a quality painted finish looks intentional rather than failed. Choose stripping and refinishing when the wood itself is worth showing.
Common Mistakes to Avoid
- Skipping a grit. Jumping from 100 to 220 leaves deep scratches that stain turns into dark lines.
- Sanding against the grain or bearing down. Both carve marks that only appear after staining, the worst moment to discover them.
- Staining over leftover finish. Any shiny patch blocks stain and prints through as a pale ghost.
- Applying thick topcoats. Thick coats sag, trap bubbles, and dry soft. Two thin coats beat one thick coat every time.
- Rushing recoat times. A coat that feels dry can still be soft underneath; recoating too soon wrinkles the surface.
- Burning through veneer. On veneered tops, aggressive machine sanding eats through in seconds. Hand-sand edges and go gently everywhere.
Troubleshooting and Common Problems
| Problem | Cause | Solution |
|---|---|---|
| Blotchy, uneven stain | Uneven sanding, leftover finish, or soft wood absorbing at different rates | Sand back evenly, consider a pre-stain conditioner on pine or maple, and re-stain |
| Bubbles in the topcoat | Shaking the can, brushing too fast, or a warm surface | Sand smooth with 320 grit when dry, stir finish gently instead of shaking, and apply thinner coats |
| Sticky finish days later | Coat too thick, humidity, or recoating before the layer cured | Give it more time in a dry room; if it stays tacky, strip that coat and reapply thin |
| White rings or cloudiness under the new finish | Moisture trapped from the old surface or wet wood | Let the wood dry fully before finishing; severe cases need sanding back and starting the topcoat again |
| Rough, gritty feel after the final coat | Dust settled while the coat dried | Sand lightly with 320 or 400 grit, tack clean, and add one final thin coat in a cleaner space |
Expert Tips
- Raise the grain on purpose. After your final sanding, wipe the wood with a damp cloth and let it dry. The whiskers that rise get sanded off now instead of swelling up under your first coat.
- Strain old finish through a paint filter. If you are reusing a partly used can, straining removes skins and lumps that cause gritty coats.
- Finish the underside too. Sealing the bottom, even with one coat, slows moisture exchange and helps the top stay flat instead of cupping.
- Keep a wet edge. On wide tops, work in sections and always brush back into the still-wet area to avoid lap marks.
- Label your sandpaper progression on the piece. A pencil note on the underside recording grits and products used makes future touch-ups simple.
When to Call a Professional
Call a furniture restorer if the table is a genuine antique, since stripping an original finish can cut its value sharply; a conservator can often repair the existing finish instead. Hire help also for deep structural damage, extensive veneer loss, or a finish you suspect contains hazardous old coatings you are not equipped to handle. A pro refinishing job for a dining table commonly costs several hundred dollars, which is worth it when the piece itself is valuable or sentimental.
What to Do Next
Test your finish type in a hidden spot today, and buy supplies against the list above so the project does not stall mid-weekend. Protect the cured top with felt pads under anything heavy, use coasters and trivets for the first month while the finish reaches full hardness, and clean with a damp cloth rather than silicone polishes, which complicate any future recoat.
FAQs
Can you refinish a table without sanding?
Partly. Chemical stripper removes most finishes with far less sanding, and gel stain or paint can go over a cleaned, lightly scuffed surface. But bare-wood staining needs all old finish gone, and some sanding is almost always part of getting there evenly.
How long does it take to refinish a table?
Plan on 6 to 10 hours of hands-on work over two to three days for a dining table. Most of the calendar time is drying: stripper, stain, and each topcoat all have their own windows that should not be rushed.
What grit sandpaper should you use to refinish a table?
Work through 120, 150, and finish at 220 grit on bare wood, sanding with the grain and clearing dust between grits. Use 320 grit lightly between topcoats. Drop to 80 or 100 grit only to remove stubborn finish or level damage.
How many coats of polyurethane does a table need?
Two to three thin coats suit most tables. High-traffic dining tables benefit from three. What matters more than the count is sanding lightly between coats and letting each one dry fully.
Can you refinish a veneer table?
Yes, with care. Use stripper rather than heavy sanding, hand-sand with fine grits, and stay gentle at edges where veneer is thinnest. Sanding through veneer cannot be undone, so check thickness at an edge first.
How much does it cost to refinish a table yourself?
Supplies typically run $40 to $120: stripper, sandpaper, stain, topcoat, brushes, and safety gear. Professional refinishing commonly costs several hundred dollars, so DIY saves money whenever the piece is sound.
Final Thoughts
Refinishing a table rewards a simple discipline: remove the old finish completely, respect the sanding sequence, keep coats thin, and let chemistry have its drying time. None of the steps demand rare skill, but each one protects the next. Take the weekend, work the process in order, and the table that looked ready for the curb becomes the piece people ask about.