Introduction
Painting skin is where portraits succeed or fail. A tube color labeled flesh tone almost never matches a real person, because living skin is not one flat color. It shifts across the face: warmer and redder at the cheeks, nose, and ears, cooler and grayer in the shadows. When you mix skin color paint yourself, you control all of that. You match your reference instead of fighting a tube.
This guide is written for beginners working in acrylic, oil, gouache, or watercolor. It gives you a dependable base formula, starter mixes for a range of skin tones from light to deep, and a simple method for adjusting any mix in two directions: value, which means how light or dark it is, and temperature, which means how warm or cool it leans. You will also learn how to mix believable shadow and blush tones, the mixes that make flat skin color look alive. Keep scrap paper beside your palette the whole way through; testing as you go is the difference between a mix you hope is right and a mix you know is right.
Featured Snippet Answer
To make skin color paint, mix titanium white, yellow ochre, and burnt sienna in roughly equal parts, then add a touch of raw umber or ultramarine blue to cool the mix and a speck of cadmium red for warmth. Add white for lighter tones, burnt sienna and umber for deeper tones, and test every mix on paper before you paint.
Before You Begin
Mixing skin tones is one of the cheapest and most forgiving skills in painting. Paint is never wasted while you learn, because a wrong mix is just an underpainting color or a shadow color waiting for a job. Work from a clear reference photo or a mirror, in the same light you will paint in. Daylight from a window is the most honest light; warm indoor bulbs push every mix toward orange and fool your eye.
Know one behavior of your paint before you start. Acrylic dries a shade darker than it looks wet, and watercolor dries a shade lighter. Gouache dries close to its wet value but shifts slightly, and oil keeps its wet color. That single fact explains most beginners feeling that a perfect mix changed on them. The fix runs through this whole guide: judge your mix from a dried test swatch, not from the wet puddle on the palette.
At a Glance
| Detail | What to know |
|---|---|
| Difficulty | Easy, and mistakes are easy to correct |
| Time needed | 10 to 20 minutes to mix a full set of tones |
| Cost | Nothing if you own basic earth pigments; a few tubes if you are starting out |
| Skill level | Beginner |
| Best for | Portraits in acrylic, oil, gouache, and watercolor |
Things You’ll Need
| Item | Purpose |
|---|---|
| Titanium white | The base lightener for most skin mixes |
| Yellow ochre | Earthy yellow that gives skin its golden undertone |
| Burnt sienna | Warm red-brown that does most of the work in skin tones |
| Raw umber | Cool brown for deepening tones without mud |
| Ultramarine blue | Used in tiny specks to cool a mix and build shadow tones |
| Cadmium red or alizarin crimson | Warmth, blush, and the red notes in ears, nose, and lips |
| Palette and palette knife | A knife mixes cleaner, more even puddles than a brush |
| Scrap paper or a sketchbook page | For test swatches you can let dry and judge honestly |
| A reference photo or mirror | The standard every mix gets compared against |
| Cup of water and paper towel | Cleaning between adjustments so colors stay clean |
Safety Precautions
- Some pigments are toxic, especially cadmium colors. Never eat or drink while you paint, wash your hands when you finish, and keep paints away from young children.
- Never put a paint-loaded brush in your mouth to shape the point. Use water and a towel instead.
- Dispose of paint water and dried paint scraps in the trash, not down a drain that leads to a garden or waterway, and check local rules for solvent-based paint waste.
Step-by-Step Guide
Follow the steps in order. Mix a mid-tone first, tune it, then build the lighter and darker family around it. The starter ratios below are measured in rough parts, such as pea-size blobs squeezed from the tube. Treat them as a launch point, because every brand grades its pigments slightly differently.
Starter Base Mixes by Skin Tone
| Skin tone | White | Yellow ochre | Burnt sienna | Raw umber | Red |
|---|---|---|---|---|---|
| Light | 4 parts | 1 part | 1/2 part | None | A speck |
| Medium light | 3 parts | 1 part | 1 part | None | A speck |
| Medium | 2 parts | 1 part | 1 1/2 parts | A touch | A speck |
| Medium deep | 1 part | 1 part | 2 parts | 1 part | A touch |
| Deep | 1/2 part or none | 1 part | 2 parts | 1 1/2 parts | A touch |
- Step 1: Set up a limited palette. Squeeze out white, yellow ochre, burnt sienna, raw umber, ultramarine, and your red, with room to mix in the middle. A limited palette is not a restriction; it is why the skin in a portrait holds together as one family of color instead of a patchwork.
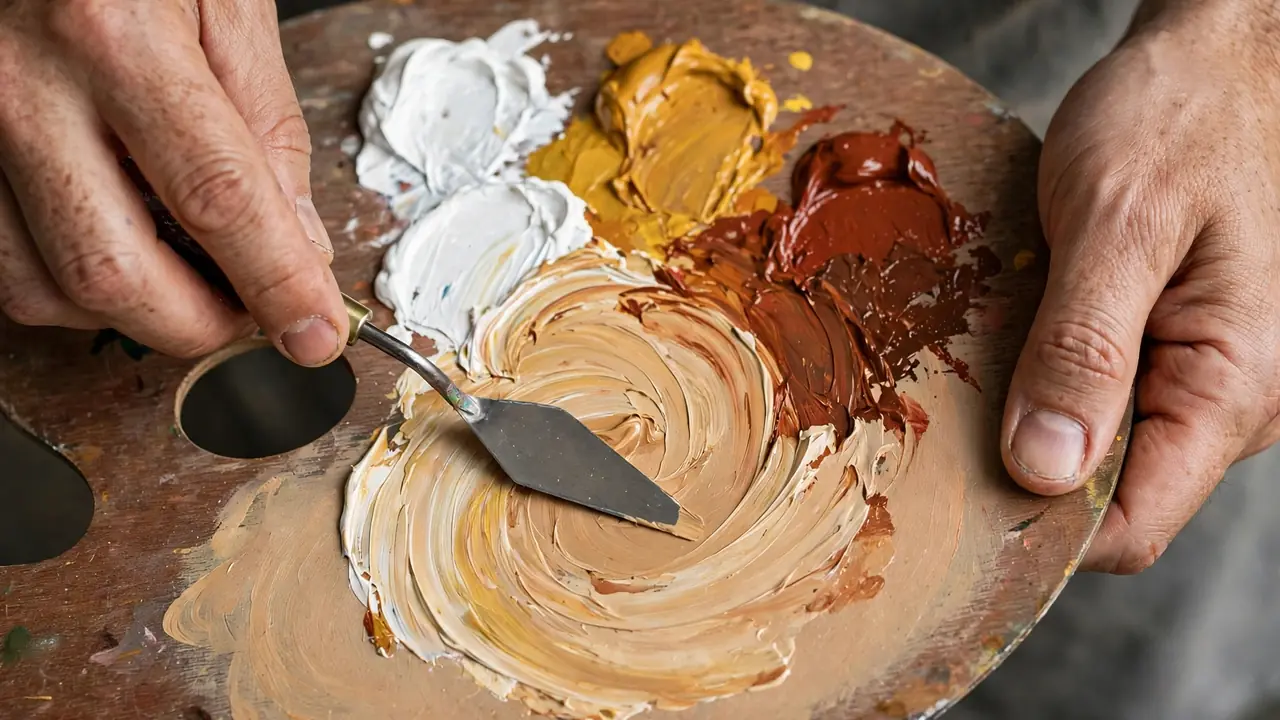
- Step 2: Mix the mid-tone base. Using the table, mix the tone closest to your subject. Start with the earth colors and add white last, a little at a time; lightening gradually beats rescuing a chalky mix.
- Step 3: Judge the value before the color. Squint at your reference and at your swatch. Squinting strips away detail and shows plain light and dark. If the value is wrong, no hue adjustment will save it, so fix value first.
- Step 4: Adjust the value. To lighten, add white in small amounts, plus a crumb of yellow ochre so the mix keeps its warmth instead of turning pasty. To deepen, add burnt sienna for warm depth or raw umber for cooler depth. Avoid black for darkening skin; it drains the life out of the color and turns mixes muddy.
- Step 5: Adjust the temperature. Skin reads warm in the light and cool in the shade. If your mix looks too orange, cool it with a speck of ultramarine or a touch of raw umber. If it looks gray or lifeless, warm it with a speck of cadmium red or a little more yellow ochre. Add these correctors in specks, never blobs, because they are strong.
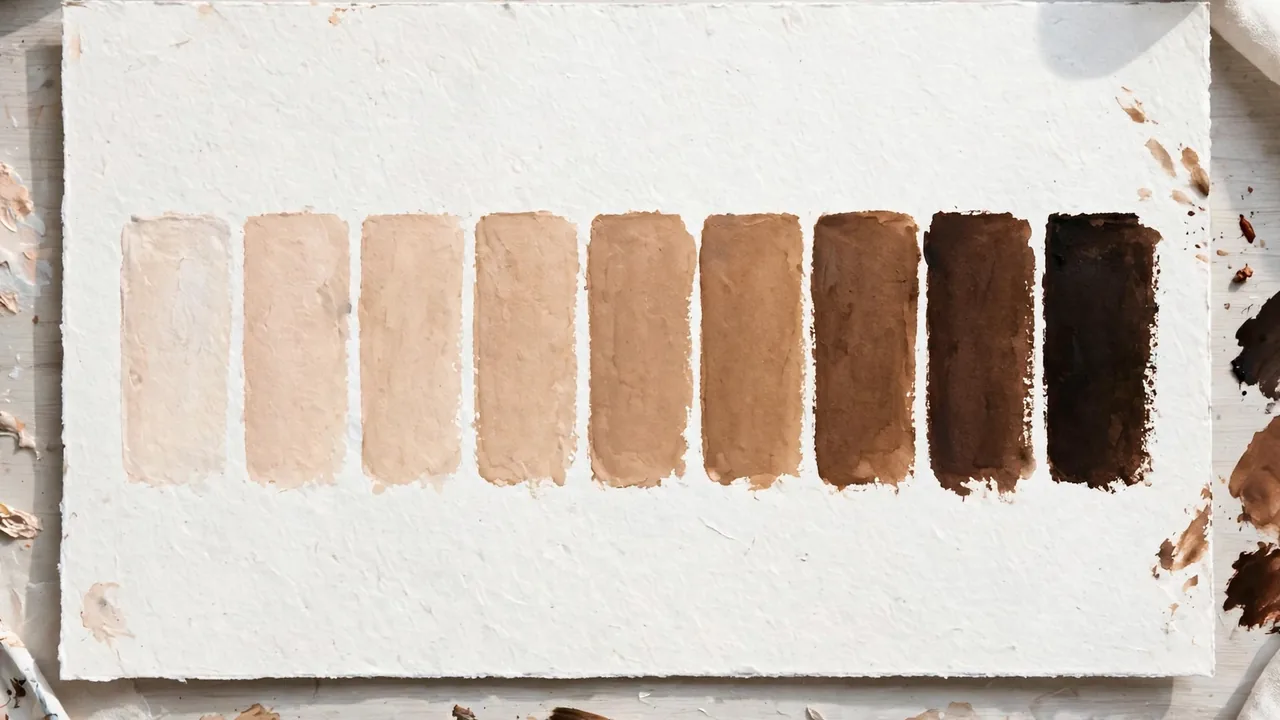
- Step 6: Build a value scale. From your tuned mid-tone, mix two lighter puddles and two darker puddles in even steps. Lay swatches of all five in a row on paper. A portrait painted from one connected scale looks unified, and you stop mid-painting guesswork.
- Step 7: Mix the shadow tones. Shadows on skin are not just darker skin. Take your mid-tone and add a little ultramarine plus a touch of alizarin or burnt sienna to make a muted, slightly violet brown. That cooler, grayer mixture sits naturally in eye sockets, under the jaw, and along the shadow side of the nose.
- Step 8: Mix the warm accents. For cheeks, nose, ears, and lips, take the mid-tone and add cadmium red and a little white. Keep these accents transparent in spirit even in opaque paint: a small area of warm color does the work, and flooding the whole face with red makes your subject look sunburned.
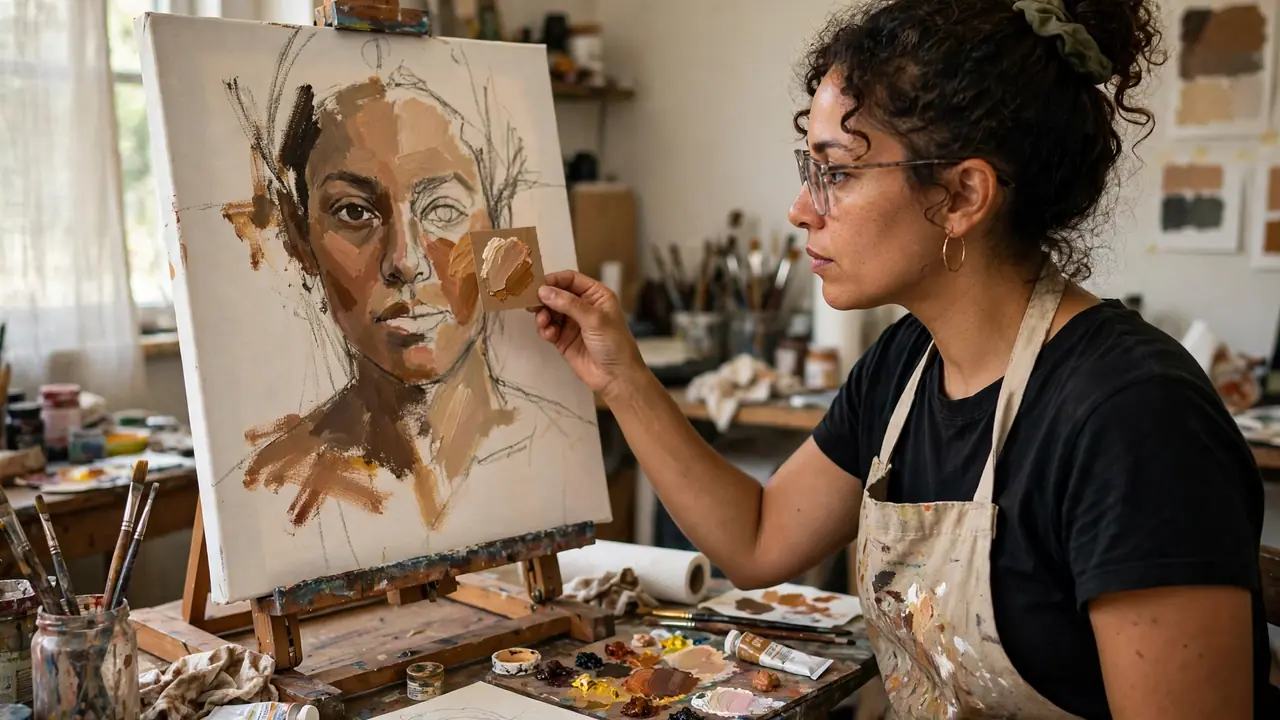
- Step 9: Test a dried swatch against the reference. Paint a swatch on scrap paper, let it dry fully, then hold it beside your reference in the same light. Mix acrylic a hair lighter than the target, since it dries darker, and watercolor a hair stronger, since it dries lighter.
- Step 10: Record your recipe. Write the ratios and the pigment names on the swatch card. A labeled card turns one good session into a repeatable system for every future portrait.
How to Know You Did It Correctly
Your mixes are right when three checks pass. First, the dried swatch held against your reference matches in value when you squint at both. Second, a quick phone photo of the swatch and reference, converted to black and white, shows the same gray level, which confirms the value without color distracting you. Third, your shadow mix placed beside your mid-tone looks cooler and quieter, not just darker.
Expected Timeline and Results
Expect 10 to 20 minutes to mix and tune a full five-value scale the first few times, and under 10 minutes once the ratios live in your hands. One mixing session produces enough paint for a complete small portrait. Acrylic mixes keep one to two days in a sealed stay-wet palette, gouache can be rewet after it dries, and oil mixes stay workable on the palette for several days. The result you are after is a family of related tones that lets painted skin turn from light into shadow the way real skin does.
Alternative Methods
Correct a tube flesh tint. If you own a pre-mixed flesh color, treat it as raw material rather than a finished tone. It usually runs too pink and too flat. Warm it with yellow ochre, deepen it with burnt sienna, and gray it gently with raw umber until it behaves. Use a strict limited palette. Many portrait painters mix every skin tone from just yellow ochre, a red, ivory black, and white. The black plus yellow makes muted greens that cool mixtures beautifully. Mix from primaries only. Red, yellow, blue, and white can build any skin tone, but earth pigments reach natural skin faster and with less mud, so most painters keep the earths as their base.
Common Mistakes to Avoid
- Using tube flesh color straight. It matches almost nobody and flattens the face. Always adjust it toward your subject.
- Adding too much white. White lightens, but past a point it makes skin look chalky and dead. Lighten in small steps and restore warmth with ochre as you go.
- Darkening with black. Black pushes skin toward gray mud. Burnt sienna and raw umber deepen skin while keeping it alive.
- Making shadows from the light mix alone. A shadow that is only darker reads as dirt on the face. Cool the shadow mix with blue so it recedes.
- Judging the mix wet. Acrylic and watercolor both shift as they dry. A swatch judged wet is a guess; a swatch judged dry is a decision.
- Mixing too little paint. Running out mid-face and remixing rarely lands on the same tone. Mix more than you think you need.
Troubleshooting & Common Problems
| Problem | Cause | Solution |
|---|---|---|
| The mix looks too pink | Too much red or a flesh tint base that leans pink | Add yellow ochre a little at a time, plus a speck of raw umber to quiet it |
| The mix looks orange | Too much burnt sienna or red for the subject | Add white gradually and cool with a speck of ultramarine |
| The mix looks chalky and pale | Too much titanium white | Mix in yellow ochre and burnt sienna first, then re-lighten slowly; a touch of zinc white gives gentler light mixes if you own it |
| The mix turned muddy | Too many correctors fighting each other | Throw it into the shadow pile and remix the base fresh, adjusting one variable at a time |
| The dried color differs from the wet mix | Normal drying shift in acrylic or watercolor | Always judge a dried swatch; mix acrylic slightly light and watercolor slightly strong |
Expert Tips
- Mix value first, color second. Most failed skin tones are value failures wearing a color disguise. Nail the light-dark level and the hue needs only a nudge.
- Keep a swatch journal. Tape dried swatches into a sketchbook with the recipe written under each. Within a few portraits you own a personal skin-tone library.
- Judge mixes on a mid-gray surface. A white palette makes colors look darker and richer than they are, and a colored palette lies the other way. Gray tells the truth.
- Let shadows borrow the background. Real skin reflects its surroundings, so a whisper of the background color in your shadow mix quietly glues the figure into the scene.
What to Do Next
Put the palette to work the same day. Paint a small value study of a face, a hand, or even an egg lit like a head, using only your five mixed values. Then mix a second scale for a noticeably lighter or deeper skin tone than your first. Save your labeled swatch cards with the painting.
FAQs
What colors make skin color paint?
The reliable base is titanium white, yellow ochre, and burnt sienna. Raw umber deepens and cools, ultramarine cools in tiny amounts, and a red such as cadmium red or alizarin adds warmth and blush. With those six, you can mix a convincing range from light to deep skin tones.
Can I make skin tones with only primary colors?
Yes. Red, yellow, blue, and white can build any skin tone, and mixing from primaries is excellent training. In practice, earth pigments such as yellow ochre and burnt sienna reach natural skin faster and stay cleaner, so most portrait painters start from the earths.
Why does my skin tone look orange?
Too much burnt sienna or red is the usual cause, and warm indoor light makes it worse. Add white gradually, then cool the mix with a speck of ultramarine blue, judging on a dried swatch in daylight.
Why does my painted skin look chalky?
Chalkiness almost always means too much titanium white, which lightens and cools at the same time. Bring back yellow ochre and a little burnt sienna to restore warmth, then lighten again in smaller steps. Mixing the color first and the white last prevents most chalkiness.
How do I mix deeper skin tones?
Start from burnt sienna and raw umber rather than from a white-heavy base, and add white only in small amounts at the end. Deep skin still needs warm notes, so keep a touch of red in the mix, and build shadows with ultramarine and sienna so the darks stay rich instead of flat.
How do I mix skin tones in watercolor?
Use the same pigments but let water do the lightening: a dilute wash is your light tone and a stronger mix is your dark. Test on scrap and let it dry fully, because watercolor dries lighter than it looks.
Can I store mixed skin color paint?
Acrylic keeps one to two days in an airtight container or stay-wet palette, gouache can be rewet after drying, and oil stays workable on the palette for days. Keep your labeled swatch card either way; the recipe lets you remix the exact tone any time.
Final Thoughts
Skin color is not a tube, it is a relationship between value and temperature that you can mix on demand. Start with white, yellow ochre, and burnt sienna, fix the value first, nudge the temperature second, and always trust a dried swatch over a wet puddle. Do that, and any face you paint can have skin that looks like it belongs to a living person.