
Introduction
Ceilings get painted last and thought about least, right up until the lap marks, drips, and missed patches announce themselves every time the light changes. Painting a ceiling is not harder than painting a wall. It is less forgiving: you work overhead, the paint wants to come down as much as go up, and daylight rakes across one broad surface, showing every uneven band.
This guide shows you how to paint a ceiling the way painters do it: clear and cover the room properly, repair and prime what needs it, cut in the edges with a brush, then roll flat ceiling paint in small overlapping sections while the edge stays wet. You will learn which roller cover prevents splatter, why rolling direction matters, how textured ceilings change the plan, and how to inspect your work before the furniture goes back. Two thin coats, a steady pace, and no mid-ceiling coffee break are the whole secret.
Featured Snippet Answer
To paint a ceiling, clear and cover the room, cut in around the edges with an angled brush, then roll flat ceiling paint in small overlapping sections from an extension pole. Keep a wet edge, roll final passes toward the main light source, and apply two thin coats for an even, streak-free finish.
Before You Begin
Buy ceiling paint, not leftover wall paint. Ceiling paints are flat, which hides surface flaws, and are mixed thicker, so they splatter and drip less. If the ceiling has water stains, nicotine yellowing, or bare repair patches, plan a stain-blocking primer first, because ordinary paint lets stains bleed through coat after coat. Check the stain’s cause before you cover it: a brown ring from an old, repaired leak is fine to seal, while a stain that grows or feels damp means active water, and painting over it hides a problem that keeps working.
Measure the ceiling and buy for two coats, adding extra if the ceiling is textured. Smooth ceilings cover at roughly the rate printed on the can; popcorn and heavy textures drink far more paint, sometimes close to double. Check for cracks and failed tape joints too: painting over a crack freezes it in place for a month before it reopens, so scrape, fill, and sand defects during prep. If your home was built before the early 1980s and the popcorn texture is damaged, leave it alone and have it tested before scraping, since some older textures contain asbestos and should not be disturbed dry.
At a Glance

| Detail | What to know |
|---|---|
| Difficulty | Moderate, mostly due to overhead work |
| Time needed | Half a day for an average room, including drying between coats |
| Cost | Ceiling paint, a roller cover, and tape; modest for one room |
| Skill level | Beginner to intermediate |
| Best for | Bedrooms, living rooms, and kitchens with standard height ceilings |
Things You’ll Need
| Item | Purpose |
|---|---|
| Flat ceiling paint | Hides flaws, resists dripping, and gives an even finish |
| Stain-blocking primer | Seals water stains and repairs so they do not bleed through |
| Angled sash brush, 2 to 2.5 inch | Cuts in edges and around light fixtures |
| Roller frame with 3/8 to 1/2 inch nap cover | Holds enough paint for smooth ceilings with minimal splatter |
| Thick nap roller cover, 3/4 inch | For textured and popcorn ceilings that need more paint delivery |
| Extension pole | Lets you roll most of the ceiling from the floor with even pressure |
| Paint tray and liners | Loads the roller evenly and speeds cleanup |
| Painter’s tape | Protects wall tops and fixture edges |
| Drop cloths or plastic sheeting | Covers floors and furniture against drips and splatter |
| Step ladder | For cutting in and edges the pole cannot reach cleanly |
| Work light | Raking light that exposes missed spots while paint is still wet |
Safety Precautions
- Set it on a level floor, face it while you work, and move it often. Reaching sideways overhead is how painters fall and how paint trays tip.
- Switch off power to light fixtures before removing covers or painting around them, and let bulbs cool fully before handling them.
- Wear eye protection. Ceiling work drips downward by definition, and paint in the eye ends the session. A cap helps too.
- Ventilate the room. Open windows or run a fan; you breathe whatever evaporates off a large wet surface directly above you.
- Wear a dust mask if you scrape or sand repairs, and do not dry-scrape a damaged popcorn ceiling in an older home until it has been tested, as some contain asbestos.
Step-by-Step Guide
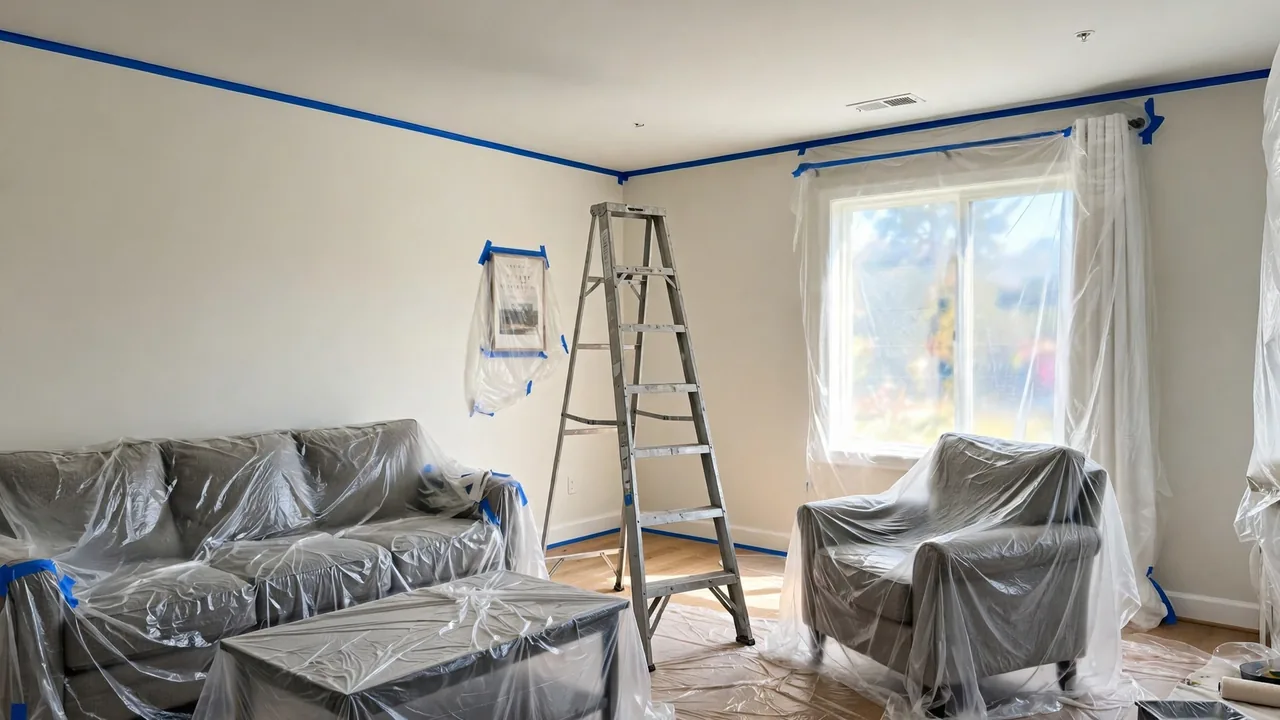
- Step 1: Clear and cover the room. Move out what you can, push the rest to the center, and cover everything with drop cloths or plastic, including the floor wall to wall. Ceiling splatter travels farther than intuition says, as a fine mist that is easy now and stubborn later.
- Step 2: Clean the ceiling. Run a dry dust mop or a broom wrapped in a cloth over the whole surface to remove cobwebs and dust. In kitchens, wash greasy areas with a degreasing cleaner and rinse, because paint over grease peels. Let everything dry completely.
- Step 3: Repair defects and prime stains. Fill cracks and dents, sand them smooth once dry, and spot-prime repairs and any water stains with stain-blocking primer. Regular paint over a stain is a delay, not a fix; the mark returns through every coat.
- Step 4: Tape and protect what stays. Run painter’s tape along the top of the walls if the walls are not being painted, and around fixture bases. Remove light fixture covers and smoke detectors rather than painting around them, with the power off.
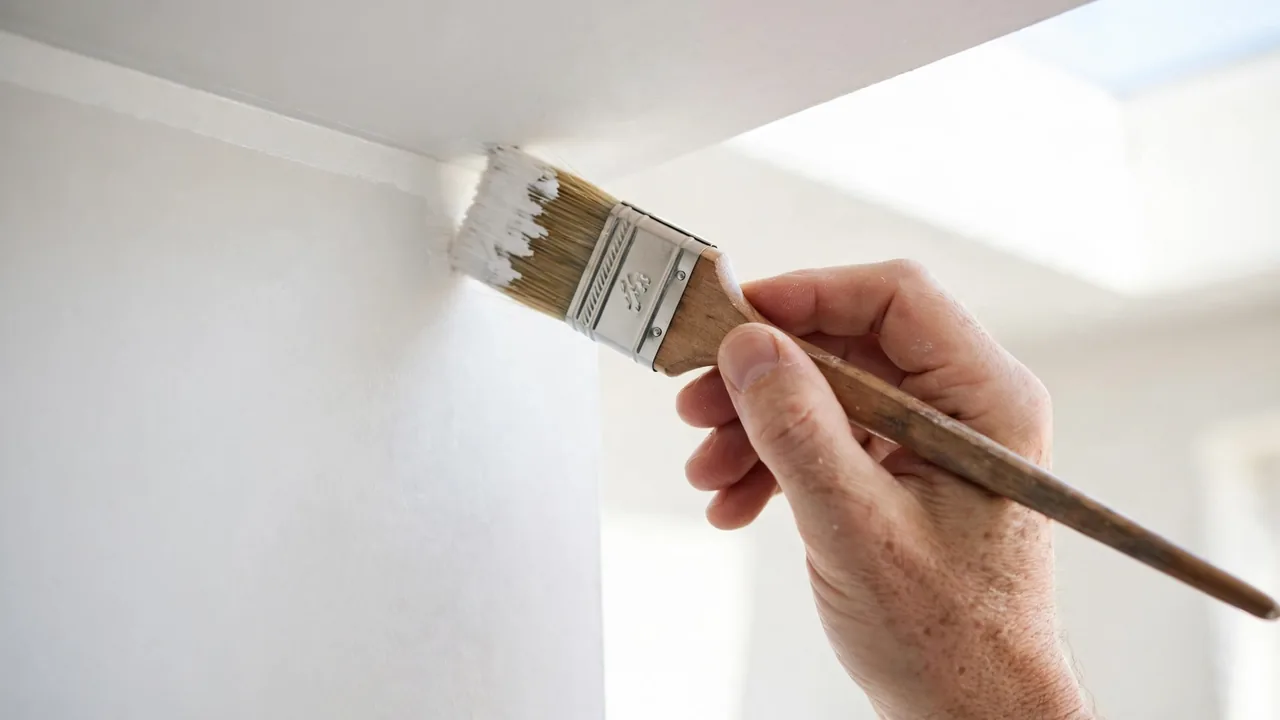
- Step 5: Cut in the edges. With the angled brush, paint a band about 3 inches wide around the whole perimeter and around fixtures. Work one wall length at a time and roll that section right after, while the cut-in edge is still wet, so brush and roller textures merge invisibly.
- Step 6: Load the roller correctly. Roll the cover through the paint in the tray until it is evenly loaded all around, then roll off the excess on the tray ramp. The roller should be full but not dripping. A half-loaded roller causes streaks; an overloaded one causes drips and heavy splatter.
- Step 7: Roll the first section. Start in the corner nearest the main window and roll a section roughly 3 feet square, using a zigzag or W pattern to spread the paint, then smooth it with light parallel strokes. Apply paint with the weight of the roller and the pole; pressing hard squeezes paint out at the edges and leaves tracks.
- Step 8: Keep a wet edge and work in sections. Overlap each new section into the previous one by several inches while its edge is still wet, and finish each section with strokes running the same direction, toward the main light source. Lap marks are simply places where paint dried before the next pass arrived, so do not stop mid-ceiling. Roll at a steady pace: fast rolling throws splatter.
- Step 9: Let the first coat dry, then roll the second. Follow the recoat time on the can. Apply the second coat the same way, with finishing strokes in the same direction. Two thin coats level out color and sheen; one thick coat drips, dries unevenly, and still shows the old color in thin spots.
- Step 10: Inspect, touch up, and unmask. Stand in the doorway and look across the ceiling with the work light angled along it. Mark misses with small tape flags and roll them once while everything is set up. Remove tape after the final coat is dry to the touch but before it hardens for days, and refit fixture covers once the paint is dry.
How to Know You Did It Correctly
Judge the ceiling the way daylight does: from the doorway, looking across the surface toward the window, and again in the evening under room lights. A correct finish shows one uniform color with no bands, stripes, or shiny lanes, and no visible brush band around the edges. Every lap line and holiday, the painter’s word for a skipped spot, stands out at a low viewing angle, so that cross-check matters more than staring straight up.
Expected Timeline and Results
For an average bedroom, expect about an hour of prep including covering the room, thirty to forty-five minutes of rolling per coat, and drying time between coats, for a half-day total. Large open-plan ceilings and heavy textures take longer, mostly in reload trips and slower rolling. The reward is a ceiling that disappears: flat, even, and free of the stripes that give away rushed jobs. A ceiling painted in two flat coats should not need redoing for many years unless stains, smoke, or a color change demand it.
Alternative Methods
Paint sprayer. A sprayer covers a ceiling fast and leaves no roller texture, which suits large or heavily textured ceilings. The trade is masking: every wall, fixture, and floor surface must be sealed off, overspray drifts everywhere, and textured ceilings still benefit from back-rolling. For one bedroom, setup usually eats the time saved.
Paint walls and ceiling the same color. Wrapping one color over walls and ceiling removes the cutting-in step at the wall line entirely and makes small rooms feel taller. It changes the look of the room, so treat it as a design choice, not just a shortcut.
Common Mistakes to Avoid
- Letting the edge dry between sections. Breaks and slow rolling create lap marks that no second coat fully hides. Keep a wet edge, section by section, start to finish.
- Using a thin or worn roller cover. A cheap, thin nap holds too little paint, so you reload constantly, press too hard, and lay down streaks.
- Rolling too fast. Speed throws splatter onto walls, floors, and you, and it lays paint unevenly. A steady pace is both cleaner and quicker in total.
- Painting over water stains without primer. Stains bleed through ordinary paint no matter how many coats you add. Seal them first or meet them again next week.
Troubleshooting & Common Problems
| Problem | Cause | Solution |
|---|---|---|
| Visible bands or lap marks | Sections dried before the next pass overlapped them | Repaint the ceiling as one continuous coat, keeping a wet edge throughout and finishing all strokes in one direction |
| Roller tracks and streaks | Too little paint on the roller, or pressing hard to stretch it | Reload fully, roll with light even pressure, and cross-roll each section before finishing strokes |
| Paint dripping and running | Overloaded roller or one coat applied far too thick | Roll drips out immediately while wet with a nearly dry roller. Sand any dried runs smooth and touch up |
| A stain keeps showing through | The stain was painted without a stain-blocking primer | Seal the spot with stain-blocking primer, let it dry, then repaint the area to match |
| Bare speckles on a popcorn ceiling | The roller passed too quickly over deep texture | Use a thick nap cover, load it fully, roll slowly in two directions, and expect higher paint use |
Expert Tips
- Shine a work light across the ceiling while you roll. Raking light shows misses and thin spots instantly, while the paint is still wet and a ten second pass fixes them. Checking after it dries costs a full extra setup.
- Cut in one wall at a time and roll it immediately. Cutting the whole room first guarantees a dried brush band that shows as a frame around the ceiling. Section by section keeps every edge wet.
- Keep the pole at a slight angle and walk with the roller. Moving your feet keeps pressure even. Planting your feet and reaching produces heavy and light bands your shoulders pay for twice.
When to Call a Professional
Hire a painter for ceilings over stairwells, double-height rooms, and any ceiling you cannot reach safely from a ladder with a pole, because the risk sits in the access rather than the painting. Call a contractor instead if the ceiling shows sagging, soft plaster, or a stain that is still damp, since those point to leaks or structural trouble that paint cannot solve. And if a damaged popcorn ceiling in an older home tests positive for asbestos, removal or encapsulation belongs to licensed specialists.
What to Do Next
Work downward: ceilings first, then walls, then trim, so drips from each stage land on surfaces that are about to be painted anyway. Clean the roller cover and brush promptly, since ceiling paint washes out with water while fresh and sets hard in a nap by tomorrow. Label the leftover paint with the room and date, and write the brand and color on the lid, because ceilings get touched up after fixture changes and leak repairs more often than any other surface.
FAQs
Which direction should I roll a ceiling?
Roll in small sections and make your finishing strokes run toward the room’s main light source, usually the largest window. Lap lines catch light across their edge, so aligning finish strokes with the light makes overlaps far less visible. Keep the direction consistent for both coats.
Can I use wall paint on a ceiling?
You can, but it works against you. Wall paints with any sheen show every flaw and lap mark on a ceiling, and thinner formulas drip and splatter more. Flat ceiling paint is thicker for overhead work and hides imperfections, so it gives a better result for similar money.
How many coats does a ceiling need?
Two coats over a sound, previously painted ceiling. One coat often looks fine while wet and dries patchy. Bare plaster, repairs, and stains need primer first, and a strong color change may need a third coat.
Do I need to prime a ceiling before painting?
Not over clean, sound, previously painted surfaces. Prime bare plaster and drywall, filled repairs, and any water or smoke stains with a stain-blocking primer. Skipping primer there leads to peeling, flashing, or bleed-through.
How do I paint a popcorn ceiling without making a mess?
Use a thick nap roller, load it fully, and roll slowly without pressing, since pressure tears loose texture. Expect to use much more paint. If the texture is crumbling or water damaged, painting may not save it, and disturbing damaged older texture requires testing first.
Why does my ceiling show stripes after drying?
Stripes are lap marks and roller tracks: sections that dried before being overlapped, or passes made with a dry roller and heavy pressure. The cure is a fresh full coat rolled continuously with a wet edge, a fully loaded roller, and light, even strokes in one direction.
Final Thoughts
A good ceiling disappears, and getting one is a method, not a talent: flat ceiling paint, a real roller cover, an extension pole, and small sections rolled toward the light with a wet edge. Cover the room like you mean it, seal stains instead of arguing with them, and check your work in raking light before the second coat dries. Do that, and nobody will ever notice your ceiling again, which is the highest praise a ceiling can earn.