Introduction
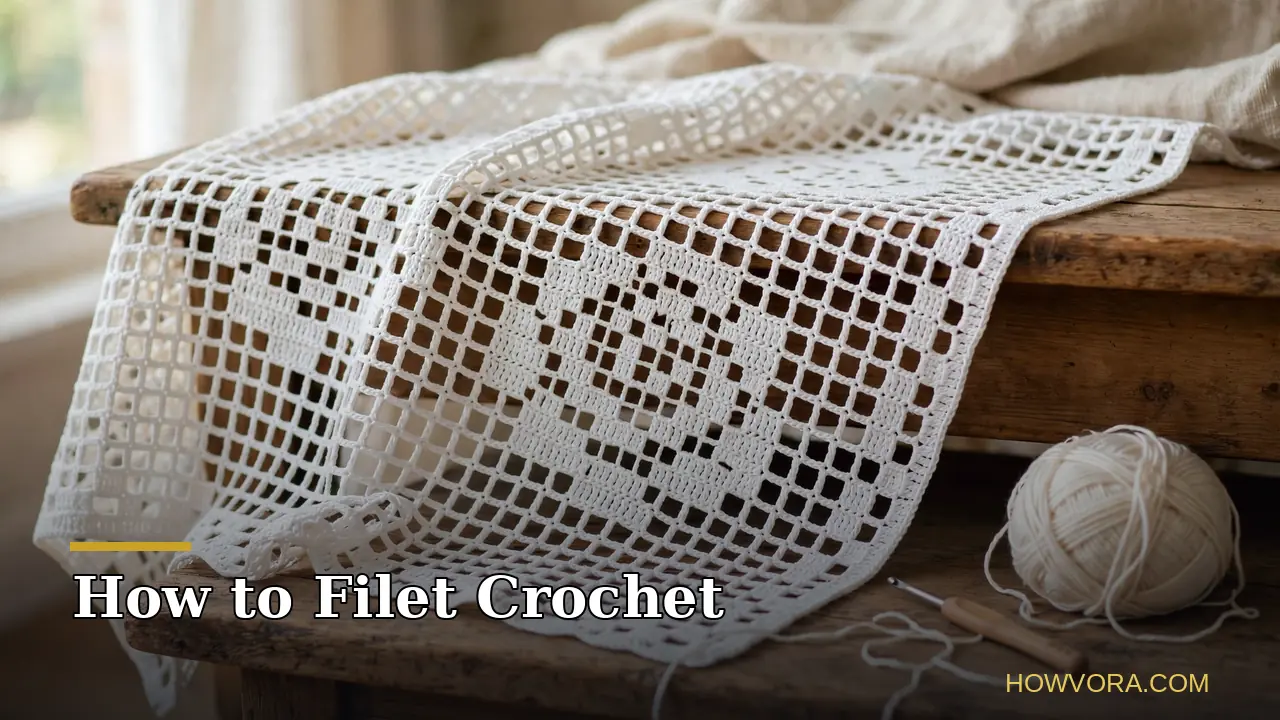
Filet crochet turns two simple stitches into pictures. Work a grid of open and filled squares, and images emerge from the contrast: a rose, a butterfly, a monogram, a whole scene across a curtain panel. The technique takes its name from the French word for a little net, and that is exactly what the fabric looks like, a net where some squares are left open and others are filled in to draw the design.
The best news for beginners is how small the skill set is. If you can make a chain and a double crochet, you can do filet crochet today. Everything else is counting: reading a chart, keeping your squares even, and knowing the two moves, one for an open square and one for a filled square, that this entire craft is built from. This guide teaches both moves, the stitch math behind the grid, and a practice swatch, so you finish your first session able to follow any filet chart you find.
Featured Snippet Answer
To filet crochet, follow a grid chart using only chains and double crochet stitches. An open square is a double crochet, two chains, skip two stitches, and another double crochet. A filled square replaces the two chains with two double crochet stitches. Read the chart row by row from the bottom, alternating direction each row.
Before You Begin

You need two stitches in your hands before you start: the chain stitch and the double crochet (called a treble in UK terms). If your double crochet is still wobbly, spend twenty minutes on a plain practice square of nothing but double crochets first. Filet is unforgiving about uneven stitches because the grid shows every wobble, but it is very forgiving about everything else. There is no shaping to master for a flat panel, no increases or decreases, and the chart tells you exactly what to do in every square.
Beginners face one real decision: learn with yarn or with thread. Traditional filet uses fine cotton thread and a tiny steel hook, which produces the delicate lace on curtains and table runners, but the stitches are small and hard to see. Learning on smooth, light-colored DK or worsted yarn with a larger hook makes every stitch obvious, and the same skills transfer directly when you move down to thread. The comparison below lays out the trade-off.
Choosing the Right Approach
| Approach | Materials | Square size | Best for |
|---|---|---|---|
| Practice with yarn | DK or worsted cotton or acrylic yarn, 4 to 5 mm hook | Roughly 1.5 to 2 cm per square | Learning, swatches, chunky modern panels, placemats |
| Classic thread filet | Size 10 crochet cotton, steel hook around 1.5 mm | Roughly 5 to 8 mm per square | Curtains, doilies, table runners, fine detailed charts |
Start with yarn for your first swatch even if thread work is your goal. One afternoon of visible stitches teaches the grid faster than a week of squinting, and your first finished piece, bumps and all, becomes the reference you compare everything against.
At a Glance
| Detail | What to know |
|---|---|
| Difficulty | Easy once you can double crochet |
| Time needed | 30 to 45 minutes for a first practice swatch |
| Cost | Low: one ball of yarn or thread and one hook |
| Skill level | Beginner with basic stitches |
| Best for | Charts with pictures, letters, and geometric designs |
Things You’ll Need
| Item | Purpose |
|---|---|
| Yarn or crochet cotton | Smooth, light-colored, and not fuzzy, so stitch posts stay visible |
| Matching hook | 4 to 5 mm for yarn practice, about 1.5 mm steel for size 10 thread |
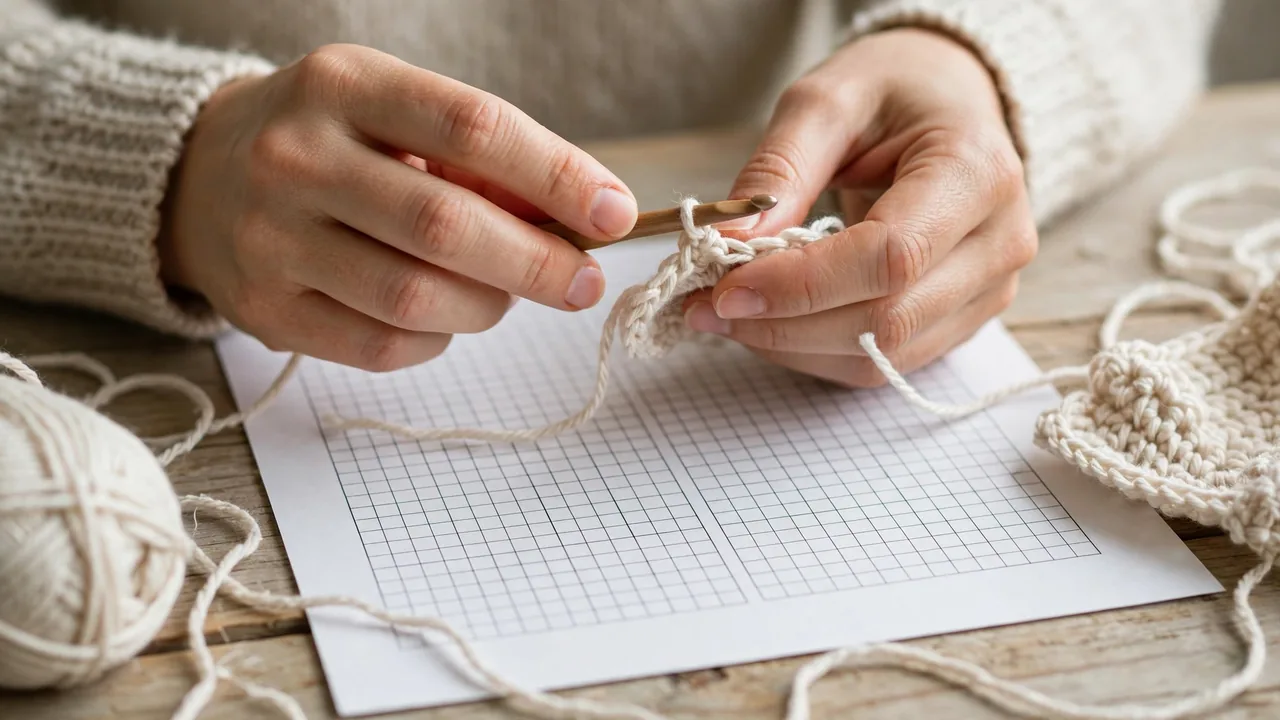
| A filet chart | The grid pattern you will follow. Printed is easiest for marking rows |
| Ruler or sticky note | Tracks which chart row you are on |
| Stitch markers or safety pins | Marks every 10 squares to make counting fast and errors obvious |
| Scissors and a yarn needle | For finishing and weaving in ends |
Step-by-Step Guide
Step 1: Learn the two squares. Every filet pattern is built from just two units. An open square (a space, shown blank on the chart) is: double crochet, chain 2, skip 2 stitches, double crochet. The two posts and the chain form an empty box. A filled square (a block, shown filled or marked with an X on the chart) is the same frame with the middle filled in: double crochet, then 2 double crochets worked into the chain space below (or into the next 2 stitches), then double crochet, giving 4 posts across the square. Master those two moves and you know the whole technique.
Step 2: Do the starting math. Each square in a row uses 3 stitches, plus 1 extra stitch at the end of the row for the final post. So a chart 10 squares wide needs a foundation of 10 × 3 + 1 = 31 stitches. For your starting chain, chain that number plus 3 more, because the first 3 chains count as the first double crochet post. A 10-square swatch starts with a chain of 34. Write the math on your chart before you pick up the hook; nearly every beginner disaster is a foundation that was wrong from the first row.
Step 3: Work row 1 from the chart. Charts are read from the bottom row upward. Row 1 runs right to left. Look at the first square: if it is open, chain 2 and work a double crochet into the seventh chain from the hook (counting carefully, because the skipped chains form the bottom of the first square). If the first square is filled, work double crochets into the next chains instead. Continue across, reading each square and working it as open or filled, and count your squares at the end of the row against the chart before you turn.
Step 4: Turn and work row 2. At the end of each row, chain 3 and turn. That chain 3 counts as the first post of the next row. Row 2 reads left to right on the chart, because your work has flipped. For squares above an open square below, an open square means chain 2 and double crochet into the next post. A filled square means 2 double crochets into the chain-2 space, then double crochet into the next post. Posts should stack directly on posts. If a post lands crooked, the square below was miscounted.
Step 5: Keep the grid honest. Every few squares, pause and check two things: your square count matches the chart row, and your posts line up vertically. Place a stitch marker after every 10 squares on long rows. Counting 10 at a time turns a 60-square row from a chore into a quick scan, and it means a mistake can only hide inside one group of 10.
Step 6: Finish a practice swatch. Work a small chart about 10 by 10 squares, a simple heart, diamond, or your initial letter. A tiny finished piece teaches more than half of a huge one: you will practice turns, carry the chart row by row, and see a picture actually appear. Finish off, weave in the ends, and pin the swatch flat overnight. Blocking relaxes the stitches and squares up the grid, and seeing it flat is the moment the technique clicks.
How to Know You Did It Correctly
Hold the piece up to a window or lay it flat and step back. Correct filet shows three things: the posts form straight vertical lines like graph paper; the open squares are clearly empty and roughly square, not tall rectangles; and the picture from the chart is readable at arm’s length. If the design is visible but your squares are noticeably taller than they are wide, your chains are tight or your double crochets are loose, which the troubleshooting section addresses. A perfect square count with a slightly uneven hand is a success for a first piece; tension evens out with practice in a way that miscounts never do.
Expected Timeline and Results
Expect 30 to 45 minutes for a first 10-by-10 swatch, most of it spent counting and checking rather than stitching. By the third or fourth session, a row of 30 squares takes a few minutes, and a placemat-size panel is a weekend project. A full thread curtain is a longer commitment, days to weeks of rows, which is why the practice swatch matters: it tells you if your square size and tension will make the finished piece come out at the dimensions you want before you invest in the big version.
Alternative Methods
Some patterns skip the chart and write filet out as text instructions, telling you row by row how many open and filled squares to work. Written instructions suit crocheters who think in words, and they remove the risk of reading a row in the wrong direction. The downside is length: a detailed chart becomes pages of numbers. Most crocheters settle on charts with a ruler under the current row, and use written patterns only for small motifs. Either way, the stitches are identical, so pick the format that keeps your count accurate.
Common Mistakes to Avoid
- Reading every row in the same direction. Charts alternate. Row 1 goes right to left, row 2 left to right. Reading both the same way mirrors the design and scrambles letters beyond recognition.
- Forgetting the chain 3 turn counts as a post. If you add another double crochet on top of it, the row gains a stitch and the edge grows teeth.
- Working a filled square with the wrong stitch count. A block is 4 posts total across the square, counting the posts on both edges. Three or five posts in one square throws every following square off line.
- Using fuzzy or dark yarn to learn. You cannot fix what you cannot see. Save the mohair and the black yarn for later projects.
- Skipping the end-of-row count. Thirty seconds of counting per row is the cheapest insurance in crochet. One missed square found ten rows later costs an evening.
Troubleshooting & Common Problems
| Problem | Cause | Solution |
|---|---|---|
| Squares are tall rectangles, not squares | Chains are tight relative to your double crochets | Chain more loosely, or work the turning chain with a hook one size larger, then switch back |
| The design leans or posts drift sideways | A square gained or lost stitches in an earlier row | Count squares row by row against the chart and unpick back to the row where the count first breaks |
| Edges are wavy | Inconsistent turning chains, or posts worked into the wrong chain of the turn | Work the last post of each row into the top chain of the turning chain, and keep the chain-3 tension steady |
| The picture looks right but backwards | The chart was read without alternating direction | Mark R and L arrows on alternate chart rows before starting |
| Thread work looks messy and holes vary | Tension varies on tiny stitches | Slow down, keep the thread path consistent over the same fingers, and block the finished piece, which evens small differences |
Expert Tips
- Measure your square before committing to a chart. Work 10 squares by 10 rows, measure both directions, and multiply up. If your chart needs a 40 cm panel and your squares come out at 1.6 cm, you need 25 squares, not the 30 the pattern used with a different tension.
- Cover finished chart rows with a sticky note. Seeing only the rows ahead prevents the classic error of working the row above or below the one you are on.
- End rows at natural stopping points. Filet punishes mid-row breaks because the count lives in your head. Finish the row, write the next row number on the chart, and then put the work down.
- Choose cotton for anything that will be washed or hung. Cotton holds the open grid crisply after blocking. Acrylic panels can stretch and blur the picture over time.
What to Do Next
Graduate in stages. After the swatch, make a bookmark or placemat from a chart with a border, which practices keeping an edge pattern running while the center design changes. Then try a name or monogram panel, the classic filet project, using letter charts. When flat panels feel easy, shaping is the next skill: patterns add or drop squares at the row ends to shape armholes, doily rounds, and angled edges. Every one of those projects still runs on the same two squares you learned here.
FAQs
Is filet crochet hard for beginners?
No. It uses only chains and double crochets, and the chart makes every decision for you. The learning curve is mostly counting discipline: checking your square count at the end of each row. Most beginners produce a recognizable picture in their first session.
What is the difference between a block and a space in filet crochet?
A space is an open square: double crochet, chain 2, skip 2, double crochet. A block is the same square filled in, with 2 double crochets worked into the chain space so the square holds 4 posts. The contrast between empty spaces and solid blocks is what draws the picture.
How do I calculate the starting chain for a filet pattern?
Count the squares in the first row of the chart, multiply by 3, and add 1. That is your stitch count. Chain that many plus 3 more, since the extra 3 chains form the first double crochet. For a 20-square chart: 20 × 3 + 1 = 61 stitches, so chain 64.
Can I filet crochet with regular yarn instead of thread?
Yes. The technique is identical; only the scale changes. Yarn makes bigger, bolder squares and suits modern wall hangings and placemats. Thread makes the fine, detailed lace used for curtains and doilies. Learn on yarn, then move to thread when your counting is reliable.
Why does my filet crochet look slanted?
Slant usually means the squares are not getting a consistent stitch count, often a block worked with 3 or 5 posts instead of 4, or a post placed into the turning chain instead of its top. Count posts in the last few rows against the chart; the row where the count breaks is where the slant started.
Do I have to block filet crochet?
It is strongly recommended. Pinning the damp piece to its intended measurements opens the spaces evenly, straightens the posts, and sharpens the picture. Thread pieces in particular transform under blocking, going from slightly rumpled to crisp lace.
Final Thoughts
Filet crochet looks intricate and works simply: a chain, a double crochet, and the patience to count. Learn the open square and the filled square, respect the chart’s alternating rows, and check your count at every turn. Start with a small chart in yarn, block it flat, and you will hold a picture you drew with two stitches, ready to scale up to any panel, curtain, or name piece you like.