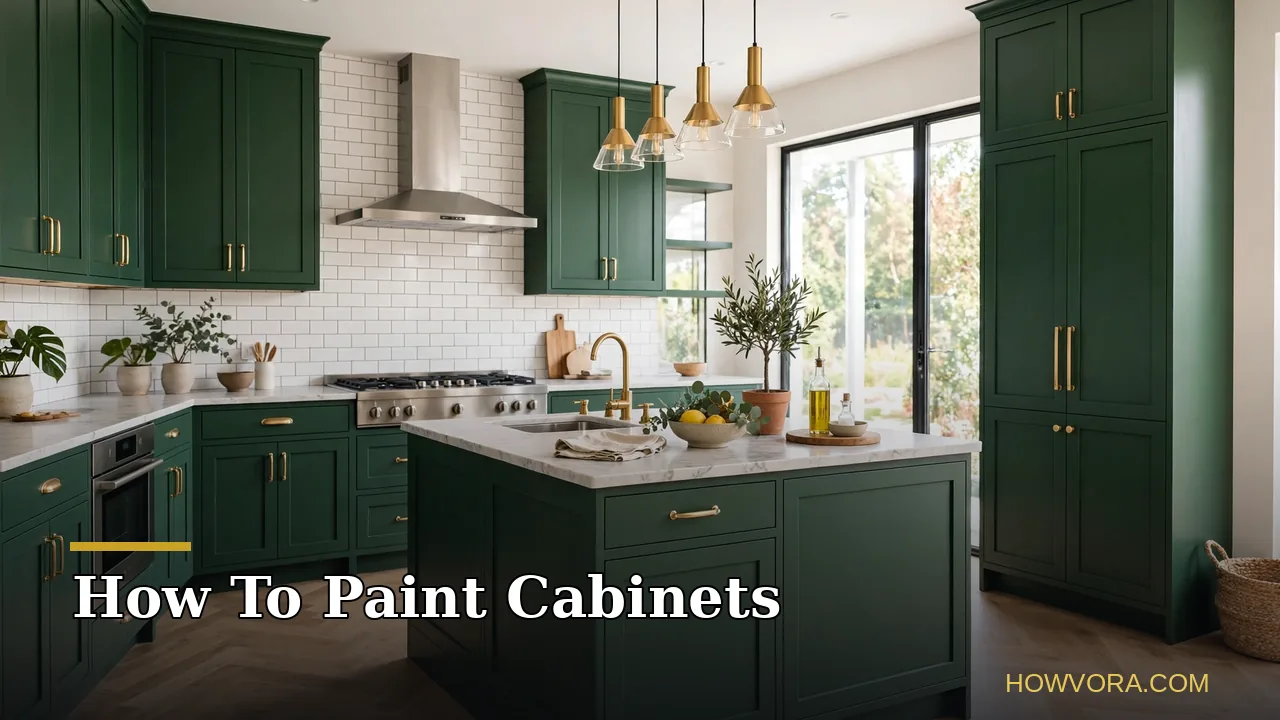
Introduction
Painting your cabinets is the highest-impact upgrade most kitchens can get without a renovation loan. New color on the doors and frames can take a dated oak kitchen to a clean, modern look for the cost of primer, paint, and a long weekend or two. The catch is that cabinets are the hardest surface in the house to paint well. They are handled daily, splashed with water and grease, and finished at the factory with a hard, smooth coating that resists new paint. Rush the prep and the finish peels at the edges within months.
This guide covers how to paint cabinets the durable way: stripping the grease off, dulling and sanding the old finish, using a bonding primer that actually grips, and laying down a hard enamel in thin coats. You will also learn the decision that matters most after technique: brush and roller versus spraying, plus the cure times almost everyone underestimates. Plan on several days of work spread over a week, most of it waiting for coats to dry.
Featured Snippet Answer
To paint cabinets, remove the doors and hardware, degrease everything, sand to dull the finish, and wipe clean. Apply a bonding primer, sand lightly when dry, then spray or brush on two to three thin coats of cabinet enamel, sanding between coats. Let the paint cure for several days before heavy use.
Before You Begin
First, check what your cabinets are made of, because it changes the plan. Solid wood and wood veneer paint beautifully. Laminate and thermofoil cabinets can be painted too, but only with a true bonding primer, and peeling thermofoil should be removed or repaired first because paint cannot fix a coating that is letting go. Second, check for grease honestly: hold a white paper towel against the surface near the stove after a wipe and look at what comes off.
Decide where you will work before you start. Doors need a dust-free space where they can lie flat for days: a garage, a spare room, or a covered patio. Weigh DIY against hiring out: a professional job commonly costs several thousand dollars, while doing it yourself costs a few hundred in materials but a week of evenings. Finally, if your home was built before 1978, test the old finish for lead paint before sanding, and do not dry-sand a finish that tests positive.
At a Glance
| Detail | What to know |
|---|---|
| Difficulty | Moderate to hard, mostly because of the prep and patience involved |
| Time needed | 4 to 7 days elapsed for an average kitchen; about 12 to 20 hours of active work |
| Cost | Roughly $100 to $300 in primer, paint, sandpaper, and supplies for a typical kitchen |
| Skill level | Intermediate DIY; careful beginners succeed by following the prep steps |
| Best for | Sound wood or veneer cabinets with a dated color or finish |
Things You’ll Need
| Item | Purpose |
|---|---|
| Screwdriver and painter’s tape | Removes doors and hinges; tape labels each door and its exact position |
| Degreaser or TSP substitute | Dissolves the cooking grease film that blocks paint adhesion |
| Scrub pads and rags | Works the degreaser in and wipes it off |
| 120 and 220 grit sandpaper, sanding block or orbital sander | Dulls the old finish and smooths between coats |
| Wood filler and putty knife | Fills dents, dings, and old hardware holes if you are moving handles |
| Vacuum and tack cloths | Removes sanding dust, which is the enemy of a smooth coat |
| Bonding or stain-blocking primer | Grips slick surfaces and seals wood tannins so they cannot bleed through |
| Cabinet and trim enamel paint | A hard, scrubbable finish. Alkyd or urethane-alkyd enamels level best on cabinets |
| High-density foam roller and quality angled brush | Applies paint with minimal texture for brush-and-roll work |
| Paint sprayer (optional) | Gives the smoothest finish; an HVLP or airless unit with a fine-finish tip |
| Sawhorses, painter’s pyramids, and drop cloths | Holds doors flat and off the ground while coats dry |
| Respirator, gloves, and eye protection | Protects you during sanding, degreasing, and any spraying |
Safety Precautions
- Test for lead before sanding older cabinets. Homes built before 1978 may have lead paint. Use a home test kit, and if it is positive, do not dry-sand; use wet methods and proper containment, or hire a certified professional.
- Wear a respirator when sanding and spraying. Fine dust and paint mist are hard on lungs. A fit-tested respirator with the right cartridges beats a paper dust mask for spray work.
- Ventilate and control ignition sources when using solvent-based products. Shellac-based primers and alkyd paints release strong fumes. Open windows, run a fan blowing out, and keep pilot lights and open flames away.
- Lay solvent-soaked rags flat to dry outdoors. Bunched rags with oil-based paint or primer can self-heat and catch fire. Never toss them wet into a trash bin.
Step-by-Step Guide
- Step 1: Empty, remove, and label everything. Take out the contents, then remove the doors and drawer fronts. Number each door with tape on the hinge side and mark the matching spot inside the cabinet, because doors that look identical rarely are. Bag the hinges and screws by location, and remove handles and pulls. Painting around hardware guarantees a sloppy edge.
- Step 2: Set up a flat workstation. Lay doors flat on sawhorses or painter’s pyramids in your dust-free space. Flat doors prevent runs and let you coat edges evenly. Number the workstations to match your labels.
- Step 3: Degrease every surface. Scrub doors, drawer fronts, and frames with a degreaser or TSP substitute and a scrub pad. Kitchen grease is the number one cause of peeling cabinet paint, and it must come off before sanding, or the sander just smears it around. Rinse with a damp rag and let everything dry fully.
- Step 4: Repair and fill. Fill dents, scratches, and any old hardware holes you are relocating with wood filler, slightly overfilling. Let it dry hard, then sand the patches flush.
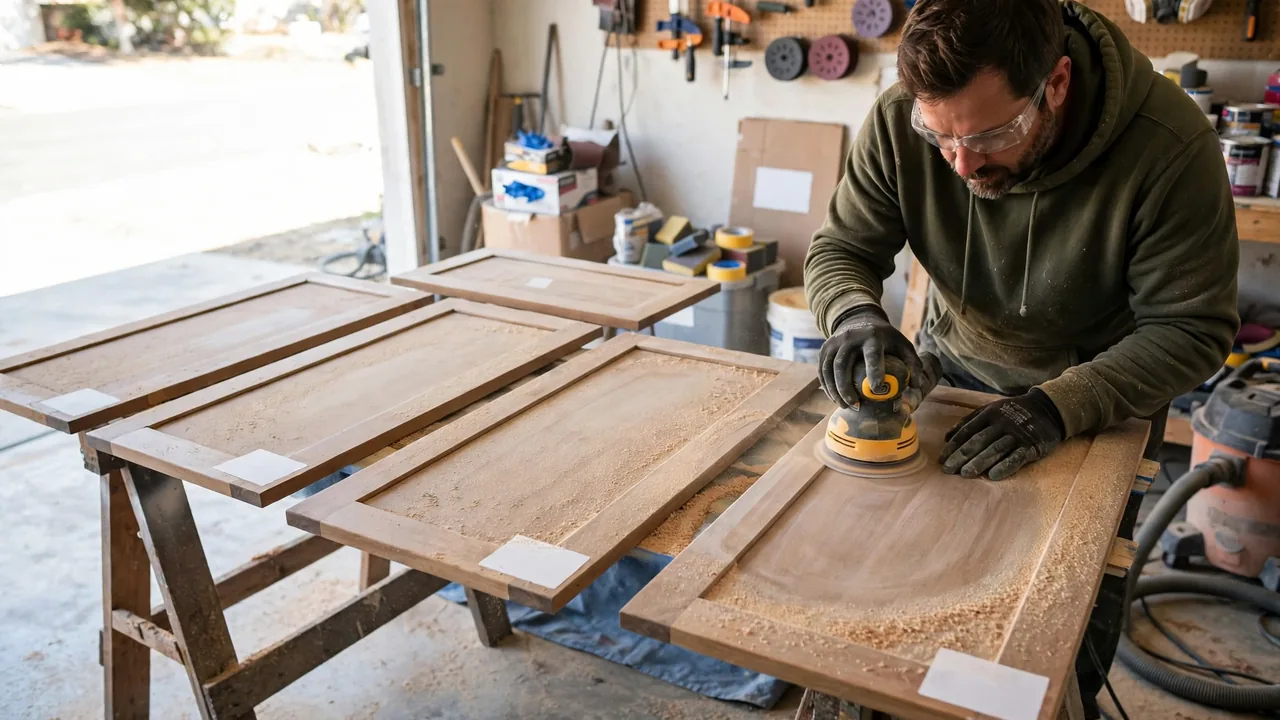
- Step 5: Sand to dull the finish. Sand all surfaces with 120 grit to cut the gloss, then 220 grit to smooth. You are not stripping to bare wood; you are creating a dull, even surface the primer can grip. On detailed profiles, fold the paper and work by hand. Vacuum, then wipe every surface with a tack cloth.
- Step 6: Prime with a bonding primer. Apply one even coat of bonding or stain-blocking primer. This matters most on oak, where tannins can bleed yellow-brown stains through light paint, and on any slick factory finish. Brush primer into details first, then roll or spray the flat areas, keeping the coat thin and complete.
- Step 7: Sand the primer and caulk. When the primer is dry, sand lightly with 220 grit until it feels smooth, then tack-cloth again. Run a thin bead of caulk along hairline gaps where panels meet frames and wipe it tight with a damp finger. Caulk before the finish coats, never between them.
- Step 8: Apply the first coat of enamel. Stir the paint, never shake it, and apply a thin coat. With a brush and roller, brush the grooves and edges first, then roll the flats with a foam roller and tip off lightly with the brush. With a sprayer, use overlapping passes at a steady distance. Thin coats level out; thick coats sag and show every mark.
- Step 9: Sand between coats and repeat. When the first coat has dried for the recoat window on the can, sand very lightly with 220 or 320 grit, tack off the dust, and apply the second coat the same way. Most cabinets need two finish coats over primer; white over dark wood and high-use kitchens often need three.
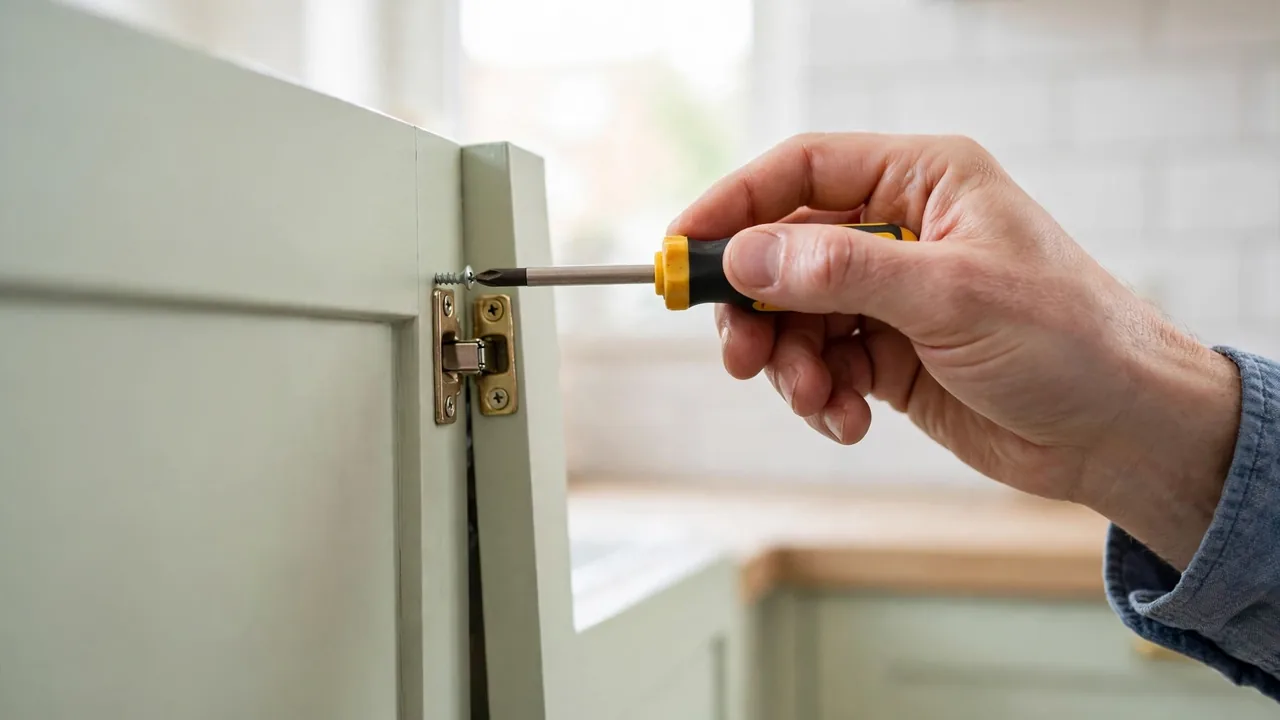
- Step 10: Let it cure, then reassemble. Dry is not cured. Enamel feels dry in hours but keeps hardening for days to weeks. Leave doors flat for at least 24 to 48 hours before careful handling, hang them after several days, and treat the finish gently for the first few weeks: no harsh scrubbing, and felt pads on door corners help. Match each door to its label and reinstall the hardware.
How to Know You Did It Correctly
Run these checks before you call it done. The finish feels uniformly smooth to a flat palm, with no gritty dust nibs or visible brush texture under a raking light held at a low angle. Your fingernail, pressed firmly into a hidden spot like a door edge after a few days of curing, leaves no dent in the film. Doors close without sticking, and the color is even in daylight with no primer ghosting through. Finally, the tape test: press painter’s tape firmly on a cured, inconspicuous area and pull it off sharply; it should come away clean. Peeling means adhesion failed underneath, and it will not fix itself.
Expected Timeline and Results
Plan a realistic calendar: one day for removal, cleaning, and repairs; one day for sanding and priming; two to three days for finish coats with drying between them; then several days of curing before the kitchen works hard again. Done with full prep, the result is a smooth, hard finish that looks close to factory and survives daily cooking for years. Done with skipped prep, the same paint can peel at the pull edges within a season. The difference is never the paint brand; it is the grease removal, the sanding, and the cure time.
Alternative Methods
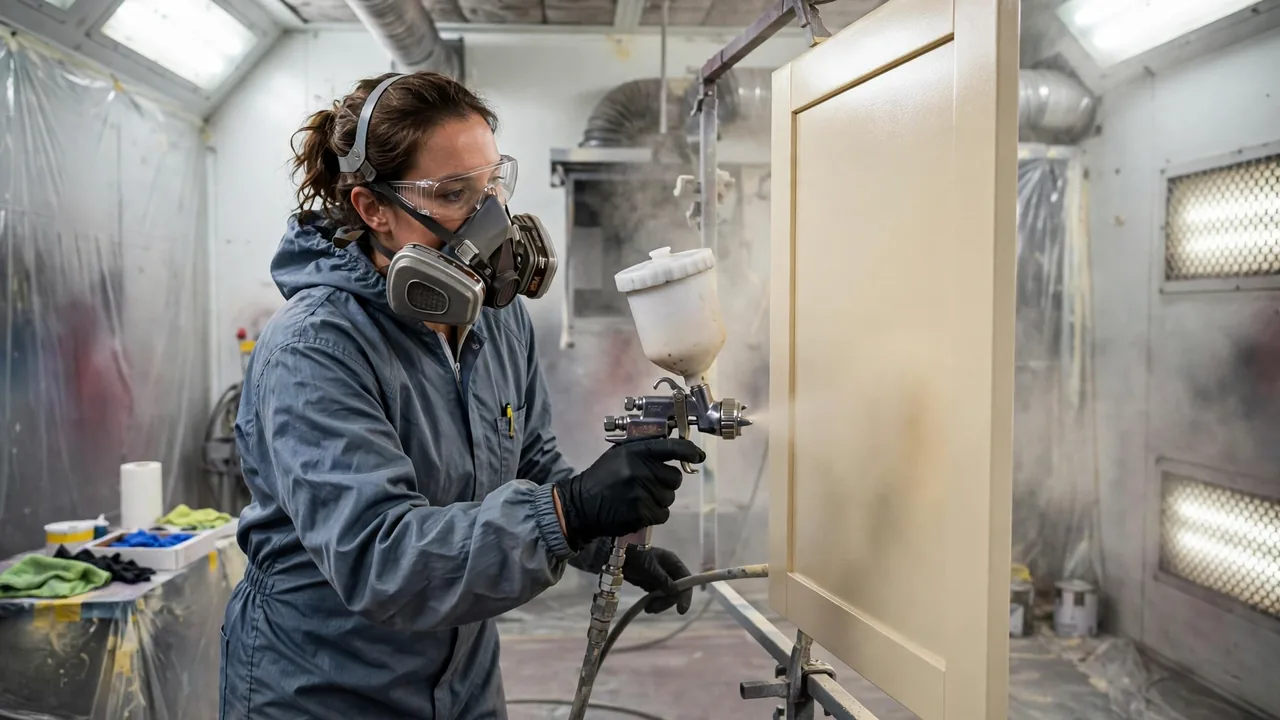
Spraying versus brushing is the big choice. Spraying gives the smoothest, most factory-like result and handles detailed door profiles easily, but it demands masking, a separate spray area, practice on scrap first, and more safety gear. A quality brush and foam roller is slower and leaves a faint hand-applied texture, yet it needs almost no masking and is far more forgiving; with a leveling enamel, most of the texture melts away. Whatever method you pick, the degrease, sand, and prime steps stay the same.
Common Mistakes to Avoid
- Painting over grease. Even a thin invisible film blocks adhesion. If you skip the degreaser, expect peeling around the stove and the handles first.
- Using regular wall paint. Wall paint stays too soft for doors that get grabbed, bumped, and scrubbed. Use a cabinet and trim enamel made to cure hard.
- Skipping primer on oak or slick finishes. Tannins bleed and glossy factory coatings shed paint. A bonding or stain-blocking primer is not optional on these surfaces.
- Thick coats to save time. Heavy coats sag on edges, trap solvent, and stay soft underneath. Two or three thin coats always beat one thick one.
Troubleshooting & Common Problems
| Problem | Cause | Solution |
|---|---|---|
| Paint peels off in sheets | Grease or gloss was left under the paint, or primer was skipped | Scrape back to a firm edge, degrease, sand, prime with bonding primer, and repaint. Spot fixes fail if the whole surface was contaminated |
| Visible brush marks and texture | Paint too thick, cheap brush, or the enamel dried before it could level | Sand smooth with 220 grit and apply a thinner coat. Work in cooler conditions and tip off rolled areas with a brush |
| Yellow or brown stains bleeding through | Wood tannins, common with oak, coming through water-based coats | Seal with a shellac-based stain-blocking primer, then repaint |
| Finish feels soft or dents weeks later | Coats were too thick, or humidity and cold slowed the cure | Give it more time in a warm, dry room. Very thick films may need to be sanded back and recoated thinly |
Expert Tips
- Paint a sample door first and live with it for a day. Color reads differently on a vertical door in kitchen light than on a swatch, and the sample proves your whole prep and finish sequence before you commit twenty doors to it.
- Add painter’s pyramids to your kit. They let you flip a door and paint the second side while the first is still tacky underneath at four tiny points, which cuts days off the schedule.
When to Call a Professional
Call a professional painter or refinisher if the finish tests positive for lead and you are not set up for safe handling, if the boxes are damaged by water or the doors are warped, or if thermofoil is peeling across most doors, since that is a replacement job rather than a paint job. Get quotes that name the prep steps and products; a low quote that skips degreasing and priming is a peeling job waiting to happen, whoever applies it.
What to Do Next
Once the doors are back on and adjusted, protect the investment. Add felt or silicone bumpers inside every door and drawer so painted surfaces never slap together. Clean the finish with a soft cloth and mild soap only, and wait out the full cure period before any scrubbing.
FAQs
What is the best paint for kitchen cabinets?
A cabinet and trim enamel made for hard wear. Alkyd and urethane-alkyd enamels are favorites because they level out smooth like old oil paints but clean up more easily and resist yellowing better. Standard wall paint stays too soft for doors and drawers.
Do I really need to sand cabinets before painting?
Yes. Sanding is not about removing the old finish; it dulls the gloss so primer can grip. A liquid deglosser can help in carved details, but it does not replace sanding on the flat areas.
How many coats of paint do cabinets need?
One coat of bonding primer plus two coats of enamel covers most cabinets. Light colors over dark or reddish wood, and doors with heavy grain like oak, often need a third finish coat for full, even coverage. Judge after the second coat dries, looking across the surface under a low light.
How long before I can use my cabinets after painting?
Doors can usually be handled carefully after 24 to 48 hours and rehung after several days. The finish keeps curing for two to four weeks depending on the product, so treat it gently during that period: no harsh cleaners and no slamming. Use the times on your paint can as the final word.
Is spraying better than brushing cabinets?
Spraying gives the smoothest finish and is faster per door once set up, but it needs masking, ventilation, practice, and safety gear. A good brush and foam roller with a leveling enamel comes surprisingly close and suits most DIY kitchens.
Why is my cabinet paint peeling?
Almost always adhesion failure underneath: grease left on the surface, gloss that was never dulled, or primer skipped on a slick or tannin-rich wood. The fix is mechanical, not chemical: scrape to a firm edge, degrease, sand, prime with a bonding primer, and repaint. Painting over a peeling layer never holds.
Final Thoughts
Painting cabinets rewards patience more than talent. Degrease like you mean it, sand until the gloss is gone, prime with a product made to bond and block stains, and lay the enamel down in thin coats that you allow to cure. Do those unglamorous things and your kitchen gets a finish that looks factory-smooth and survives daily life, for a fraction of what new cabinets would cost.