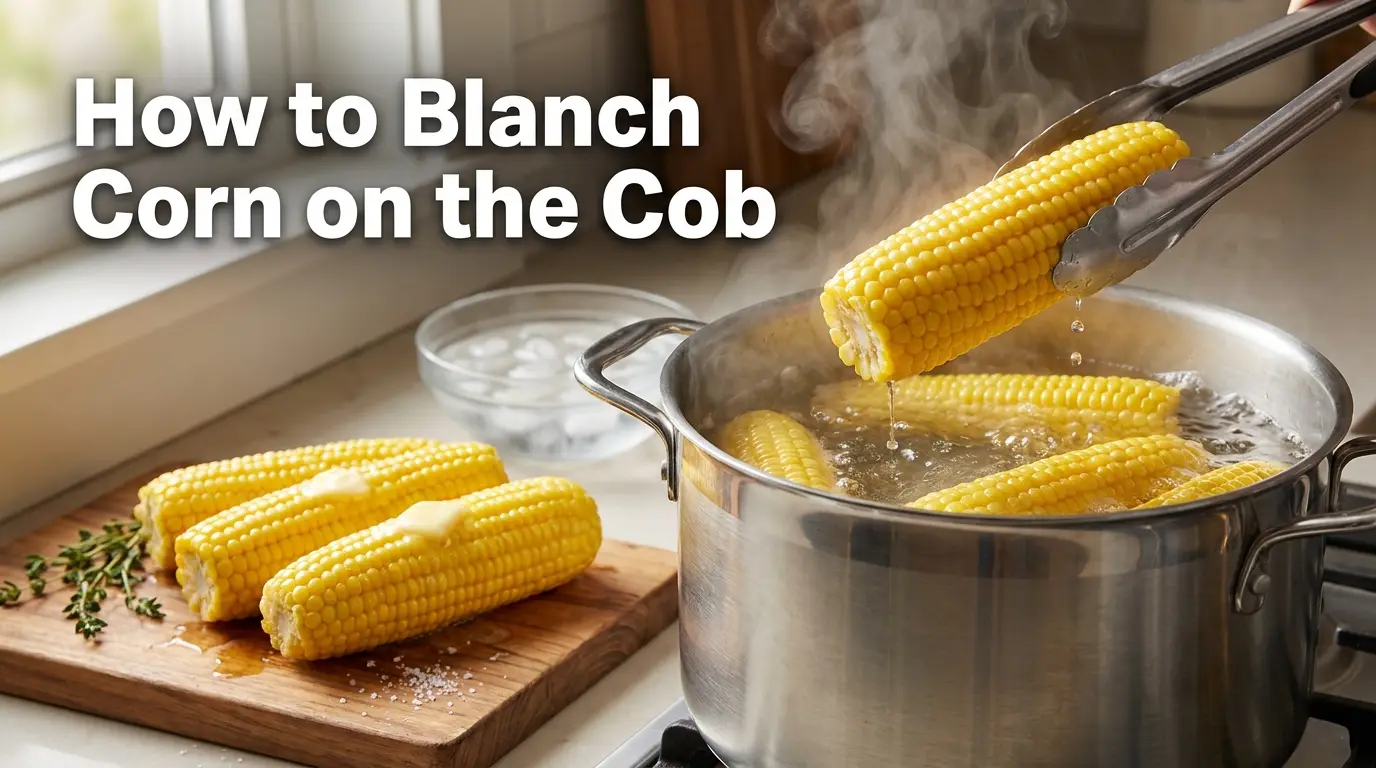
Blanching corn on the cob means briefly heating the ears in boiling water, then cooling them rapidly in ice water. For corn you plan to freeze, blanch small ears for 7 minutes, medium ears for 9 minutes, and large ears for 11 minutes; then cool them completely in ice water. These times are established by the National Center for Home Food Preservation and extension guidance.
Why Blanch Corn on the Cob?
Blanching is especially important when you want to freeze fresh corn. It slows or stops enzyme activity that can otherwise continue affecting the corn’s flavor, color, texture, and nutritional quality during frozen storage. Blanching also helps clean the surface, brightens the color, and softens the vegetable slightly.
Freezing itself slows enzyme activity but does not completely stop it. That’s why simply putting fresh corn in the freezer isn’t equivalent to properly blanching it first.
Blanching is not primarily about making corn safe to eat. Fresh corn can be cooked without blanching. The main reason for blanching before freezing is quality preservation.
There is also an important distinction between blanching corn for freezing and simply cooking corn for dinner. If you’re going to eat the corn immediately, you don’t need to follow the 7-, 9-, or 11-minute blanching schedule. Those times are preservation guidelines for corn-on-the-cob intended for freezing.
What You Need
For the standard boiling-water method, you need:
- Fresh corn on the cob
- A large pot
- Plenty of water
- Tongs or a blanching basket
- A large bowl or container for ice water
- Ice
- Clean kitchen towels or paper towels
- Freezer-safe bags or containers, if freezing the corn
Choose tender, good-quality ears. For freezing, the National Center for Home Food Preservation recommends using tender, freshly gathered corn in the milk stage. The kernels should look plump, and when a kernel is cut, it should release a milky liquid.
How to Blanch Corn on the Cob
1. Prepare the corn
Remove the husks and as much silk as possible. Trim damaged portions from the ends and wash the ears under cool running water.
Sort the ears roughly by size rather than putting very small and very large ears together. Ear size matters because the heat needs to reach the center of the cob and kernels.
For the standard freezing method, use these sizes:
| Ear size | Boiling-water blanching time |
| Small | 7 minutes |
| Medium | 9 minutes |
| Large | 11 minutes |
The National Center for Home Food Preservation defines small ears as about 1¼ inches or less in diameter, medium ears as 1¼ to 1½ inches, and large ears as over 1½ inches.
2. Bring plenty of water to a vigorous boil
Fill a large pot with enough water to completely cover the corn.
Bring it to a strong, rolling boil before adding the ears.
If you’re blanching a large batch, don’t overcrowd the pot. Adding too much corn at once can cause the water temperature to drop substantially, which makes the heating process less reliable.
For home freezing, the National Center for Home Food Preservation recommends about 1 gallon of water per pound of prepared vegetables and says the water should return to a boil within about 1 minute.
3. Add the corn
Carefully lower the prepared ears into the boiling water using tongs or a blanching basket.
Make sure the ears are submerged.
Cover the pot with a lid and keep the heat high.
4. Start timing after the water returns to a boil
This detail is easy to overlook.
Adding cold corn can temporarily stop the vigorous boil. For freezing-quality blanching, start counting the recommended time once the water has returned to a boil.
Use the ear size to determine the time:
- Small ears: 7 minutes
- Medium ears: 9 minutes
- Large ears: 11 minutes
These are not arbitrary cooking times. They are research-tested blanching times specifically recommended for corn-on-the-cob intended for freezing.
5. Move the corn immediately to ice water
Prepare the ice bath before the blanching time is finished.
When the timer reaches the appropriate time, remove the corn from the boiling water and immediately place it into a large container of ice water.
The goal is to cool the ears quickly and thoroughly so the cooking process stops.
For freezing, the cooling stage is just as important as the heating stage. Extension guidance recommends cooling corn for approximately twice the blanching time when using the standard water-blanching method.
That means approximately:
- 7-minute blanch → about 14 minutes cooling
- 9-minute blanch → about 18 minutes cooling
- 11-minute blanch → about 22 minutes cooling
The important cue is not merely the clock. The corn should be completely cold before you package it for freezing.
6. Drain the corn thoroughly
Remove the cooled ears from the ice bath and let them drain.
Pat the surface dry with clean kitchen towels or paper towels.
Removing excess surface water helps prevent unnecessary ice formation when the corn is frozen.
7. Package and freeze
If you’re freezing whole ears, wrap or package them tightly in appropriate freezer packaging.
Use freezer-safe bags or containers designed to limit moisture loss and protect the corn from freezer odors.
Remove as much excess air as practical before sealing the package.
Label the packages with the date and contents, then place them in a freezer maintained at 0°F (-18°C) or below for best frozen-food quality.
How Many Minutes Do You Blanch Corn?
The answer depends on the size of the ear.
For corn-on-the-cob that you’re preparing for freezing, the standard boiling-water times are:
7 minutes for small ears, 9 minutes for medium ears, and 11 minutes for large ears.
Some extension references have slightly different times. For example, Colorado State University Extension lists 8, 10, and 12 minutes for small, medium, and large ears.
Because preservation guidance can vary somewhat by source, it’s better not to invent one universal number. The National Center for Home Food Preservation’s current guidance gives 7, 9, and 11 minutes, and the University of Minnesota Extension gives the same water-blanching times.
Why does corn size matter?
A large ear contains more dense material between the outside and the center. It therefore takes longer for the heat to reach the entire ear.
Using the same short blanching time for every ear can result in inadequate blanching of larger ears. Conversely, unnecessarily extending the blanching time can reduce quality because overblanching can cause losses in flavor, color, and nutrients.
Should You Blanch Corn Before Freezing?
Yes, if you want to preserve the best quality for frozen storage.
Blanching is the standard recommended preparation for most vegetables being frozen because it slows enzyme activity responsible for undesirable changes during storage.
For whole corn on the cob, the basic sequence is:
Husk → wash → blanch → ice bath → drain → package → freeze
If you prefer to freeze loose kernels rather than whole ears, the process is different. The National Center for Home Food Preservation recommends blanching the ears for 4 minutes, cooling them promptly, and then cutting the kernels from the cob.
Freezing kernels can also be more convenient if you plan to use the corn in soups, casseroles, salsa, corn bread, or other recipes rather than eating it directly from the cob.
Can You Steam-Blanch Corn on the Cob?
Yes. Steam is a legitimate blanching method, although it takes longer than boiling water.
For corn on the cob, University of Minnesota Extension lists these steam-blanching times:
| Ear size | Water blanching | Steam blanching |
| Small | 7 minutes | 10 minutes |
| Medium | 9 minutes | 13 minutes |
| Large | 11 minutes | 16 minutes |
The same basic principle applies: prepare the corn, expose it to the required heat for the appropriate time, then cool it rapidly.
For most people, boiling water is straightforward because it provides an easy way to completely surround the ears with heat.
Can You Blanch Corn in the Microwave?
Microwave blanching is possible in the sense that microwaves can heat corn, but it is not the recommended method for blanching vegetables for freezing.
Research cited by university extension and the National Center for Home Food Preservation indicates that microwave blanching may fail to inactivate some enzymes. That can contribute to poorer frozen quality, including undesirable changes in flavor, color, and texture. Microwave blanching also has not been shown to save time or energy.
So, if your purpose is freezing corn for later use, use the tested boiling-water method rather than relying on a generic microwave cooking time.
Microwaving corn is a different matter when you’re simply cooking fresh corn for a meal. Microwave cooking instructions can vary with the appliance, number of ears, and whether the husk is left on. That should not be confused with a validated blanching procedure for freezer preservation.
What Happens If You Don’t Blanch Corn Before Freezing?
The corn can still freeze, but its quality may deteriorate more quickly.
Freezing slows enzyme activity but does not completely stop it. Over time, unblanched vegetables can experience undesirable changes in flavor, color, and texture.
For corn, this matters particularly because you’re trying to preserve the qualities that make fresh corn appealing: sweetness, flavor, color, and a pleasant kernel texture.
Proper blanching followed by rapid cooling gives you a more controlled preservation process.
How to Keep Blanched Corn From Getting a “Cobby” Taste
One problem associated with improperly handled frozen corn on the cob is a noticeable cobby taste.
The most important step is to cool the blanched corn promptly and completely in ice water.
The National Center for Home Food Preservation specifically recommends cooling corn promptly and completely to prevent this problem.
Don’t take the ears out of the boiling water and leave them sitting on the counter while you prepare the rest of the batch. Have the ice bath ready before the blanching timer finishes.
The ears should be thoroughly cold before you drain, dry, package, and freeze them.
Troubleshooting Blanched Corn
Corn tastes watery after freezing → The cob retained too much moisture
Whole corn on the cob can become more waterlogged or soft after freezing than loose kernels because the cob makes the ear slower to freeze and reheat. The National Center for Home Food Preservation notes that whole frozen corn on the cob is more susceptible to a waterlogged or mushy texture than kernels.
Solution: Cool the corn completely, drain it well, dry the exterior, and package it properly. If texture is more important than eating the corn directly from the cob, consider freezing kernels instead.
Corn becomes soft or mushy → It was overcooked or poorly cooled
Overblanching can damage vegetable quality, while slow cooling allows cooking to continue after the corn leaves the boiling water.
Solution: Use the size-based blanching times and transfer the corn immediately to ice water.
Corn develops poor flavor in the freezer → Blanching or packaging was inadequate
Underblanching can leave enzyme activity active, while poor packaging can expose frozen food to moisture loss and freezer odors.
Solution: Follow the tested blanching time, cool the corn completely, drain it, and use moisture-resistant freezer packaging.
The water takes a long time to return to a boil → Too much corn was added
A large quantity of cold corn can drop the water temperature significantly.
Solution: Work in manageable batches and use enough boiling water. For home freezing, the National Center for Home Food Preservation recommends approximately 1 gallon of water per pound of prepared vegetables and says the water should return to a boil within about 1 minute.
Blanching Corn on the Cob vs. Whole-Kernel Corn
The blanching time changes depending on how you intend to freeze the corn.
For whole ears, use the size-based times:
- Small ears: 7 minutes
- Medium ears: 9 minutes
- Large ears: 11 minutes
For whole-kernel corn, blanch for 4 minutes, then cool, drain, and cut the kernels from the cob.
The difference is important because you’re treating a whole ear differently from kernels that have already been separated from the cob.
If you mainly use corn as an ingredient, frozen kernels are often more convenient to portion and use. If you want to serve corn directly on the cob, freeze whole ears.
Frequently Asked Questions
How do I blanch corn on the cob?
Husk and wash the corn, then place the ears in vigorously boiling water. Blanch small ears for 7 minutes, medium ears for 9 minutes, or large ears for 11 minutes. Immediately transfer them to ice water, cool them completely, drain, dry, package, and freeze.
Why do people blanch corn?
The main reason is to preserve quality during freezing. Blanching slows or stops enzyme activity that can otherwise cause undesirable changes in flavor, color, and texture.
How many minutes should I blanch corn?
For corn-on-the-cob intended for freezing, use 7 minutes for small ears, 9 minutes for medium ears, and 11 minutes for large ears in boiling water.
Can I blanch corn in the microwave?
Microwave blanching is not recommended for freezer preservation because research shows it may not reliably inactivate the enzymes responsible for quality deterioration. Use boiling water for a more reliable method.
Do I need an ice bath after blanching corn?
Yes, if you’re blanching the corn for freezing. Rapid cooling stops the cooking process and helps prevent quality problems. The corn should be completely cold before you package it for the freezer.
Can I freeze corn without blanching it?
You can physically freeze it without blanching, but recommended home-freezing guidance calls for blanching vegetables to preserve quality. Unblanched corn can develop poorer flavor, color, and texture during frozen storage.
Is blanching the same as cooking corn?
No. Blanching is a short heat treatment used primarily to prepare vegetables for preservation. Cooking corn for immediate eating is a separate process and does not require following the freezing-specific blanching times.
Final Takeaway
For freezer-quality corn on the cob, use the tested size-based method: 7 minutes for small ears, 9 minutes for medium ears, and 11 minutes for large ears, followed immediately by thorough ice-water cooling. The key to good results is not just the blanching time but the complete sequence of heat, rapid cooling, thorough draining, and proper freezer packaging.
