Introduction
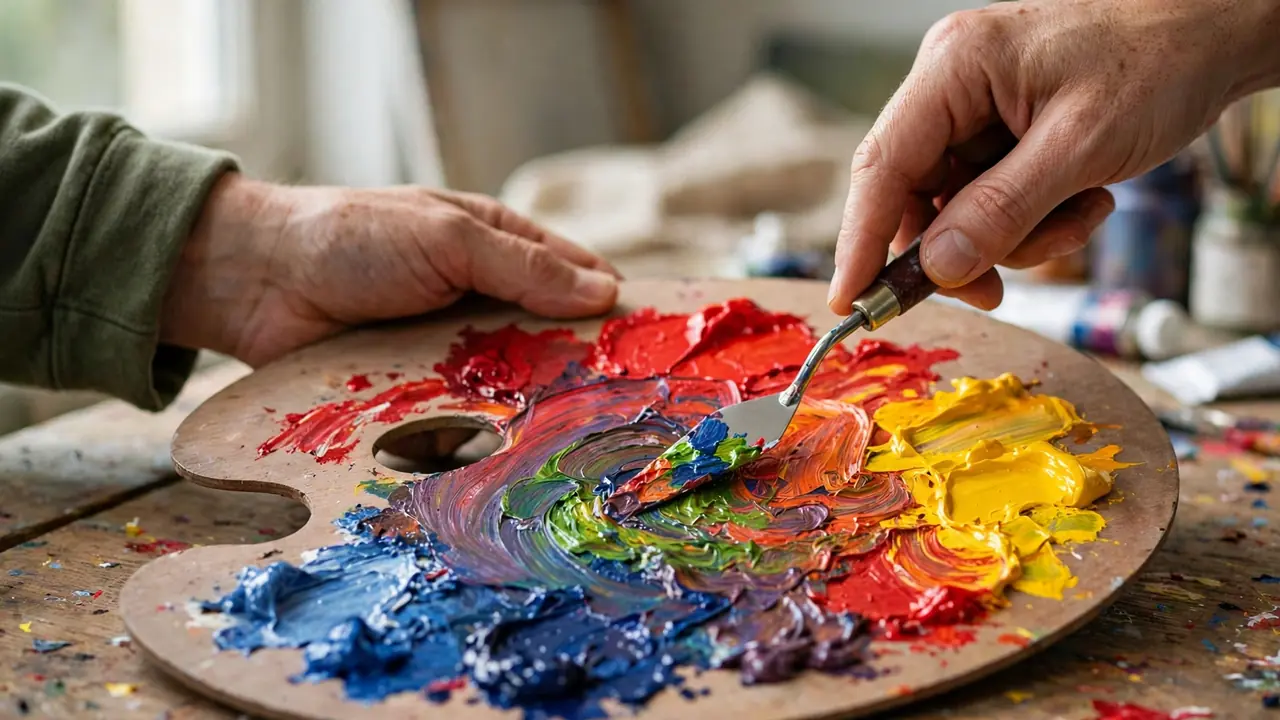
Brown looks like the simplest color in the world until you try to mix it. Add the wrong partners together and you get mud: a grayish, lifeless smear that matches nothing in nature. The good news is that brown follows one clear rule. Brown is dark orange, and every reliable way to make it is really a way of mixing orange and then controlling how dark, warm, or muted it becomes. Once you see brown that way, tree bark, leather, chocolate, soil, and wood tones all become reachable on purpose instead of by luck.
This guide covers the three dependable mixing methods: complementary pairs, the three primaries, and orange darkened with blue or black. You will learn starting ratios, how to steer a mix warmer or cooler, how to lighten brown into tan and beige, and how to avoid the muddy result that frustrates beginners.
Featured Snippet Answer
To make brown paint, mix complementary colors: red with green, blue with orange, or purple with yellow. Equal parts give a balanced mid-brown. Add more warm color for a rich brown, or more cool color for a darker, muted brown. You can also mix all three primaries, red, yellow, and blue, and adjust the balance the same way.
Before You Begin
Start with the right primaries if you have a choice. A warm red such as cadmium red leans toward orange, while a cool red such as alizarin leans toward purple, and they produce different browns. Warm and cool versions of blue and yellow shift the result the same way. Just know that two paints with the same name from different brands can lean differently.
Mix on a white or light gray palette or tile, never directly from a photograph of a color, because your surface and lighting change what you see. Work under the light the finished piece will live in where you can. Mix more than you think you need: matching a brown a second time is far harder than mixing extra the first time. Keep a notebook or a labeled swatch card for every mix you like, recording the colors and rough proportions.
Expect the dry result to differ slightly from the wet mix. Acrylic and gouache commonly dry a shade darker, and watercolor dries lighter. Always let a test swatch dry fully before you judge the color or mix a large batch.
At a Glance
| Detail | What to know |
|---|---|
| Difficulty | Easy once you know the complementary pairs |
| Time needed | 2 to 10 minutes per mix, plus drying time for a test swatch |
| Cost | Free if you own basic paints; a starter set of primaries costs $10 to $30 |
| Skill level | Beginner |
| Best for | Artists, crafters, and DIY painters who need a specific brown on demand |
Things You’ll Need
| Item | Purpose |
|---|---|
| Red, yellow, and blue paint | The primaries; every brown in this guide can be built from these three |
| Orange, green, and purple paint (optional) | Ready-made halves of the complementary pairs; they shorten mixing time |
| White paint | Lightens brown into tan, beige, and khaki tones |
| Black paint | Deepens brown in tiny amounts; use sparingly to avoid a dead, flat mix |
| Palette or ceramic tile | A light, non-absorbent surface for mixing and judging color |
| Palette knife or brush | Blends the mix fully so no streaks of the parent colors remain |
| Scrap paper or a swatch card | Tests the mix; the dried swatch is the true color |
| Notebook or phone notes | Records the colors and ratios of mixes worth repeating |
| Water cup and paper towels | Cleans tools between mixes so old color does not contaminate new batches |
Safety Precautions
- Check pigment labels if you paint often. A few traditional pigments, such as genuine cadmium and cobalt colors, need care: avoid eating or drinking while you paint, wash your hands afterward, and keep paints away from children.
- Ventilate when you use oil paints with solvents. Turpentine and mineral spirits produce fumes and are flammable. Work in fresh air and store them away from heat sources.
- Dispose of solvent rags safely. Rags soaked in oil paint or solvent can self-ignite. Lay them flat outdoors to dry fully, or keep them in a sealed metal can filled with water.
- Keep paint water out of the sink in large amounts. Small rinses are fine in most areas, but wipe heavy paint from brushes and palettes into the trash first.
Step-by-Step Guide
Pick one method below for your first mix. The complementary method is the fastest to learn, the three-primary method gives the widest range, and the orange-plus-dark method produces the richest deep browns. Steps 5 to 8 then fine-tune any mix from any method.
- Step 1 (Method A): Choose a complementary pair. Complementary colors sit opposite each other on the color wheel, and mixing them cancels their brightness toward brown and gray. The three working pairs are red with green, blue with orange, and purple with yellow. Build a missing partner from primaries: orange is red plus yellow, green is yellow plus blue, purple is red plus blue.
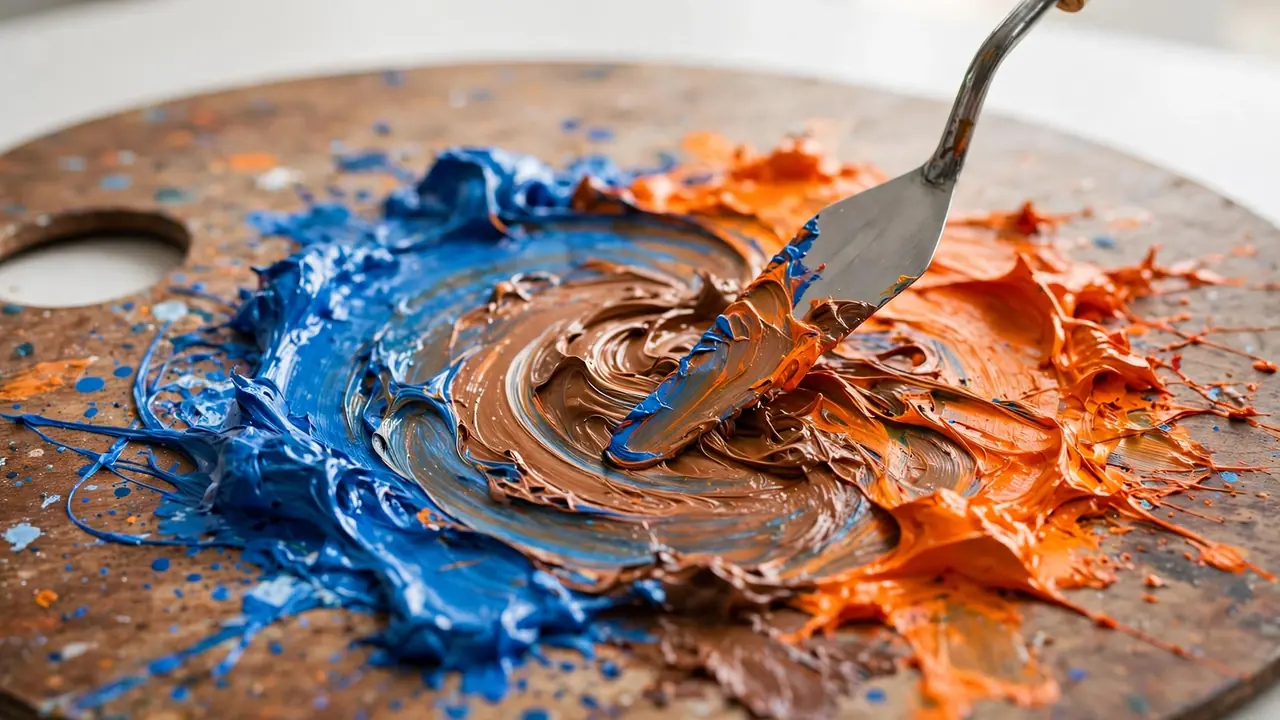
- Step 2 (Method A): Mix equal parts and read the result. Combine roughly equal amounts of your pair. Blue plus orange gives a balanced, slightly warm brown. Red plus green gives a deep neutral brown. Purple plus yellow gives a softer, grayer brown.
- Step 3 (Method B): Mix all three primaries. Combine red, yellow, and blue in roughly equal parts for a neutral mid-brown. This method gives you direct control: the primary you add most dominates the character of the brown. Yellow-heavy mixes turn tan and golden. Red-heavy mixes turn rich and warm like mahogany. Blue-heavy mixes turn dark and cool like walnut.
- Step 4 (Method C): Start from orange and darken it. Mix a clear orange from red and yellow, then add blue a little at a time. The blue deepens the orange into brown while keeping it lively. A small touch of black instead of blue makes a very deep brown fast, but black flattens color, so add it in pinhead amounts and stop early.
- Step 5: Steer the temperature. To warm a brown up, add red or yellow in small amounts; think of moving it toward rust, terracotta, or chestnut. To cool it down, add blue or a touch of green; think of moving it toward taupe, walnut, or espresso.
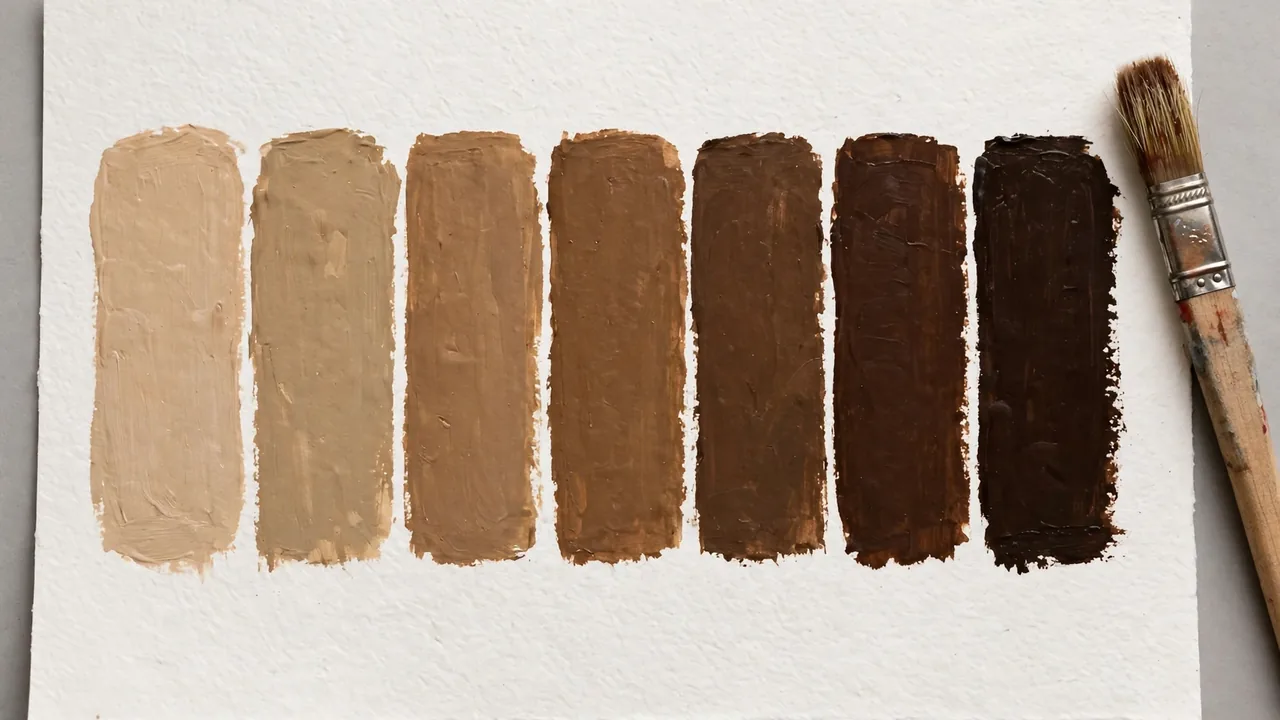
- Step 6: Adjust the value. To lighten brown into tan or beige, add white a little at a time; white also cools and softens the mix slightly. For a lighter but still warm result, add yellow along with the white. To darken without black, add more blue, which deepens the brown while keeping it rich instead of sooty.
- Step 7: Paint a test swatch and let it dry completely. Brush a generous patch on scrap paper, label it with the colors and ratios you used, and wait until it is fully dry. Wet paint lies: acrylics and gouache dry darker, and watercolor dries lighter.
- Step 8: Scale up and record the recipe. When the dried swatch matches your target, mix a full batch using the same proportions. Write down the colors, the order, and the rough ratios.
How to Know You Did It Correctly
Your dried swatch should read clearly as brown at arm’s length, with no visible streaks of the parent colors and no gray, chalky film on the surface. Compare it against your target, real bark, a leather belt, a chocolate bar, in the light where the finished work will live. If the swatch looks right wet but wrong dry, adjust for the dry shift rather than for the wet appearance.
Expected Timeline and Results
Your first deliberate brown takes about 5 to 10 minutes including a dried test swatch for fast-drying media. After a few practice mixes, you will hit common browns in under two minutes. Expect your early mixes to skew muddy or too orange; that is calibration, not failure. Within one practice session, most people can reliably produce a warm mid-brown, a dark cool brown, and a light tan, which covers most browns used in painting, crafts, and home decorating.
Alternative Methods
If you paint often, buying tube browns such as burnt sienna, raw umber, and burnt umber saves time and gives consistent results. Know that each is a shortcut for a mix: burnt sienna behaves like a warm orange-brown, raw umber like a cool greenish brown, and you can adjust them with primaries exactly as this guide describes. For wall paint, the reliable alternative is a color-matched sample pot from the store’s tinting machine, since house paint pigments differ from artist pigments.
Common Mistakes to Avoid
- Mixing all your colors together at once. A random puddle of everything on the palette gives uncontrollable mud.
- Adding black to fix a brown that is too bright. Black kills the warmth and turns brown sooty. Mute a bright brown with its complement instead, which keeps the color alive.
- Judging the color while it is wet. Acrylic and gouache dry darker; watercolor dries lighter. Decide from a fully dried swatch only.
- Adding large amounts at each step. Brown is sensitive: a pea-sized addition can swing a small mix from rust to chocolate. Add in small dabs and blend fully between additions.
- Mixing on a dark palette. A black or wooden palette distorts your judgment of value. Mix on white or light gray so the brown you see is the brown you get.
- Forgetting to write the recipe down. An unrecorded perfect brown is a one-time accident. Ratios and a labeled swatch make it repeatable.
Troubleshooting & Common Problems
| Problem | Cause | Solution |
|---|---|---|
| The mix turned gray and muddy | Too much complement, or too many different colors in the mix | Add back the warm parent color (orange, red, or yellow) in small amounts until warmth returns; start fresh if more than five colors are involved |
| The brown looks orange, not brown | Not enough of the darkening complement | Add blue (or green, for a red-based mix) a dab at a time until the orange settles into brown |
| The brown is too dark to use | Too much blue or black in the mix | Lighten with the original warm color first, then a little white; avoid fixing it with white alone, which turns it chalky |
| The brown looks flat and lifeless | Black was used to darken it, killing the underlying color | Rebuild with orange plus blue and no black; deepen with blue only |
| The dried color does not match the wet mix | Normal dry shift of your medium | Mix one shade lighter for acrylic and gouache, one shade darker for watercolor, and always judge from a dried swatch |
| Two batches of the same recipe do not match | Ratios drifted, or a different brand or tube was used | Mix the full amount in one batch, box leftovers together, and record exact tubes and ratios in your notes |
Expert Tips
- Think of every brown as an orange with an attitude. Ask two questions of any brown you want: how orange is it, and how dark? Answering those two questions tells you the mix before you touch paint.
- Use the two-color shortcut for skin tones and wood. Orange lightened with white and muted with a speck of blue covers a wide range of natural wood and skin-adjacent tones quickly and consistently.
- Keep a dedicated mud jar. Leftover browns and failed mixes, adjusted with a little blue or orange, make excellent shadow colors. Nothing is wasted.
- For the richest dark brown, layer rather than mix. A glaze of transparent red or orange over a dried dark brown base gives a depth that a single flat mix rarely matches, especially in oil and acrylic work.
When to Call a Professional
Color matching for a large home project is the main case for outside help. If you need gallons of a specific brown to match existing cabinets, trim, or a manufacturer’s finish, have the paint store scan a sample with its spectrophotometer instead of hand-mixing; human eyes cannot hold a ratio across gallons. The same applies to automotive and furniture refinishing, where the finish must match an existing panel under all lighting.
What to Do Next
Build a personal brown library. Spend one session mixing and labeling swatches across the range: tan, camel, chestnut, chocolate, espresso, and a cool taupe, each with its recipe on the back of the card. That small deck becomes your starting point for every future project, and it turns brown from a guessing game into a lookup. Then use your browns with intent: warm browns advance and feel cozy, cool browns recede and feel calm, and pairing the two inside one painting creates depth for free.
FAQs
What two colors make brown paint?
Any complementary pair makes brown: red and green, blue and orange, or purple and yellow. Blue and orange is the most popular pair because it gives a warm, natural brown that is easy to steer.
What colors make brown from primaries?
Mix red, yellow, and blue in roughly equal parts for a neutral brown. Add more yellow for a tan or golden brown, more red for a warm mahogany brown, and more blue for a dark, cool walnut brown.
How do I make light brown or tan?
Start with a mid-brown and add white a little at a time. If the result looks gray or cold, add a touch of yellow along with the white to keep the tan warm. Beige is simply a light brown with very little color saturation.
How do I make dark chocolate brown?
Mix orange with blue, leaning heavily on the orange, then add red until the mix turns rich and warm. Darken further with small additions of blue rather than black, which keeps the chocolate color deep instead of sooty.
Why does my brown paint look muddy?
Mud appears when too many colors are mixed or when black does the muting. Fix a muddy mix by adding the warm parent color, usually orange or red. Prevent mud by mixing from one complementary pair and muting with the complement, never with black.
Can I make brown without red paint?
Yes. Orange and blue make brown, and you can build the orange from red-free options only if you already have an orange paint. Without any red or orange pigment at all, true brown is not possible, since brown is a dark orange and needs that warm component.
How do I make brown with watercolor?
Use the same complementary pairs, but mix a shade darker than your target because watercolor dries lighter. Blue and burnt sienna style oranges give classic watercolor browns, and always test on the same paper first.
Final Thoughts
Brown is not a mystery color hiding between tubes; it is dark orange, and it obeys simple rules. Mix complements or primaries, steer with small additions, mute with the complement instead of black, and judge only from dried swatches. With those habits, you can produce any brown in nature on demand, and repeat it exactly whenever you need it again.