Introduction

A golden tan looks like summer itself, but the line between a glow and a burn is thinner than most people think. Tanning is your skin defending itself: when ultraviolet light hits your skin, it produces melanin, the pigment darkening it, as a shield against further damage. Every tan, even a perfect one, is a sign your skin took a hit.
This guide is for anyone who wants color without the peeling shoulders and regret. You will learn how to build a tan gradually, how to read your own skin type so you know your limits, and which methods dermatologists say to skip.
Featured Snippet Answer
To tan safely, know your skin type, tan only during low to moderate UV hours, and always wear broad-spectrum SPF 30+ sunscreen, reapplying every two hours. Build color gradually over several short sessions instead of one long burn, since any burn damages skin. Self-tanner gives color with zero UV risk.
Before You Begin
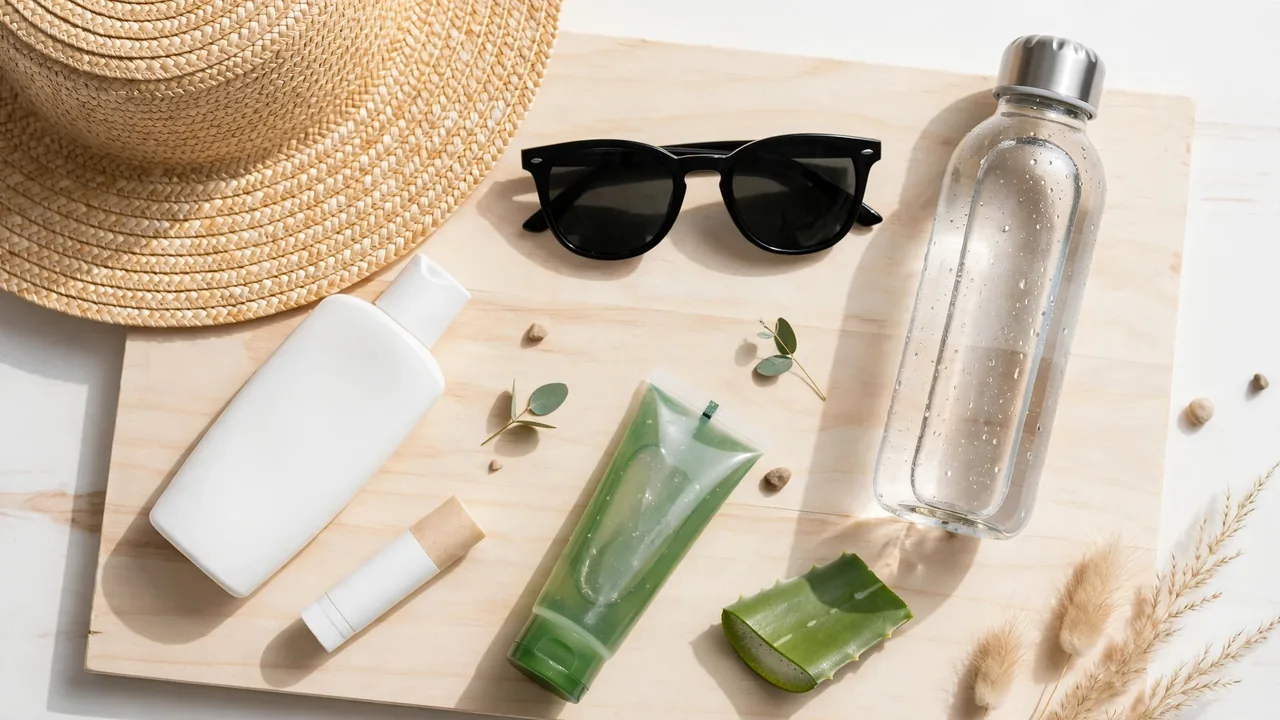
Tanning safely is an easy skill with one hard requirement: patience. Plan on four to seven days of short sessions rather than one long afternoon. Color that arrives slowly is color that arrived without a burn.
Cost is modest: sunscreen, a hat, and sunglasses cost about the same as one salon visit. A spray tan costs more per session but needs no sun. Do it yourself if you enjoy being outdoors and can follow a timer; book a spray tan if you need even color fast or your skin burns easily. Before your first session, figure out your Fitzpatrick skin type (covered below) and check any medications you take, since some antibiotics and acne treatments make skin extra sensitive to sun.
Choosing the Right Approach
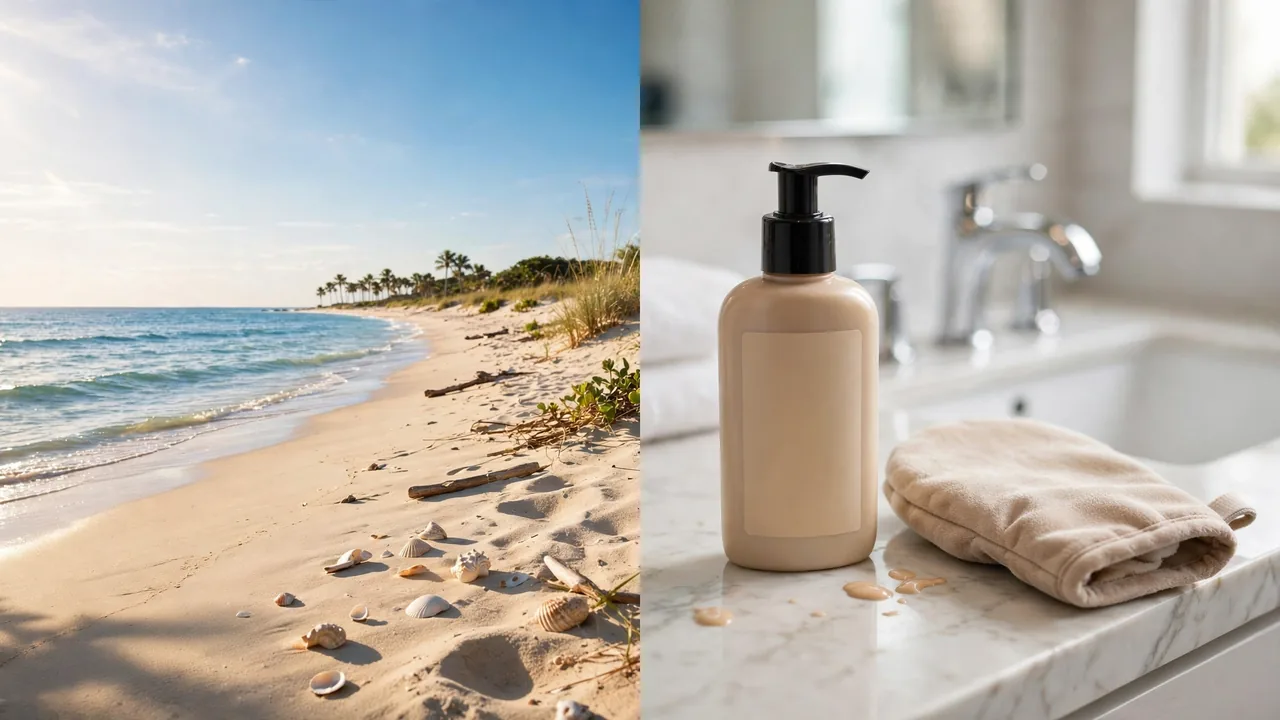
Four common routes lead to tanned-looking skin, and they are not equal. Be honest about which trade-off you want before you start.
| Method | UV exposure | Speed of color | Risk level | Typical cost |
|---|---|---|---|---|
| Gradual natural sun | Yes, controlled and limited | Slow, over several days | Low when done correctly | Low |
| Self-tanner (DHA lotion) | None | Hours | Very low, streaks are the main risk | Low to moderate |
| Professional spray tan | None | Minutes | Very low | Moderate |
| Tanning bed | Yes, concentrated | Fast | High, health authorities classify tanning devices as carcinogenic | Moderate |
No UV tan is completely risk-free, because the tan itself is damage response. Tanning beds are not a safe shortcut: they deliver concentrated ultraviolet radiation in short bursts, and major health authorities classify UV tanning devices as carcinogenic. Dermatology groups advise against them without exception. If your priority is zero UV risk, self-tanner or a spray tan wins outright.
At a Glance
| Factor | Details |
|---|---|
| Difficulty | Easy to moderate, patience is the hard part |
| Time needed | 4 to 7 days of short sessions |
| Cost | Low ($15 to $40 in supplies) or moderate (salon spray tan) |
| Skill level | Beginner friendly |
| Best for | Fair to medium skin tones building gradual color; very fair skin should favor self-tanner |
Things You’ll Need
| Item | Purpose |
|---|---|
| Broad-spectrum SPF 30+ sunscreen | Prevents burns while still allowing gradual color; the single most important item |
| SPF lip balm | Lips have almost no melanin and burn fast |
| UV-protection sunglasses | Shields eyes from cumulative UV damage |
| Wide-brim hat | Shades your face and scalp during breaks |
| Phone timer or alarm | Enforces short sessions so you never rely on feel |
| Aloe vera gel or fragrance-free moisturizer | Soothes skin after sun; moisturized skin holds color longer |
| Water bottle | Sun and heat dehydrate you faster than you notice |
| Gentle exfoliating scrub or mitt | Removes dead skin for even color, and preps skin for self-tanner |
| Self-tanner (optional) | Zero-UV color for days you skip the sun |
Safety Precautions
Read this section before the steps. Every precaution here exists because someone learned it the painful way.
- Check the UV Index before every session. Most weather apps show it. Aim for 3 to 5 (moderate). At 6 and above, keep sessions very short or skip the day.
- Know your skin type. The Fitzpatrick scale runs from Type I (always burns, never tans) to Type VI (never burns, deeply pigmented). Types I and II should keep sessions to 10 to 15 minutes per side or choose self-tanner instead.
- Never fall asleep in the sun. Set a loud timer. An accidental nap turns a safe session into a burn.
- Wear sunscreen every time. Broad-spectrum SPF 30+, applied 15 to 20 minutes before exposure and reapplied every two hours and after swimming or sweating. It filters UV rather than blocking all of it, which is why you still tan while wearing it.
- Check your medications. Some antibiotics, acne retinoids, and other prescriptions increase photosensitivity. Read the label or ask your pharmacist.
- Protect your eyes. UV damage to eyes accumulates over a lifetime. Wear real UV-protection sunglasses and never look directly at the sun.
- Keep babies and young children out of direct sun. Shade and protective clothing are the guidance for infants.
- Skip tanning beds entirely. Concentrated UV in short bursts is the riskiest exposure pattern there is.
- If you burn, stop. Get out of the sun, cool the skin, and moisturize. Peeling is your body discarding damaged cells, not progress. Never tan on top of a burn.
Step-by-Step Guide
The whole method rests on one idea: short, repeated, protected exposures build color, while long unprotected ones build damage.
- Set your exposure budget from your skin type. Starting point: Types I to II, 10 to 15 minutes per side; Types III to IV, 15 to 25 minutes; Types V to VI, 25 to 35 minutes. Why it matters: a personal time limit is the only thing standing between you and the burn you will not feel until hours later.
- Prep your skin a day ahead. Exfoliate gently and moisturize. Smooth, hydrated skin tans more evenly.
- Pick your window. Before 10 in the morning or after 4 in the afternoon, when the UV Index sits around 3 to 5. Midday sun is for shade, not tanning.
- Apply sunscreen 15 to 20 minutes before going out. Use about a shot-glass amount for your whole body, covering ears, tops of feet, back of the neck, and lips with SPF balm. Common mistake: a thin, rushed layer. Sunscreen only works at the tested thickness on the label.
- Start your session and your timer together. Lie out for your budgeted time, then move into the shade. Do not extend the session because you feel fine. UV damage is invisible while it happens; the burn announces itself hours later.
- Rotate on a schedule. Flip front to back and side to side every 10 to 15 minutes. Why it matters: rotation prevents the lopsided tan where one shoulder is bronze and the other is pale.
- Reapply sunscreen every two hours and after swimming or sweating. No sunscreen survives a swim intact.
- Recover after sun. Cool shower, pat dry, moisturize with aloe or fragrance-free lotion, and drink water. Moisturized skin sheds more slowly, so color lasts longer.
- Do the tan line audit. The next day, check strap, watch, and sock lines in a mirror. Note uneven spots and adjust your position next session. Most people never check, which is why most tans have one mysteriously pale stripe.
- Repeat over 4 to 7 days. Only add time if the previous morning showed zero pinkness. Pink skin means you overdid it, so hold steady or shorten the next session.
How to Know You Did It Correctly
A successful session has a clear signature, and none of it involves pain. Skin should feel warm afterward, never hot, tight, or tender. The test comes the next morning: no pinkness means yesterday was the right length. Color should deepen gradually over days, not appear overnight, and tan lines should look even, which is what the tan line audit is for.
Expected Timeline and Results
On days one and two, expect little more than a warm glow. By days three to five, the tan shows clearly, and after one to two weeks of consistent short sessions you reach full color for your skin type. Maintenance takes far less effort: one or two short sessions per week plus daily moisturizer. Every tan fades as skin renews over a few weeks; moisturizing daily and avoiding long, hot showers slows the fade.
Alternative Methods
Sun is not the only route to color, and for some skin types it is not the best one. These carry no UV risk at all.
- Self-tanner (DHA lotion or mousse). Dihydroxyacetone reacts with dead cells on the skin surface to create temporary color. Exfoliate first, apply in long strokes with a tanning mitt, wash hands well, and wait 6 to 8 hours before showering. Lasts 3 to 7 days. It offers zero sun protection, so sunscreen still applies outdoors.
- Professional spray tan. A technician applies an even mist, solving the streak problem of DIY self-tanner. Lasts about a week and looks natural when the shade matches your skin tone.
- Gradual tanning moisturizers. Daily lotions with a small amount of DHA build subtle color over days. The most forgiving option for beginners.
- Wash-off bronzers. Tinted lotions and powders that rinse away in one shower. Ideal for a single evening with zero commitment.
Common Mistakes to Avoid
- Skipping sunscreen to “tan faster.” Sunscreen does not stop tanning; it filters the UV that burns you.
- Tanning at midday. UV peaks roughly between 10 and 4. Twenty minutes at noon delivers far more burning UV than at 9 in the morning.
- Falling asleep in the sun. The most common cause of severe burns. Timer on, every time.
- Using tanning beds or SPF-free “accelerator” oils. Both intensify UV damage; oils without SPF act as burn accelerant.
- Judging exposure by feel. You cannot feel UV damage happening. Trust the clock and the next-morning check, not your skin’s warmth.
- Tanning over a burn. Peeling or pink skin needs shade and moisturizer, not more sun.
- Forgetting to reapply after swimming. Water, sweat, and toweling remove sunscreen. Reapply every time.
Troubleshooting & Common Problems
| Problem | Cause | Solution |
|---|---|---|
| Sunburn despite sunscreen | Too little product, missed reapplication, or expired sunscreen | Cool compresses, aloe vera, and stay out of the sun until healed; next time use the full shot-glass amount and set a reapply timer |
| Blotchy or uneven tan | Inconsistent rotation or patchy exfoliation | Exfoliate before the next session and rotate front, back, and sides on a fixed schedule |
| Streaky self-tanner | Dry patches absorbed extra color, or rushed application | Exfoliate and moisturize elbows, knees, and ankles first; apply with a mitt in long, even strokes |
| Orange tint from self-tanner | Shade too dark or too many layers | Choose a shade close to your natural tone and build with single layers |
| Unwanted tan lines | Watch, jewelry, or straps left on | Remove accessories before sessions and run the tan line audit the next day |
| Peeling skin | Burn damage surfacing days later | Do not pick at it; moisturize generously and pause all sun until healed |
| Pale patches that will not tan | Possible skin condition or uneven melanin | If patches persist or spread, have a dermatologist take a look |
Expert Tips
- Judge every session by the next morning, not the evening. Burns bloom hours after exposure. Unchanged morning skin means yesterday was perfect.
- Hit the forgotten zones. Tops of feet and ears burn most often because routines skip them. Make them deliberate stops.
- Label your timer “flip.” A repeating 15-minute alarm removes guesswork from rotation, and you will actually obey a labeled alarm.
- Shorten sessions near water and sand. Both reflect UV back at you. Beach and pool tanning needs a smaller time budget than a backyard session.
- Exfoliate 24 hours before, not right before. Freshly scrubbed skin is more reactive; a day of recovery gives smoothness without sensitivity.
- Alternate sun and shade. Ten minutes in the sun followed by ten in the shade still builds color with far less total UV than continuous exposure.
- Photograph your progress weekly. Phone photos reveal uneven patches your eyes adapt to and miss.
When to Call a Professional
See a dermatologist about any new mole or change in an existing one. Dermatologists teach the ABCDE check: Asymmetry (halves do not match), Border (irregular or blurred edges), Color (varied shades within one spot), Diameter (larger than a pencil eraser), and Evolving (any change in size, shape, or color). Any sore that does not heal within a few weeks, or any spot that itches, crusts, or bleeds, deserves an appointment.
Seek medical care for severe sunburn: widespread blistering, fever, chills, dizziness, or nausea after heavy sun exposure mean your body needs help, not just aloe. For event-ready, streak-free color with zero UV, a professional spray tan technician is the right call.
What to Do Next
Once you have the color you want, shift from building to maintaining. Moisturize daily, keep one or two short protected sessions per week, and keep doing the morning-after check so maintenance never quietly becomes overexposure. Make mole checks a monthly two-minute habit in front of a mirror. And consider letting self-tanner handle maintenance from here; every UV session you replace with DHA is damage you simply never took.
FAQs
Can you tan through sunscreen?
Yes. Sunscreen filters ultraviolet light rather than blocking all of it. An SPF 30 product still lets a small fraction of UV through, which is why you tan slowly instead of burning.
Does a base tan protect you from burning?
Barely. Dermatologists point out that a base tan offers only minimal protection and is itself a sign of skin damage. Treat it as cosmetic, not armor, and keep wearing sunscreen over it.
How long should each tanning session last?
It depends on your skin type and the UV Index. Start with 10 to 20 minutes per side when the UV Index is 3 to 5, and only extend the time if your skin shows zero pinkness the next morning.
Is it safe to tan every day?
Short daily sessions build color efficiently, but rest if you notice any pinkness, and never tan on skin that is already burned or peeling.
Why do I burn but never seem to tan?
You likely have Type I skin on the Fitzpatrick scale, which produces very little melanin. Longer sessions only produce burns. A self-tanner gives you the color your biology will not.
Are tanning beds safer because sessions are short?
No. Tanning beds deliver concentrated UV in short bursts, a high-risk exposure pattern, and health authorities classify UV tanning devices as carcinogenic. Short does not mean safe here.
How long will my tan last?
A few weeks, since skin cells constantly renew and shed. Daily moisturizing and shorter, cooler showers slow the fade, while exfoliating speeds it up.
Final Thoughts
Safe tanning is a slow craft, not a race. Set a time budget your skin type can handle, wear sunscreen like it is part of the method, and let color arrive over days. Check your skin the morning after, audit your tan lines, and respect what the mirror tells you. The safest tan is the gradual one, and the safest color of all comes from a bottle.