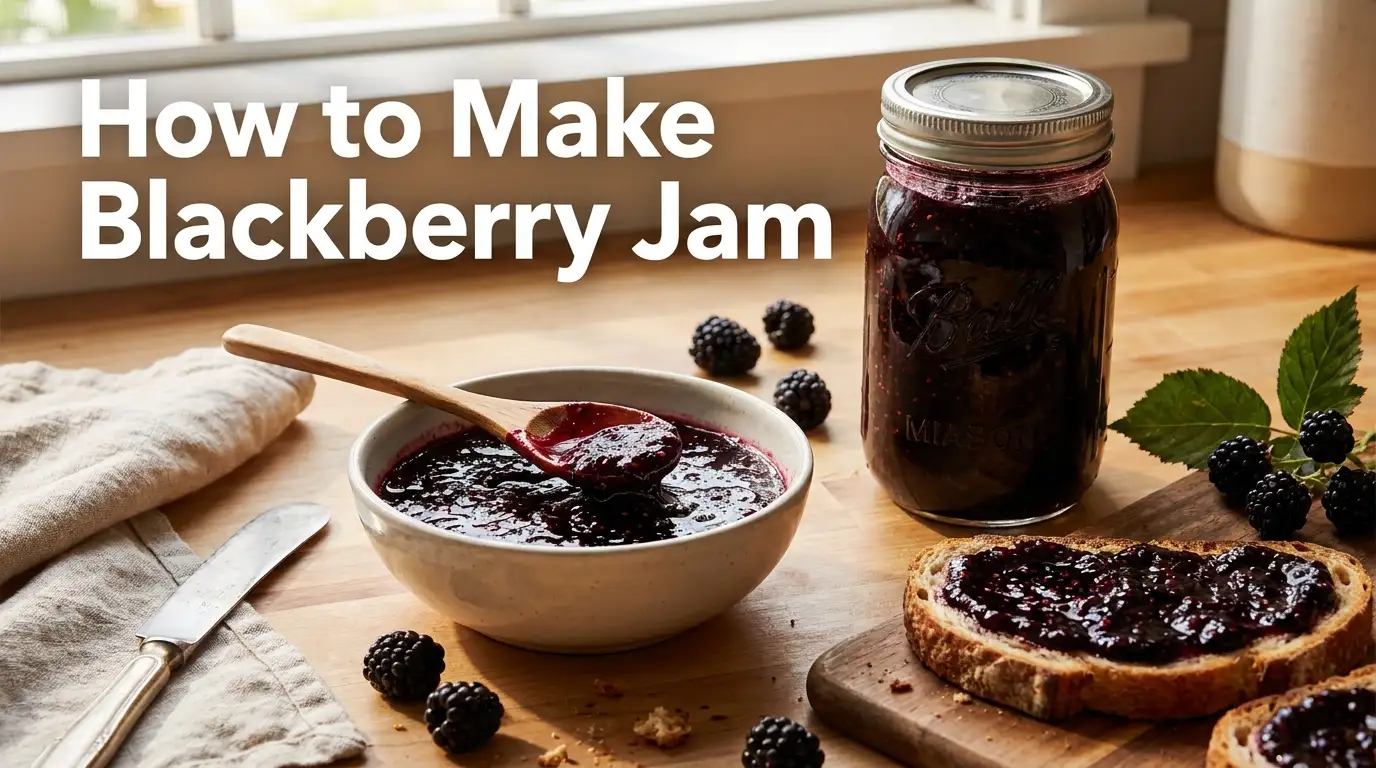
To make blackberry jam, combine 600 g (about 1.3 lb) blackberries, 400 g sugar, and 2 tablespoons lemon juice in a heavy saucepan. Bring the mixture to a steady boil and cook until it reaches the setting point, around 104–105°C (219–221°F) near sea level, then check it on a chilled plate for a soft gel.
For a simple homemade batch, the practical choice is to make refrigerator jam rather than trying to make a shelf-stable preserve without a tested canning recipe. Cool the finished jam, refrigerate it, and use it within about 3 weeks; freeze it if you want longer storage.
What You Need
This recipe makes roughly 2 to 3 cups of jam, depending on how much the fruit reduces.
| Ingredient | Amount | Purpose |
| Fresh or frozen blackberries | 600 g | Fruit base |
| White granulated sugar | 400 g | Sweetness and jam structure |
| Lemon juice | 2 tbsp | Brightens flavor and contributes acidity |
Equipment
- Heavy-bottomed saucepan with high sides
- Potato masher or sturdy spoon
- Kitchen scale or measuring cups
- Wooden spoon or heat-resistant spatula
- Small plate for the cold-plate test
- Clean heatproof jars or containers
- Candy or jam thermometer, if available
- Fine-mesh sieve, if you want a seed-reduced jam
Fresh or frozen blackberries both work. If the berries are especially seedy, you can strain some or all of the cooked fruit through a fine-mesh sieve or food mill. Extension guidance specifically recommends this when blackberries have a heavy seed load.
How to Make Blackberry Jam
1. Prepare the blackberries
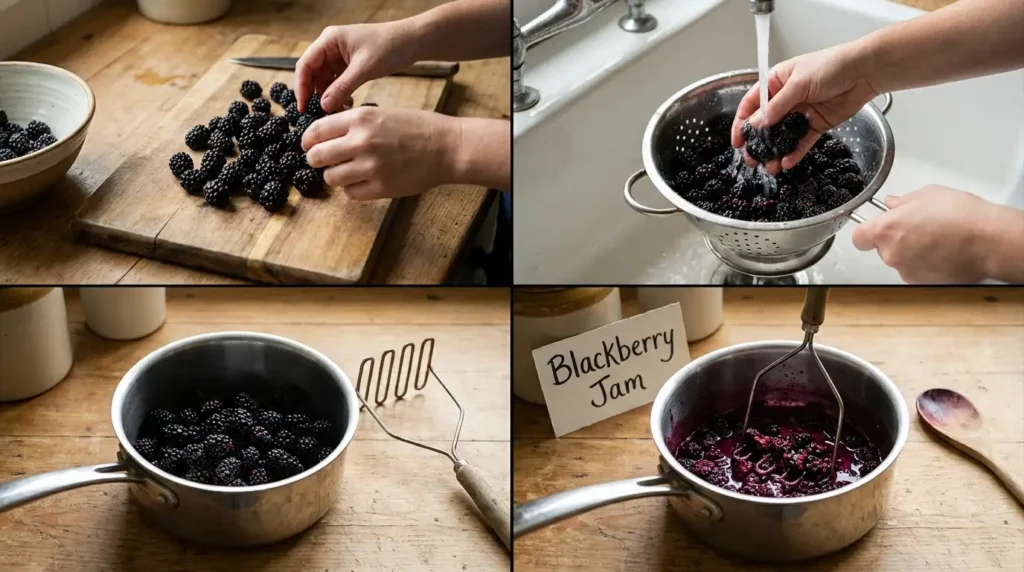
Pick through the blackberries and remove leaves, stems, damaged berries, or other debris. Rinse fresh berries gently and drain them well.
Put the berries into your saucepan and crush them lightly with a potato masher.
You do not need to turn them into a smooth purée. Leaving some pieces intact gives the finished jam a more traditional fruit texture.
If using frozen blackberries, thaw them first and include their juices in the pan.
What to look for: The berries should be broken down enough to release plenty of juice, but some recognizable pieces can remain.
Common mistake: Starting with a large pile of whole berries and expecting them to cook evenly. Crushing them first helps the fruit break down quickly and makes it easier to judge the consistency.
2. Add the sugar and lemon juice
Add the 400 g sugar and 2 tablespoons lemon juice to the crushed blackberries.
Stir thoroughly so the sugar is distributed throughout the fruit.
You can let the berries and sugar stand for a short time before cooking if you want the sugar to begin dissolving, but an overnight maceration is not necessary for this small batch.
The sugar does more than make the jam sweet. In a traditional jam, the balance between fruit, sugar, water, acidity, pectin, and cooking determines how the finished product gels. Changing the proportions can change the final texture.
3. Start cooking over medium heat
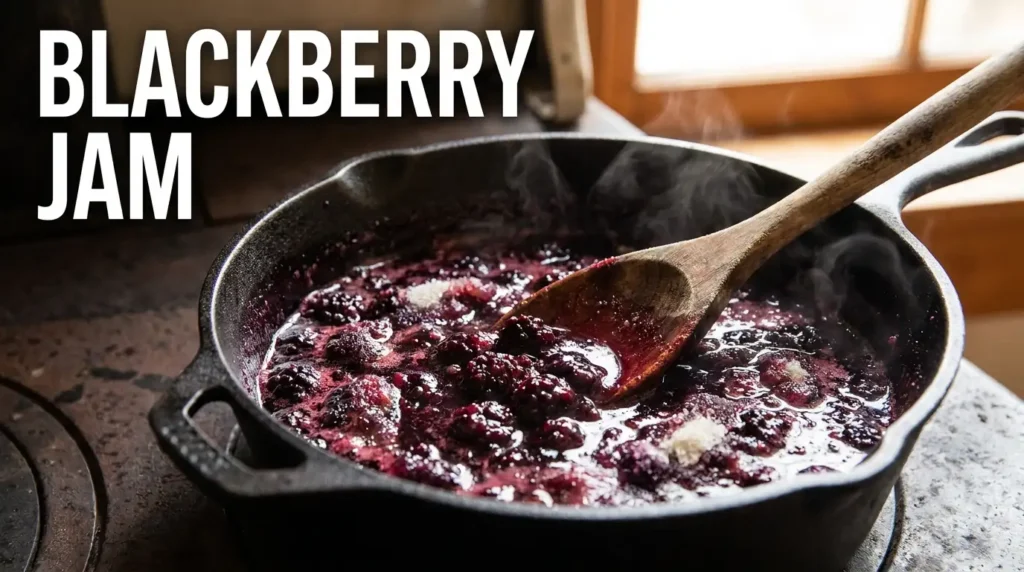
Place the saucepan over medium heat and stir as the mixture warms.
At first, the berries will release more liquid and the sugar will dissolve. The mixture will look thin and syrupy.
Once the sugar has dissolved, increase the heat enough to bring the mixture to a steady boil.
Use a large enough saucepan because jam can foam and rise quickly as it boils.
What to look for: The mixture should move from a loose berry syrup toward a thicker, glossy mixture. The bubbles will become larger and more active as water cooks away.
Common mistake: Using very low heat for the entire cooking process. A slow, prolonged cook can unnecessarily darken the fruit and increase the chance of overcooking. The National Center for Home Food Preservation notes that excessive cooking can produce darker, stiffer jam.
4. Cook until the jam reaches the setting point
Once the mixture reaches a steady boil, continue cooking and stir regularly so the fruit does not stick to the bottom.
The exact cooking time will vary with the size of your pan, the amount of water in the berries, the heat level, and the batch size. Rather than relying on a fixed number of minutes, use the setting point as your guide.
If using a thermometer, aim for roughly 104–105°C (219–221°F) near sea level. Traditional jam-setting temperatures vary with altitude, so a thermometer reading should not be treated as a universal number. The National Center for Home Food Preservation gives lower target temperatures as elevation increases.
The jam should also look noticeably thicker than it did at the beginning. When you lift the spoon, the liquid should fall more slowly rather than running like juice.
Do not judge the final texture from the boiling jam alone. Jam continues to thicken as it cools.
5. Use the cold-plate test
If you do not have a reliable thermometer, or you simply want to confirm the set, use a cold plate.
Before cooking, place a small plate in the freezer. When the jam appears thick enough, remove the pan from the heat and put a small spoonful of hot jam onto the chilled plate.
Return the plate to the freezer for a few minutes, then push your finger gently through the jam.
A properly setting jam should wrinkle slightly and hold the path made by your finger instead of immediately flowing back together. This type of refrigerator/freezer test is also recommended by the National Center for Home Food Preservation for checking the setting point of jam made without added pectin.
If the sample is still very runny, return the pan to the heat and continue cooking. Test again rather than simply adding a large amount of extra sugar.
What to look for: A soft, spreadable gel, not a firm candy-like block.
6. Decide whether you want seeds in the jam
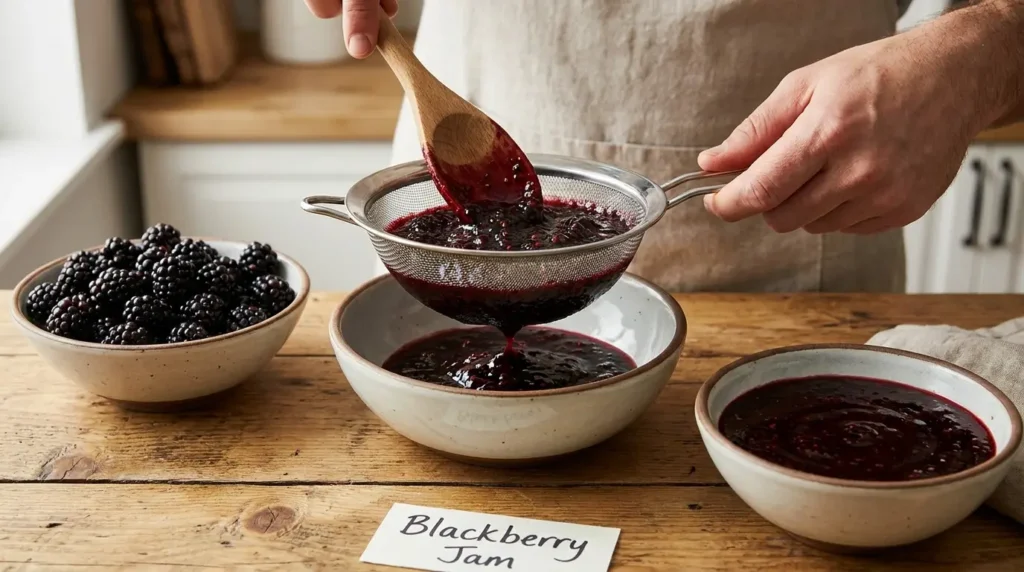
Blackberry seeds are completely edible, but some people prefer a smoother spread.
For a seedier, rustic jam, leave everything as it is.
For a smoother jam, press some or all of the cooked mixture through a fine-mesh sieve while it is still hot. A food mill can also remove much of the seed material.
Remember that straining removes some of the fruit pulp, so the final quantity and texture will change.
Best practical choice: If you dislike blackberry seeds, strain the berries before or during cooking rather than trying to remove every seed after the jam has already set.
7. Transfer the hot jam to clean containers
Once the jam reaches the consistency you want, remove it from the heat.
Carefully transfer it into clean heatproof jars or containers. Leave enough room for the jam to expand if you plan to freeze it.
Allow the containers to cool before putting them in the refrigerator.
For a refrigerator jam, you do not need to pretend that a hot-filled jar is automatically shelf-stable. Shelf storage requires a tested canning formula and the appropriate boiling-water processing procedure. The National Center for Home Food Preservation specifically distinguishes refrigerator/freezer jams from properly processed home-canned jams.
How to Tell When Blackberry Jam Is Done
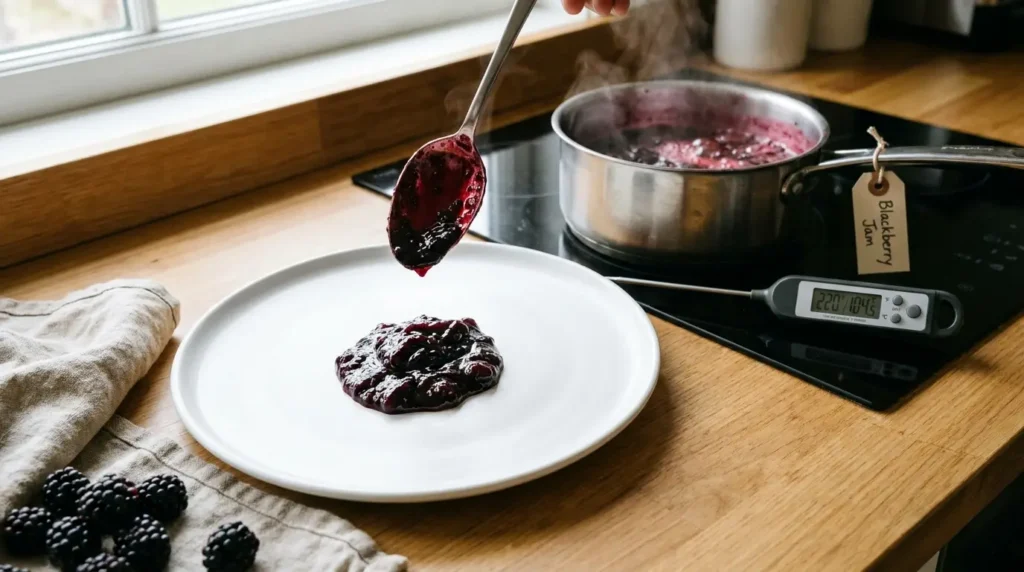
The biggest challenge when making blackberry jam is stopping at the right point.
Three signs work together:
The thermometer test
Near sea level, traditional jam-setting temperature is around 104–105°C (219–221°F), but altitude affects the temperature at which jam sets.
The cold-plate test
The chilled jam should wrinkle or resist flowing back when you push your finger through it.
The spoon test
The cooked mixture should appear thicker and fall from the spoon more slowly than a thin fruit syrup.
Use the tests together instead of relying on cooking time alone.
If you stop too early, the jam may remain loose. If you cook too long, it can become excessively thick, dark, or sticky. Overcooking is one documented cause of stiff jam, while insufficient cooking can leave a mixture too loose.
Should You Remove Blackberry Seeds?
No, you do not have to.
Leaving the seeds in gives blackberry jam a more rustic texture and saves time. Removing some or all of them gives you a smoother spread that may be easier to use on toast, pastries, or cakes.
If the berries are particularly seedy, use a sieve or food mill. Both the National Center for Home Food Preservation and Penn State Extension recommend this approach when blackberries contain a lot of seeds.
A useful middle ground is to strain about half of the cooked fruit and mix it back with the unstrained portion. You get a smoother texture without completely removing the characteristic blackberry texture.
What If Your Jam Is Too Runny?
Problem → The jam stays liquid after cooling.
Likely cause: It has not cooked to the setting point, or the fruit contained more water than expected.
Solution: Put the jam back into the saucepan and cook it again over medium-high heat. Test a small amount on a chilled plate rather than judging the consistency entirely from the hot mixture.
Do not immediately dump in extra sugar. The problem may simply be insufficient concentration.
For a no-pectin jam, setting depends on reaching the appropriate concentration and gel point. The National Center for Home Food Preservation recommends either a temperature test or refrigerator/freezer test when determining doneness.
What If Your Jam Is Too Thick?
Problem → The cooled jam is stiff or difficult to spread.
Likely cause: It was cooked too long or reached too high a concentration.
Solution: For a refrigerator batch, gently warm a small amount and stir in a little water or fruit juice until it reaches a spreadable consistency. Add liquid gradually because too much can make the jam runny.
Overcooking is a recognized cause of stiff jam, and the National Center for Home Food Preservation cautions that excessive cooking can affect both texture and color.
Do not assume that cooking longer will always produce a better set. Jam needs to reach the setting point, not simply spend as much time as possible on the stove.
What If the Jam Is Foamy?
Problem → A layer of foam forms on top during cooking.
Likely cause: Boiling fruit and sugar naturally create foam.
Solution: Skim the foam from the surface with a clean spoon before transferring the jam to containers.
A little foam does not mean the batch has failed. It is mainly a texture and appearance issue.
Commercial pectin recipes and tested home-preservation recipes commonly instruct cooks to skim foam before filling jars.
What If the Jam Tastes Too Sweet?
Problem → The finished jam tastes overwhelmingly sugary.
Likely cause: The recipe contains a relatively high sugar-to-fruit ratio, or the berries themselves were very sweet.
Solution: For your next batch, use a recipe specifically formulated for a lower-sugar pectin rather than simply cutting the sugar in a traditional pectin recipe.
This distinction matters. Commercial pectins are formulated differently, and the National Center for Home Food Preservation warns against casually changing ingredient proportions in recipes intended for preservation.
For the refrigerator recipe above, the lemon juice also helps balance the sweetness with acidity, giving the jam a brighter blackberry flavor.
Can You Make Blackberry Jam Without Pectin?
Yes.
Blackberries contain natural pectin, and jam can be made without adding commercial pectin. The traditional method relies on the fruit, sugar, acidity, and concentration produced during cooking to reach the gel point. The National Center for Home Food Preservation provides a specific method for making jam without added pectin and includes blackberries among the berries covered by the method.
The trade-off is consistency. Commercial pectin can make the setting process more predictable, while no-pectin jam depends more heavily on the fruit and the cooking process.
If you are making a small batch for the refrigerator, no added pectin is a practical option. If you want a shelf-stable canned product, use a tested recipe rather than converting a refrigerator recipe yourself.
How to Make Blackberry Jam With Pectin
Commercial pectin is useful when you want a predictable gel and plan to follow a tested preservation recipe.
The National Center for Home Food Preservation’s tested blackberry jam formula uses 6 cups crushed blackberries, 1 package powdered pectin, and 8½ cups sugar, producing approximately 11–12 half-pint jars. The fruit and pectin are brought to a full boil, sugar is added, and the mixture is returned to a full boil for 1 minute before being placed into jars and processed in a boiling-water canner.
That formula is substantially different from the small refrigerator batch in this article.
If you use a commercial pectin product, follow the instructions supplied for that exact pectin. Do not substitute liquid pectin for powdered pectin or alter the fruit, sugar, or acid quantities casually. Penn State Extension also advises following commercial pectin directions exactly because different pectin products produce different styles of jam.
How to Store Homemade Blackberry Jam
Refrigerator storage
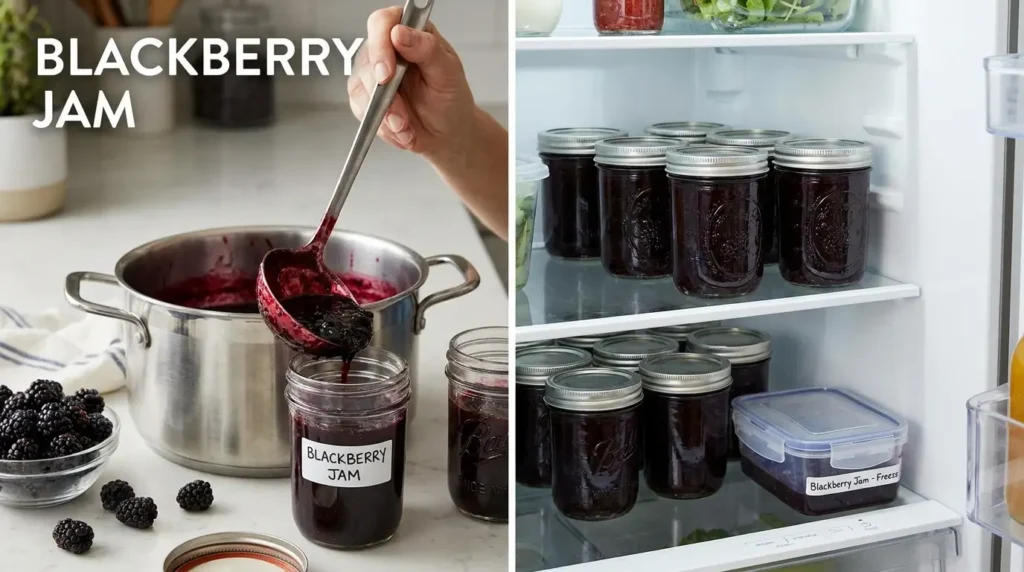
For the small-batch refrigerator jam described here, keep the jam refrigerated in a clean, covered container.
The National Center for Home Food Preservation states that refrigerator/freezer jams are a distinct category and are generally kept in the refrigerator for up to about 3 weeks or frozen for longer storage.
Always use a clean spoon when serving it and return the container to the refrigerator promptly.
Freezer storage
Freezing is a better option when you have made more jam than you can eat within a few weeks.
Use a freezer-safe container with appropriate headspace rather than filling a rigid container completely to the top. Allow the jam to cool before freezing.
After thawing, keep it refrigerated. The National Center for Home Food Preservation notes that freezer jams should be refrigerated after thawing.
Shelf storage
Do not store this refrigerator-jam recipe at room temperature.
Shelf-stable homemade jam requires a tested formulation and an appropriate boiling-water canning process. For example, the National Center for Home Food Preservation’s tested blackberry jam with powdered pectin specifies 5 minutes of processing at 0–1,000 feet, 10 minutes at 1,001–6,000 feet, and 15 minutes above 6,000 feet.
If you want canned jam for long-term pantry storage, use that type of tested preservation recipe rather than improvising with the refrigerator recipe.
How to Know if Blackberry Jam Has Spoiled
Do not scrape mold from the surface and eat the remaining jam.
If refrigerated jam develops mold, yeast growth, an off smell, fermentation-like odor, or other obvious spoilage, discard the entire container. The National Center for Home Food Preservation specifically advises discarding the contents when mold or other spoilage is detected.
Keep the refrigerator at 40°F (4°C) or below for opened home-canned jams and jellies, according to the National Center for Home Food Preservation.
Frequently Asked Questions
Can I use frozen blackberries to make jam?
Yes. Frozen blackberries can be used for jam. Thaw them first and include the fruit juices in the mixture so you do not lose the liquid and flavor released during thawing.
Do I need to add lemon juice?
For the small-batch recipe above, yes. The lemon juice provides acidity and balances the sweetness while contributing to the overall jam-making process. If you switch to a tested canning recipe, use the acid quantity specified by that recipe rather than adjusting it yourself.
Why is my blackberry jam not setting?
The most likely issue is that the mixture has not reached the required concentration or setting point. Cook it further and use a chilled-plate test or appropriate temperature test rather than relying only on elapsed cooking time.
Can I reduce the sugar?
Not safely by simply changing the quantities in a tested canning recipe. Sugar affects both texture and preservation. If you want a lower-sugar jam, choose a pectin specifically designed for low- or no-sugar recipes and follow its instructions.
Can I make seedless blackberry jam?
Yes. Cook the berries and then press the mixture through a fine-mesh sieve or food mill to remove much of the seed material. Expect a smoother texture and a somewhat different yield.
How long does homemade blackberry jam last?
A refrigerator/freezer jam should generally be refrigerated for up to about 3 weeks or frozen for longer storage. Properly processed home-canned jam made from a tested recipe is a different product and can have a much longer pantry life; the National Center for Home Food Preservation recommends using home-canned foods within a year for best quality.
Conclusion
For a straightforward homemade blackberry jam, cook crushed blackberries with sugar and lemon juice until the mixture reaches a soft setting point, then confirm the texture with a chilled plate before cooling. Keep this small-batch version refrigerated rather than treating it as shelf-stable canned food, and use a tested canning recipe if your goal is long-term pantry storage.
The key is to cook to the right consistency, not to a fixed number of minutes: the finished jam should be glossy, spreadable, and able to hold a path when tested cold.
